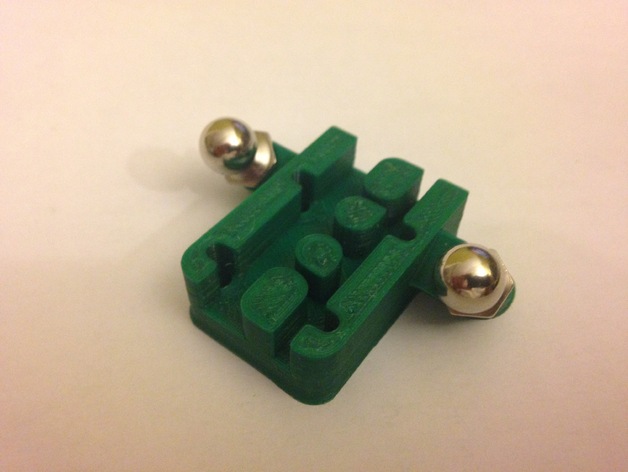
Mini Kossel Magnetic Arm Carriage
thingiverse
Hi all, I purchased some magnetic arms for my Mini-Kossel from Ultibots. I have updated the parts to use many different kinds of balls and configurations. See the history below. ( http://www.ultibots.com/magball-arms-balls-215mm/ ) Their carriage design did not work for the liner slides I have. So I made my own. I use the standard 400mm slides. (if there is such a thing as "standard" on a reprap printer) I used 100% infill. I know that for most parts that is just crazy stupid. However, The strength of critical components is paramount. The forces on the part in constant flux. Also, part stiffness is a big factor in print quality. Having issues with this part. Drop me a line. I will do my best to help. All 4 screws are M3 x 16mm. McMaster Carr part no 92095A184 Updated: May 20th 2018 Yet again another ball spacing. Now we have 55mm Updated: Aug 4rd, 2017 Add 48mm Ball spacing to all Ball models. Updated: Aug 3rd, 2017 Add 50mm Ball spacing to all Ball models. UPDATED: DECEMBER 9th, 2016 I added a ver that will use the 10mm M4 Tapped ball bearings you usually see on eBay. UPDATED: DECEMBER 1, 2016 Added step files for each model. UPDATED: SEPTEMBER 14, 2006 With this design, you will lose about 10mm off your build plate radius. 20mm of each axis. To fix that problem a new carriage design has been implemented. It can be found at http://www.thingiverse.com/thing:1769818. UPDATED: May 6 2016 Add a hole to add M3 screw at the top for end stop adjustment. It is sized for an M3 tap. Drill it out with a 2.5mm drill bit. Then tap by hand. If you use a drill with the tap go slow. Cut the plastic don't melt it. Also, added a 40mm ball spacing. Now there is 40, 43, and 45mm spacing. And for both type Ball studs (for Ulitbot arms) and for the 9.5mm sphere with an M3 tapped hole. UPDATED: Feb14 2016 Added files for use with 9.5mm(3/8in) ball bearing with a tapped hole for an M3 screw. Both have 43mm and 45mm ball spacing. UPDATED: Feb13 2016 Add same part but will 45mm Ball spacing UPDATED: Improved part strength due to improved geometry. Reduced distance between ball centers to 43mm Improved belt fit and insertion force when assembling. Print Settings Printer Brand: RepRap Printer: Mini-Kossel Rafts: No Supports: No Resolution: .2mm Layer Hight (or better) Infill: 100%
With this file you will be able to print Mini Kossel Magnetic Arm Carriage with your 3D printer. Click on the button and save the file on your computer to work, edit or customize your design. You can also find more 3D designs for printers on Mini Kossel Magnetic Arm Carriage.