Mini LED Desk Lamp
thingiverse
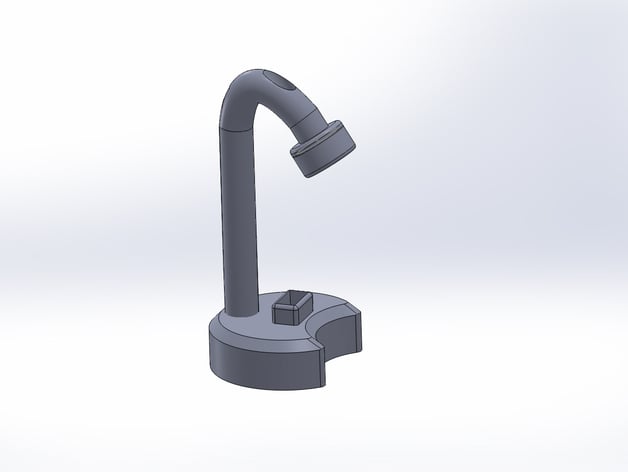
A mini desk lamp powered by a 9v battery. Requires some simple wiring after the print is complete. Read assembly instructions before printing Things you will need: Two 9V batteries 5 LEDs, color is up to you A foot or two of insulated wire One rocker switch. The one I used was 1x1.5x1 inches Two 9v Battery holders Instructions PLEASE READ BEFORE PRINTING Step 1- Edit parts to your liking Step 2- Export and print parts. My lamp took about 19 hours to print all four parts at once at .1mm resolution with supports and rafts turned on Step 3- Remove prints from printer and post process. Clear away supports as much as possible Step 4- Solder 5 LEDs of any color in series. This means to wire the short leg of one LED to the longer leg of another LED. When finished, there should be one LED with an un-mated long leg and one LED with an un-mated short leg. These will be attached to the battery later Step 5- Solder insulated wires, about 8 inches long, to the two unmated LED legs. I used red wire for the long leg and white wire for the short leg. Step 7- Pull wires through the holes on the lamp cap, lamp neck, and lamp base. Leave the LEDs on the outside of the cap so they can be pushed through the holes in the head when the circuit is complete. Step 6- Attach 9v battery holder to cutout in the bottom of the lamp base, and pull the wires through the small hole to the cutout on the top of the base. Step 7- Solder the wire from the negative terminal of the battery holder to the wire coming from the short leg of the LED series Step 8- Solder a rocker switch in between the wire from the positive battery terminal to the wire from the long leg of the LED. This will give you a means to turn on and off the lamp without having to disconnect the battery. If you wish to skip this step, you can solder the remaining wire to the positive wire from the battery terminal. You will have to attach and detach the battery to turn on and off the lamp if you do so. Step 8- Attach switch to cutout in the base of the lamp. You will probably need to modify the dimensions of this cutout before printing your parts. Step 9- Test connection. Attach battery to holder and flip the switch. If the LEDs light up, you have succeeded! Step 10- Push LEDs through holes in the head of the lamp and use a heavy duty glue to glue all the pieces together. Allow time to dry. Congratulations, you have finished your mini LED desk lamp! Great job
With this file you will be able to print Mini LED Desk Lamp with your 3D printer. Click on the button and save the file on your computer to work, edit or customize your design. You can also find more 3D designs for printers on Mini LED Desk Lamp.