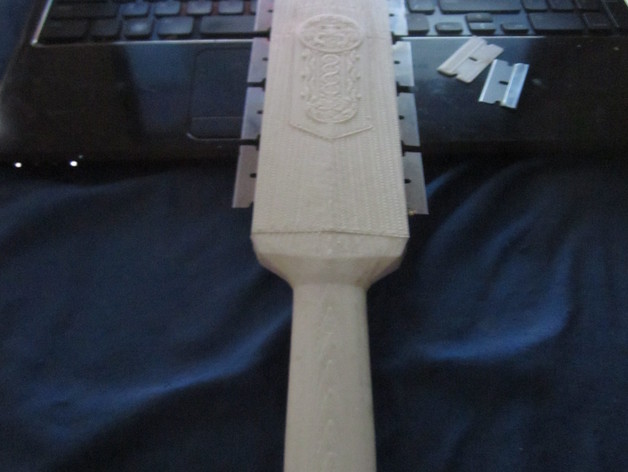
Mini Macuahuitl
thingiverse
This thing is a miniature version of a tool used by the ancient Mayans and Aztecs. It was traditionally made from wood and embedded with chips of razor sharp obsidian. It must have been used as a tool to cut through dense jungle underbrush. Printing Print 2 each of: Macuahuitl_handle.stl Macuahuitl_blade_lower.stl Macuahuitl_blade_upper.stl Macuahuitl_blade_inlay.stl print 12 of: utility_blade.stl The utility_blade.stl contains 2 halves that should be glued together. The file should be printed at .12 (or lower) layer height. Be carful when removing them from the print bed because they are thin and can be damaged easily. The blade becomes much sturdier when both halves are glued together. alternatively you can just use real utility blades... (not recommended). You will also need a 5mm x 12 mm x 375mm piece of hardwood or metal for the center support shaft Epoxy or some other strong adhesive Print Settings Printer Brand: RepRap Printer: Prusa I3 Rafts: Doesn't Matter Supports: Yes Resolution: .2 mm layer height for handle and blade sections, .12mm layer height for blade inlay. Infill: 25% Notes: I printed the handle and blade sections at .2 mm layer height. The decorative inlay section had to be printed at .12 layer height or the detail is lost. Also I set the perimeter width to .3mm even though my nozzle is .4mm. If you are using Slic3r then uncheck the 'Don't support bridges' option for the blade sections, otherwise it tries to bridge the grooves on the edges of the blade and makes for a lot of extra cleanup. The razor.stl file should be printed at .12 layer height or lower. The file contains several halves that need to be glued together. ps.. don't leave this thing lying on your bed and forget about it until you flop down to sleep and ruin your sheets. Post-Printing Assembly Cut a 5 mm x 12 mm x 375 mm piece of hardwood or metal for the center support. Arrange the handle, lower blade, and upper blade sections face down. Apply epoxy into the center groove and insert the center support. Clamp and allow to dry. Epoxy the utility blades into the grooves on the sides of the lower and upper blade sections. Spread epoxy over the surface of the other 3 sections and place them opposite the already assembled sections. Clamp and allow to dry. Epoxy the blade inlay pieces on either side and Clamp
With this file you will be able to print Mini Macuahuitl with your 3D printer. Click on the button and save the file on your computer to work, edit or customize your design. You can also find more 3D designs for printers on Mini Macuahuitl.
