Mini-Minion - the 3D printer for easy classroom production.
thingiverse
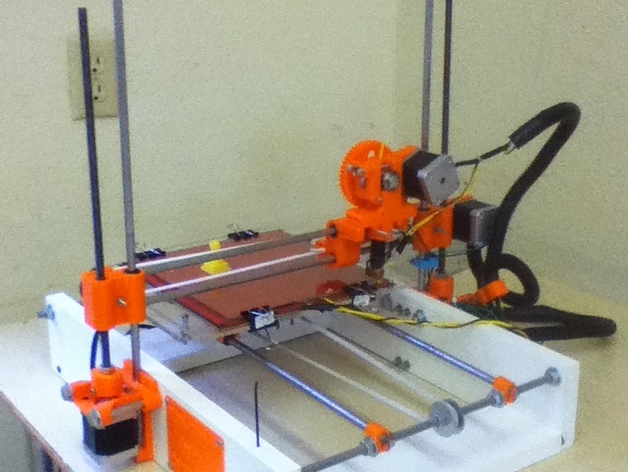
Introducing the "mini-minion," a 3D printer designed for classroom settings, built with materials like AZEK and standard split cable covers. This printer features a drill press, saw, and 3D printer in its construction process. The files are solid and have been used in classrooms, county fairs, and seminars. Detailed assembly instructions and photos will be provided soon. To assemble the printer, you'll need various parts such as smooth rods, threaded rods, NEMA17 stepper motors, a control board (Ramps preferred), end stops, thermistors, hot end, heat plate, hobbed bolt, springs, T2 pulleys, sheet glass, and binding clips. Don't forget to get filament for printing!
With this file you will be able to print Mini-Minion - the 3D printer for easy classroom production. with your 3D printer. Click on the button and save the file on your computer to work, edit or customize your design. You can also find more 3D designs for printers on Mini-Minion - the 3D printer for easy classroom production..