Mini Repeating Crossbow 2.0
thingiverse
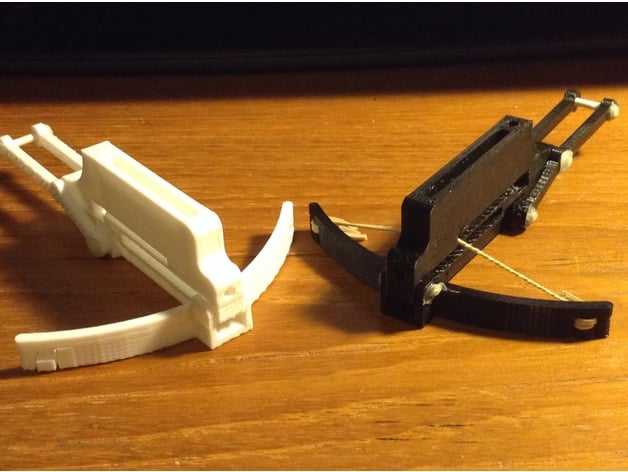
Human: Remixed from Naus' original "Mini Repeating Crossbow" design, this new version boasts a couple of innovative features and improvements!\nBOW:\nI encountered issues getting the notch to catch the rubber band in its slot. In fact, I broke several rubber bands because it seemed like the notch pinned the band against the side of the wall where it sits, preventing it from firing and causing wear until it broke.\nTo fix this, I modified the length of the notch (and also the hole on the magazine) so that the notch should have no problem lifting the band up and out of the groove to fire. \nNew: Thick_Bow After a lot of use, the ends of the bow sometimes crack and break off. To strengthen it, I made the bow thicker, which also increased its power.\n[The "Thick_Bow" design has not yet been tested . . . use at your own risk.]\nMAGAZINE:\nWhen I managed to get the machine to fire, the bolts (Q-tips) wouldn't move because the barrel of the bow was conical-shaped in that the mouth of the crossbow was smaller than the opening at the other end. Also, I had trouble getting the bolts to stay in the magazine when I rotated the crossbow. (Sidenote: It looks like Oliver_D also experienced this problem, and he made a remix that adds a top with slots to store extra bolts to the magazine! It's really cool, and is compatible with the new magazine as well – Try it out!)\nTo fix these issues, I added a groove down the length of the barrel to help the bolts stay straight and also to prevent jamming. Also, I widened the radius of the barrel to a uniform width, and I added the aforementioned lid to the MAGAZINE.stl file.\nARMS:\nLike a few others, I had trouble with getting those pins to print so I ended up assembling this whole thing with Q-Tips and hot glue, so I thought it was fitting that I make the holes on the arms go all the way through so I can add my hot glue on the outside. So now this mini crossbow can be built with Q-Tips and fire them too!\nTURRET STAND:\nI just added the design for a little turret stand for this thing. This will make it possible to put it flat on a table to show off, and should make it able to fire with one hand... The fun awaits!\nUP NEXT:\nA miniature xbow target? Thoughts?\nPrint Settings\nPrinter: DaVinci XYZ 1.0 Pro\nRafts: Doesn't Matter\nSupports: Yes\nResolution: 0.2mm\nInfill: 10%\nPost-Printing\nI used Q-Tips for the axles/joints. I have heard that using extra filament also works well. \nOverview and Background\nOverview\nThis is a great physics demonstration to help teach kinematics. The xbow and stand could make studying projectile motion painless and fun. Print a large model for the class or a small model for each table - the choice is yours!\nLesson Plan and Activity\nLesson Plan Ideas\nThere are countless ways to use this fun miniature xbow to teach physics or other related subjects, some ideas include...\n–> Calculating Trajectory by manipulating angle of launch.\n–> Experimenting with Potential and Kinetic Energy through different strength rubberbands.\n–> Student Discipline :)\nMaterials Needed\nMaterials\n–> A 3D Printer\n–> Q-Tips or Filament\n–> Rubber Bands
With this file you will be able to print Mini Repeating Crossbow 2.0 with your 3D printer. Click on the button and save the file on your computer to work, edit or customize your design. You can also find more 3D designs for printers on Mini Repeating Crossbow 2.0.