mini-Snowman; with internal light.
prusaprinters
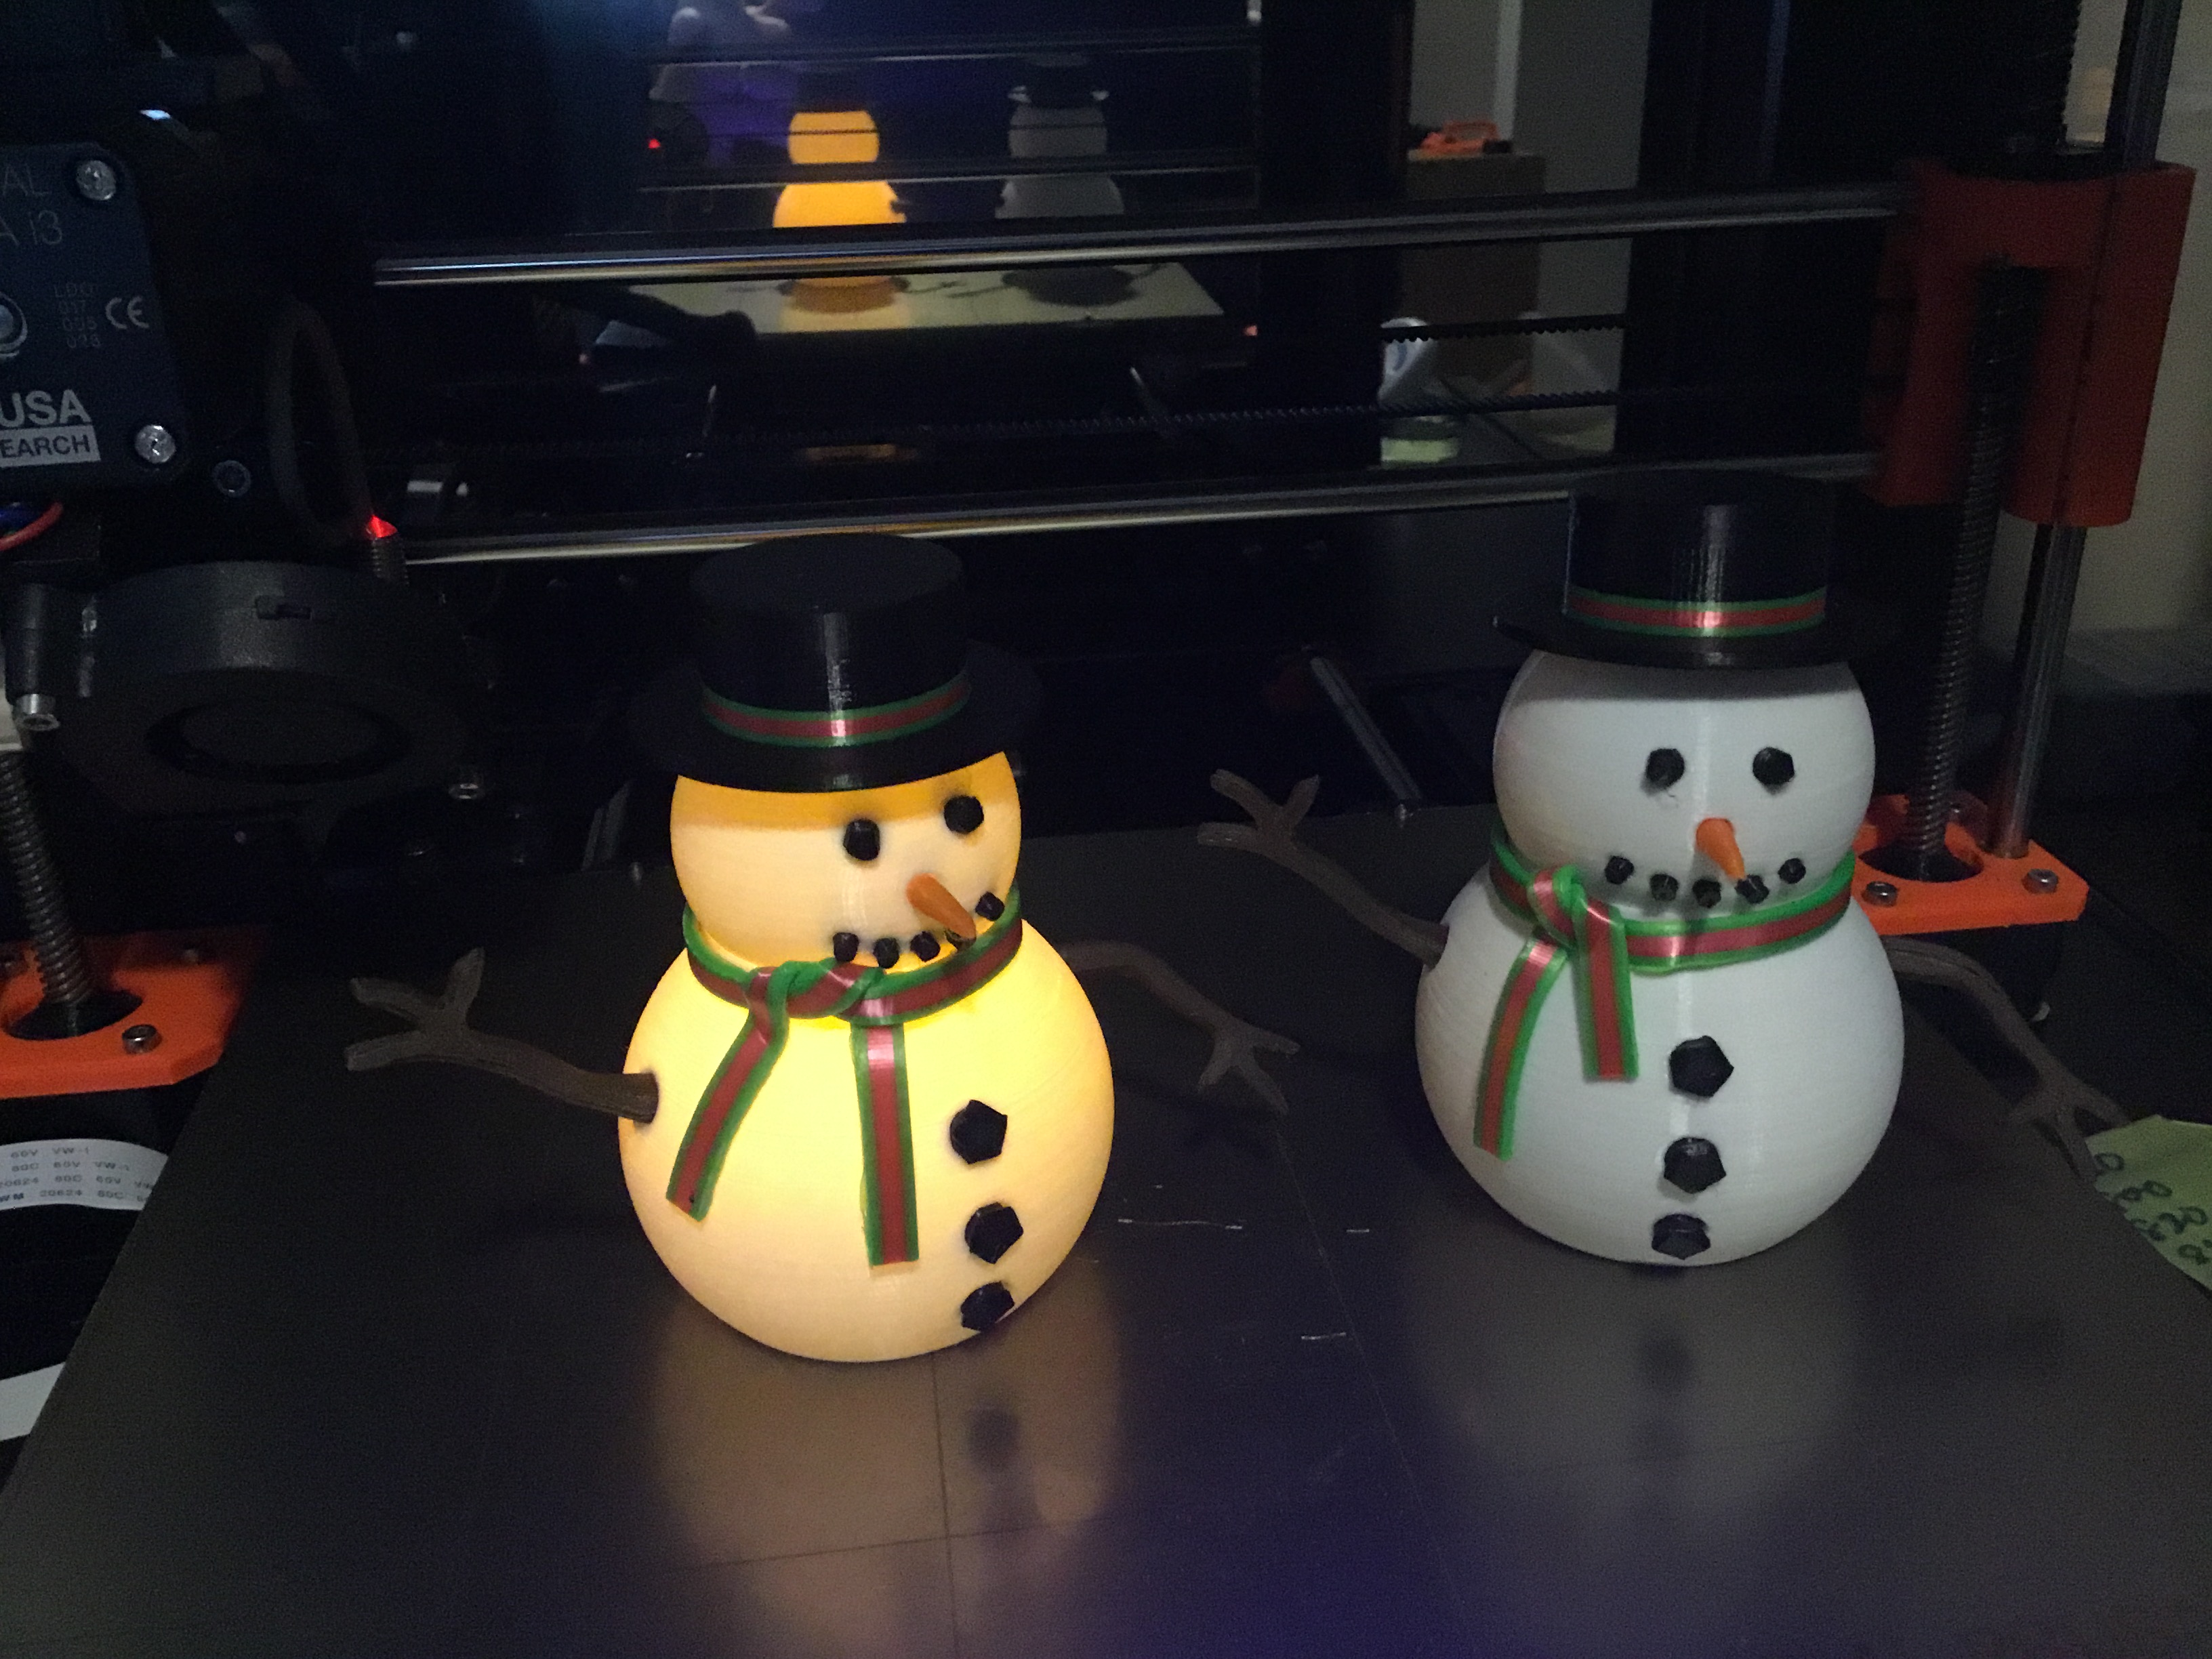
<p>This is a multicolored Christmas themed snowman with internal light, printed in several pieces. The interesting feature is scarf which is printed in multicolor layers and shaped and tied using a heat gun to make it flexible. The hat is also banded in multicolours.</p> <p>It is lit with an LED Tea light.</p> <p>This is similar to the Snowman I poster earlier (thing:4014961), only smaller and lit with a tea light.</p> <h3>Print instructions</h3><h3>Category: Decor Print Settings</h3> <p><strong>Printer Brand:</strong> Prusa</p> <p><strong>Printer:</strong> I3 MK3S</p> <p><strong>Rafts:</strong> Yes</p> <p><strong>Supports:</strong> Yes</p> <p><strong>Resolution:</strong> 1.5mm</p> <p><strong>Infill:</strong> 15%</p> <p><strong>Filament:</strong> iPrint PLA white, black, red, green, orange and brown<br/> <strong>Notes:</strong></p> <p>This snowman is printed in multiple parts in different colors and then glued together.</p> <p>The body and head (white) should be printed with a rafts burt no supports.</p> <p>The nose(orange) and the Accessory pack (black) should be printed using rafts to keep the small pieces in place.</p> <p>The arms (brown) are printed using 3.0mm layers to create a rougher texture, but this is optional.You can print them with rafts but this leaves a flat edge and requires more cleanup. Alternativly, when you slice them, rotate the small end (hand) up about 3 degrees and use supports. This results in a cleaner print.</p> <p>The hat (black) can be printed in one color or colored bands can be done by adding color changes when you slice the part (I used PrusaSlicer which does this easily).<br/> The scarf can be printed with bands of color the same way as the hat.</p> <h3> Post-Printing</h3> <p>Normal post Processing and special handling</p> <p>Most parts require little or no post processing, however some do. DO NOT GLUE ANYTHING YET!</p> <p>Accessory pack: the larger pieces (of coal) in the pack (2 eyes and 3 buttons) just need to be cleaned up to remove any raft remnants. The 5 small pieces for the mouth are too small to trim easily so I made them a little longer than needed, just use a sharp knife and cut the bottom 1-2 mm off to get a clean edge.</p> <p>all parts - all the small parts are sized to fit easily into the holes in the body, but you should check the fit. Also, check the holes in the body for any blobs of filament or rough spots.</p> <p>Scarf: this is the tricky part. as you can see from the pictures, the scarf is printed flat on the plate yet it has a knot and hangs down on the finished snowman. I made it flat so I could print layers of different colors and shape it after printing it. This is accomplished by heating the scarf gently with a heat gun until it softens. The curve of the scarf fits the smooth neck part of the body piece. Gently knot the warm scarf, reheating carefully as needed. The end that is bent inwards should go up and over the other end and bend down behind. The other end goes behind the first and bends up and over and down the front. The curves in the ends should both curve inwards so they can lay on the body. Use the body as a mold to form the knot and while the scarf is still warm press it down tight against the body. Sounds complicated but is actually fairly easy, just be gentle and remember to reheat the scarf as you work it into shape. NOTE: do not overheat the scarf and DO NOT try to reheat it while it is on the head/body as those pieces will soften and deform easily.</p> <p>Assembly:<br/> After you shape the scarf and check the fit on the other pieces, simply glue everything together. Start with all the small black pieces, a drop on the end should hold these in place. Next glue the back of the scarf where it hangs down on the body, ensure the scarf is properly aligned as you glue it to the body. Next glue the head onto the body. Finish by adding the nose, hat and arms. The arms are reversible but have different bends - try them on before gluing to get the placement you like. The alignment block will keep the hat straight but you can tip it forward or back as desired.</p> <p>I used super glue for all the gluing.</p> <p>For the light, simply insert an LED tea Light into the bottom cavity. The opening is tapered and the light will slip in and stick without gluing.</p> <p>Additional note: I found that the heat gun is a very useful tool. It can it be used to GENTLY heat parts so they can be easily bent and shaped, which is a key part of this build. It can also be used to restore the gloss/shine to parts that have been sanded. Carefully heat the dull sanded area, just before it gets hot enough to melt and deform, the sanded surface will revert to the original shiny finish. There is a very fine line between a restored finish and a melted blob, so be careful and practice before trying this on a 2 day print ;-)</p>
With this file you will be able to print mini-Snowman; with internal light. with your 3D printer. Click on the button and save the file on your computer to work, edit or customize your design. You can also find more 3D designs for printers on mini-Snowman; with internal light..