Mini Talon Flush Hatch Latch
thingiverse
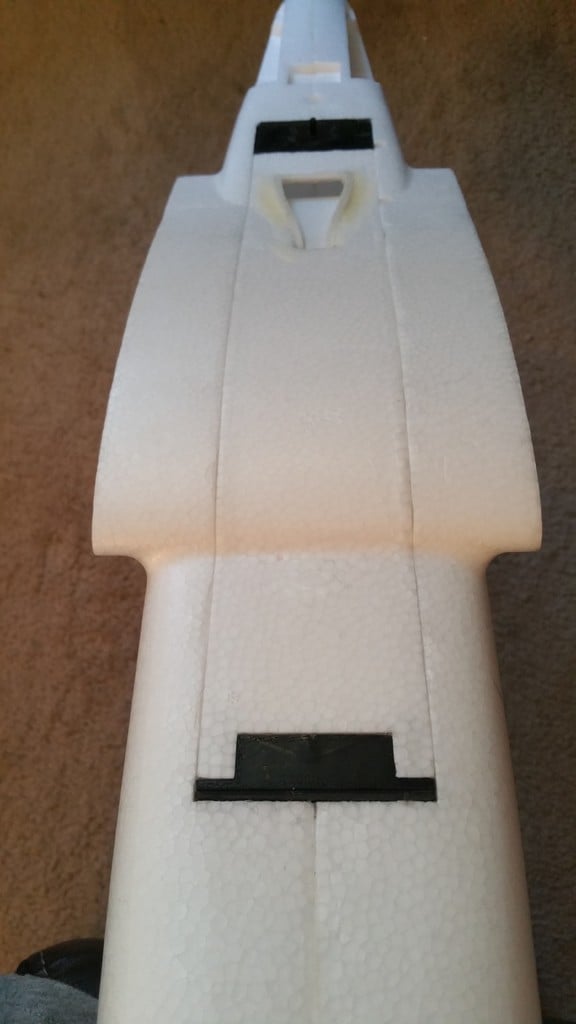
I made some adjustments to make things a bit simpler, and I extended the length of the latch and the depth of the latch catch to ensure it's more reliable. This design now sits flush, not on top of the hatch. To remove the old wooden pieces, simply peel them off as they're no longer needed. Additionally, you'll need to carefully trim some of the foam so that the printed parts fit as shown in the pictures. Instead of using bamboo or wooden dowels, I opted for 3mm carbon fiber rod/tube for the front pins and latch handle. To make it more versatile, I made the holes smaller so that you can drill them out to any size you prefer. After printing, test the latch to ensure it slides smoothly in the housing. If not, use fine sandpaper to clean up the edges of the latch. Next, glue the latch housing together with CA glue, but don't insert the latch yet. Once the glue is completely dry, install the spring into the latch and then insert the latch into the housing. Finally, apply a single drop of CA down into the hole where the carbon fiber handle goes, push the latch all the way in, and insert a short piece of carbon fiber rod into the latch hole. You'll need to obtain a spring from a pen or mechanical pencil. Note that the rear latch catch plate has holes if you want to drill into the foam and glue additional support rods (flush) for extra security. I chose not to use them as my hatch is securely glued with Uhu Por, so I'm confident it won't budge. My hatch will be spray painted all black once I reach that stage.
With this file you will be able to print Mini Talon Flush Hatch Latch with your 3D printer. Click on the button and save the file on your computer to work, edit or customize your design. You can also find more 3D designs for printers on Mini Talon Flush Hatch Latch.