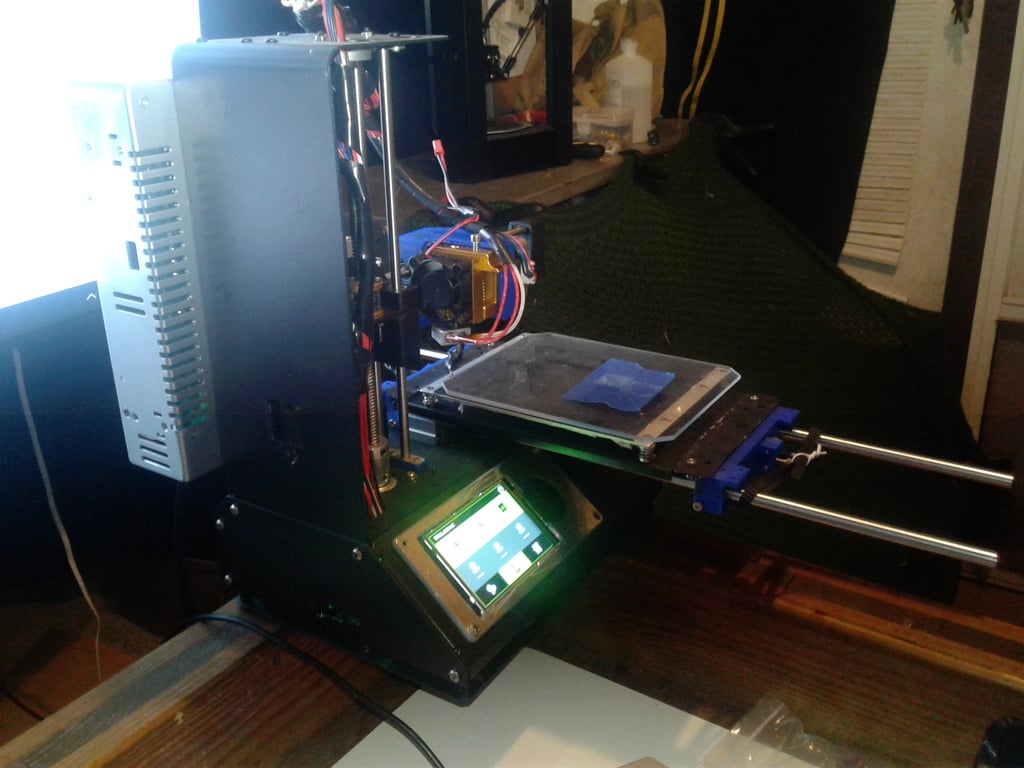
Mini v2 Mods,Titan Aero, MK8 Extruder, Acme rod Z, Lerdge K control board, Universal bed extender
thingiverse
*** Slice in the latest version of Cura with ALL mesh fixes turned off or the slicer may want to fill the holes solid. *** Upgrading my Mini V2 so i thought I would share the files. Upgrade 1: Direct Drive Extruder's the upgrade is simple enough simply print the bracket then unplug and remove your old bowden extruder and just extend and plug the wires from the old extruder into your new direct drive extruder. the hardest part is getting the X axis end holder off. i used a hammer and a heat gun and a punch but this looks like it would have been alot easier. https://www.thingiverse.com/thing:2738089 your X axis case can me tossed in the garbage after you remove the end stop from it. fear not as it adds no meaningful structural support and is simply for ascetics. the end stop can just be electrical taped to your X rail until i either upload a mount that works with this setup or you use the search function to find one on Thingiverse =P I recommend you just saw the 6mm LM6UU bearings out of your old carriage. They are great bearings however if you break one trying to ram it into the new carriage like i did or do not want to destroy the old carriage you can just 3d print some. I recommend you use ball bearing LM6UU bearings however due to the weight and angle of loading "slip and stick" might be more of an issue with this set up. I have included a LM6UU I modified to work in place of the original 35mm I broke. I printed it in PLA it works fine as long as the rail is lubed up good. the best way to make the pla printed bearing "slippery" is to heat the rod up a bit with a heat gun and very quickly slide the pla bearing back and forth on the rod. Make sure the Carriage slides around like butter before you put everything back together. if it feels a little stiff and will not fall under its own weight then heat the bearings up a bit with a heat gun and slide it back and forth until everything settles into a better position. Upgrade 2: 8mm Acme Rod Z and Nema 17 add a 8mm 2mm pitch acme rod and 0.9 deg nema 17 stepper. It should bolt right in if it does not then just drill some holes in the bottom base. hack the old leadscrew off of your Z carriage and drill 4 holes so you can mount the 8mm leadscrew. plug the new Z nema 17 stepper into the old Z wires, update the steps per mm to 3200 in the firmware and your done. ( steps per mm may vary the mini v2 uses 1/16 microsteping so a standard 1.8 nema 17 would be 100 steps per mm ergo 100x16=1600 or 3200 for a 0.9 stepper motor.) The tiny threaded rod the mini v2 comes with is pretty sad. The mini v2 is pretty much a over engineered tank so the extra weight on the X axis should be just fine but the z stepper and rod are definitely a weak point when adding this much weight. You may want to add a larger stepper to the X axis with more torque while you are in there unless your fine slowing things down a bit. optimally you want to support the top of the 8mm 2mm pitch linear rod with a pillow block bearing at the top of the mini v2 tower. just drill a hole and screw the pillow block in and feel free to hack saw off any extra acme rod sticking out the top of your mini v2. Make 100% sure the pillow block is aligned perfectly or the stepper will encounter some resistance as it goes up the z axis and start losing steps as it gets closer to the top. this should all work fine on a stock mini V2 control board but I really would not know as I replaced it with A Lerdge X with external drivers. Make sure to update your steps per mm properly if you are using the stock board https://www.mpselectmini.com/howto/steps_per_unit_mm Upgrade 3: lerdge X and k mounting shield for LCD Coming soon....... Upgrade 4: Universal Custom bed extender Coming Soon....... ****** These files are 100% free I do not require any attribution for use what so ever.
With this file you will be able to print Mini v2 Mods,Titan Aero, MK8 Extruder, Acme rod Z, Lerdge K control board, Universal bed extender with your 3D printer. Click on the button and save the file on your computer to work, edit or customize your design. You can also find more 3D designs for printers on Mini v2 Mods,Titan Aero, MK8 Extruder, Acme rod Z, Lerdge K control board, Universal bed extender.