Miniature Standard-Lamp Lithophane
thingiverse
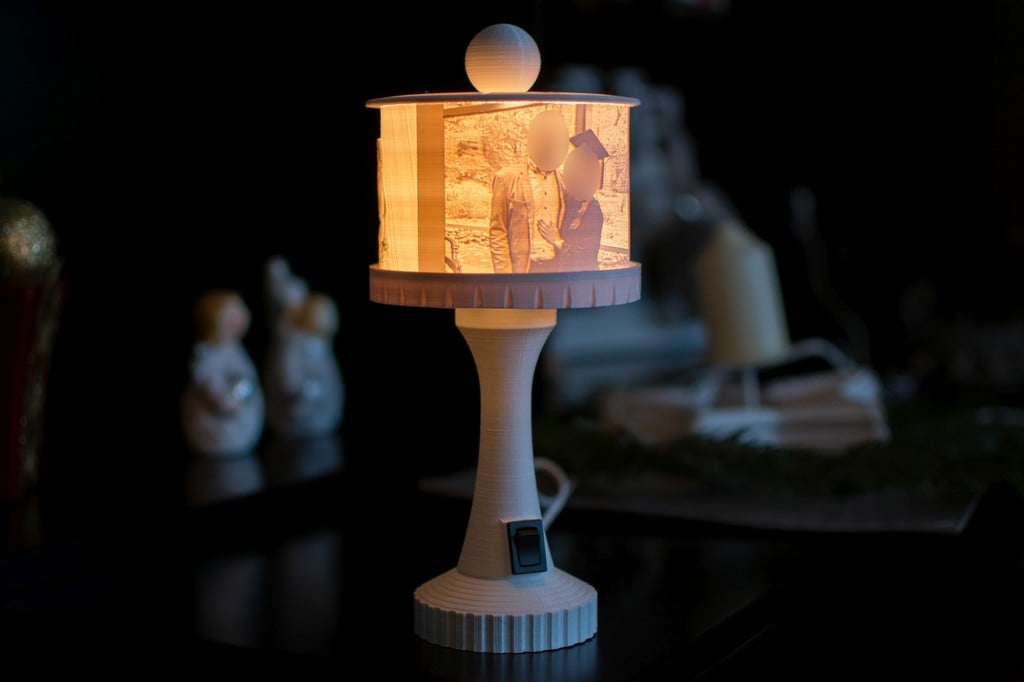
Here comes my lithophane miniature lamp! This one is designed to attach a switch and a light source. If you want it without the switch, just let me know in the comments. Instructions: - Use the attached JPEG as an original for the correct dimensions of the lithophane. - Change the image to whatever you like (keep the format!). - Go to http://3dp.rocks/lithophane/. - Upload your image. - Select "Outer Curve". - Go to settings > Model settings > Maximum size (MM) > Set it to 300 mm. - Go to settings > Model settings > Curve > Set it to 360. - If you didn't upload a negative image, go to settings > Image settings > positive image. - Click "Model" on top of the page. - Hit "Refresh" button. - Hit "Download" button to download and print your personal lithophane. Printing: - I recommend printing the parts as they are downloaded. - Don't forget the supports when printing your top_plate. Selecting the light source: - Take the "adapter_piece" File (Sldprt or STL) and modify it so you can attach your own light source. - The adapter piece is designed to fit on the 3 holes on top of the litho_mount-plate. - You can use the abatements to drill your own holes in the adapter piece. Switch: - 21x15 mm - https://www.aliexpress.com/item/10pcs-lot-21-15-mm-2PIN-Kcd1-Boat-Rocker-Switch-SPST-Snap-in-ON-OFF-Position/32812315766.html Let me know if you made one!
With this file you will be able to print Miniature Standard-Lamp Lithophane with your 3D printer. Click on the button and save the file on your computer to work, edit or customize your design. You can also find more 3D designs for printers on Miniature Standard-Lamp Lithophane.