Miniature Vice 2.0 => 100% printed, no metal parts required
prusaprinters
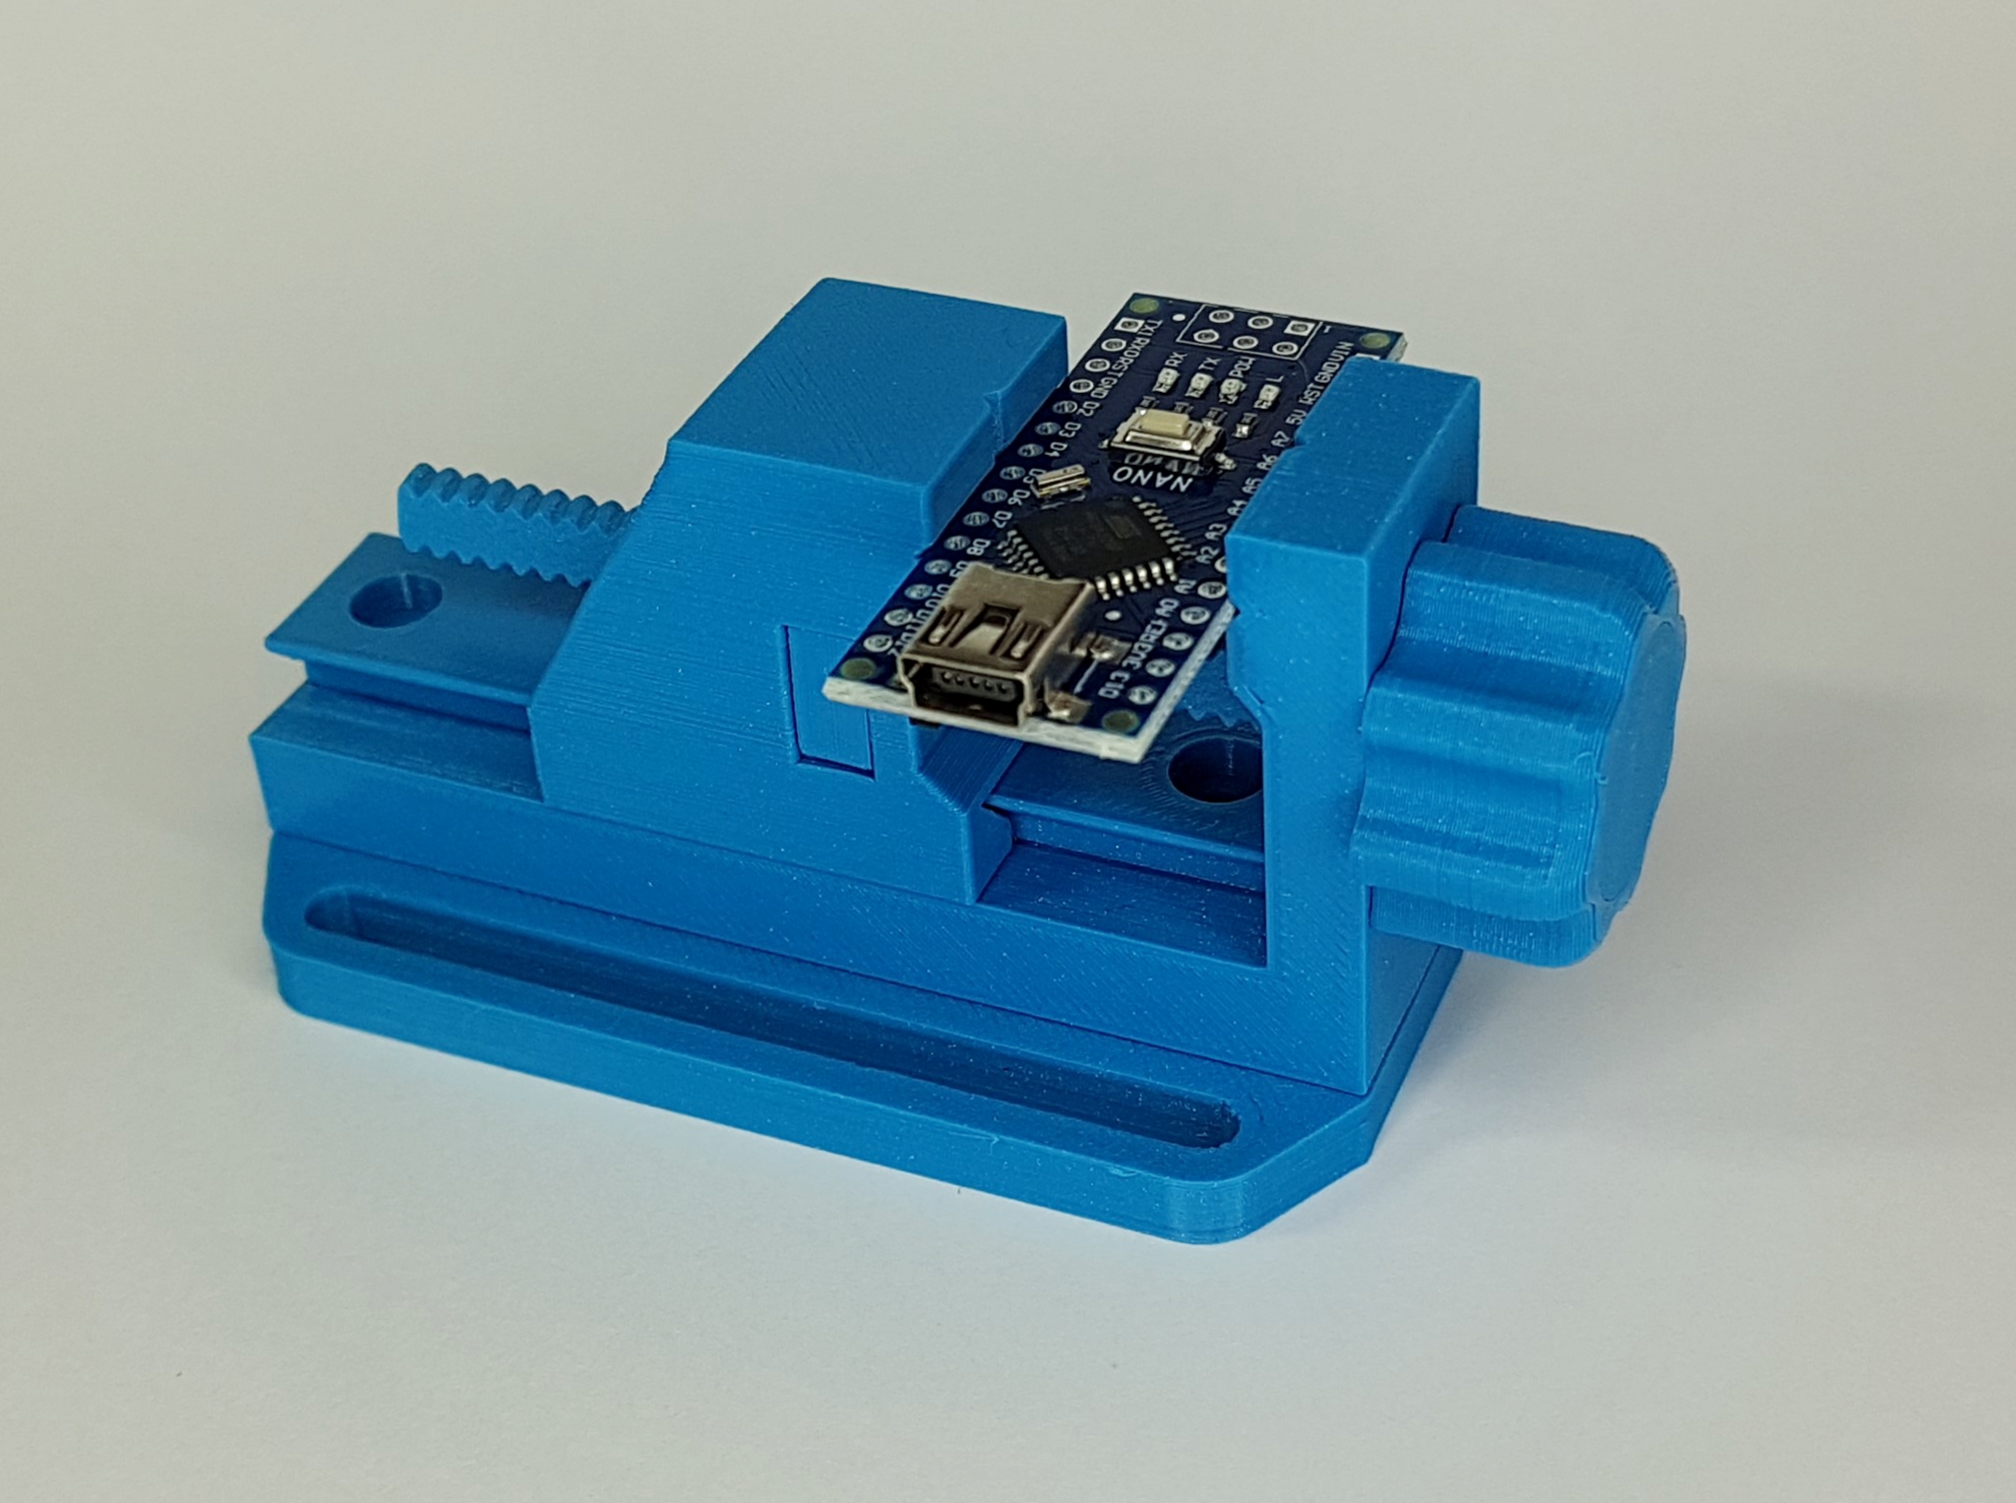
<p>Thanks for all the valuable feedback that I got on my miniature vice:</p><p><a href="https://www.prusaprinters.org/prints/53471">https://www.prusaprinters.org/prints/53471</a></p><p>This feedback has helped me to improve the design more and more, with additional upgrades and modifications that make it easier to reproduce high quality printing results. </p><p>The most common problem that I have heard of, is that it's tricky to get the needed M6x70 hex head screw. Especially in the US it is of course difficult to get hold of metric screws. But also here in Europe, the pandemic and ongoing lockdowns forbid to drive to a hardware store and get a certain screw.</p><p>So after some experimenting with printed screws, here is my soluton to this problem. It is a completely printed spindle and thread insert. Use these two parts to replace the M6x70 screw and the M6 nut in the original design.</p><p>The best thing about this printed part: It works just as well as the metal screw. I have tried to tighten the vice just as hard as I would have dared with the metal screw. That does not seem to be a problem for this printed parts. </p><p>In my mechanical load test setup, I have loaded the screw with 150kg (about 1.5kN), which was the maximum my test setup could handle. The screw and the thread on it are still perfectly fine.</p><p><strong>Printing:</strong></p><p>Simply print all parts in the uploaded orientation. The screw and the insert should be printed at 100% infill. The hand knob can be printed at 15% infill, it is not critical.</p><p><strong>Material:</strong></p><p>For the screw and the insert, I explicitly recommend PLA. It is quite strong (stronger than PETG), it is hard (which is good to avoid surface wear-out) and it becomes soft at relatively low temperatures. The latter is an advantage in this case, as it speeds up the initial wear-in. As long as the friction is high, the surface will warm up while you screw the parts together, which in turn will help to smooth out the surface until everything runs smoothly. Once there is no noticeable friction any more, the will be no warm-up, hence not much further wear-out.</p><p><strong>Assembly:</strong></p><p>You will probably notice that the thread does not work perfectly well directly after printing. The cool thing is that it works really nicely after only two or three wear-ins. Simply screw the insert on the screw with the needed force. At the second time it will already glide much better. At the third run there will be basically no friction any more.</p><p>Other than that, the assembly is straight forward. Simply use the screw and the insert like you would use the metal screw and nut with the vice. </p><p><strong>Compatibility:</strong></p><p>All parts of the vice that are not part of this publication can still be used. The only part that needs to be changed besides the screw and the nut is the outer piece of the hand knob. That is due to the changed form of the screw head (which was needed to make it printable). </p><p> </p>
With this file you will be able to print Miniature Vice 2.0 => 100% printed, no metal parts required with your 3D printer. Click on the button and save the file on your computer to work, edit or customize your design. You can also find more 3D designs for printers on Miniature Vice 2.0 => 100% printed, no metal parts required.