Minimal Raspberry Pi Model A+ Case
thingiverse
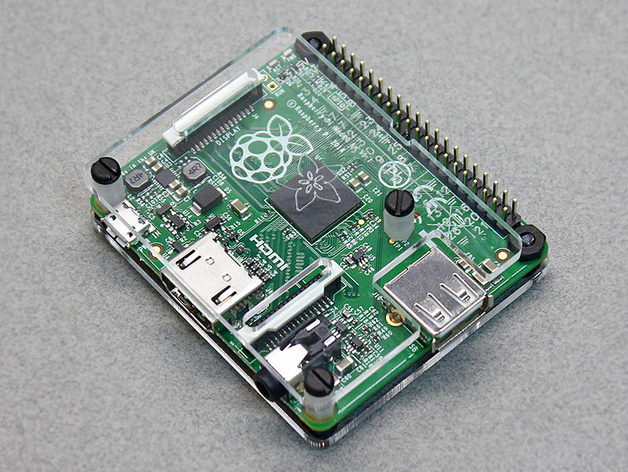
This clever two-piece laser-cut design showcases minimalist ingenuity by striking a perfect balance between protection and simplicity. Just how bare-bones can you go while still providing necessary safeguarding? The solution allows for use of a GPIO ribbon cable, thanks to the top section's ingenious cantilevered design - it attaches only on one side, relying on a dummy standoff for support. Key features include: •GPIO pin labels for easy identification •Side nubbins that prevent accidental SD card removal This minimalist marvel is easy to assemble and requires minimal tools. To build this masterpiece, follow these steps: First, insert four screws into the corner holes on the bottom piece. The screw heads will act as feet, providing a solid base. Next, place the Pi board onto the screws, ensuring the SD card slot faces the edge with slight bumps. Add nuts to the two screws flanking the GPIO header and tighten them before cutting the screws flush with the nut face. Using a 1/4" standoff as a reference point, trim the other two screws so their protruding length is just slightly less than half of the standoff's length. Install 2 x 1/4" standoffs on these screws, securing the board at all four corners. Now, insert three screws into the top piece. Reference the remaining standoff to trim each screw so its length equals the acrylic thickness plus roughly one-half of the standoff length. Install the last standoff using a screw in the hole near the USB cutout (labelled as GPIO pin 5). This component provides cantilevered support only and doesn't need a mounting hole.
With this file you will be able to print Minimal Raspberry Pi Model A+ Case with your 3D printer. Click on the button and save the file on your computer to work, edit or customize your design. You can also find more 3D designs for printers on Minimal Raspberry Pi Model A+ Case.