Minimalist Magnetic Picture Frame
thingiverse
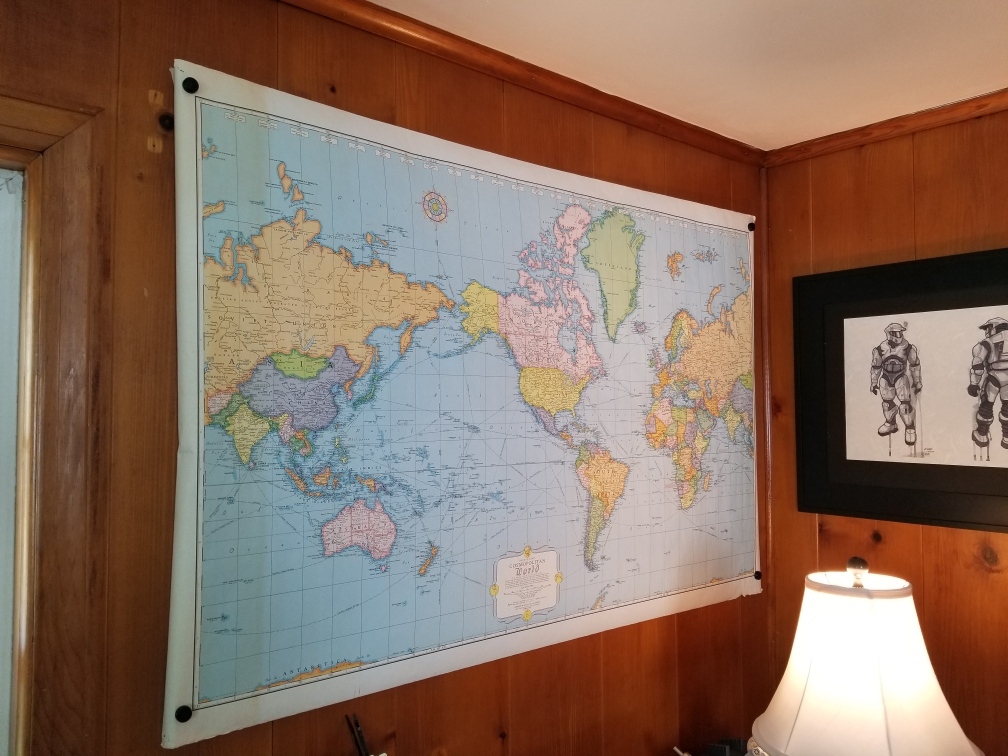
Magnetic Picture Frame Please see "Getting Started.pdf" for assembly instructions. A minimalist approach to hanging a print, this magnetic frame post is easy to assemble and install with minimal tools. NOTE: Each Post Body and Retention Cap features embedded magnets. For mine, I use 0.24 cubic inch neodymium magnets (further specs unknown, p/n lost); Embedded during the print process using GCODE pauses. Other methods of insertion could be implemented, .sldprt files are included for further magnet customization. Simply mount the Post Anchor (Pt. A) onto any surface using a single #6 drywall screw (anchors optional/based on the exact mounting surface). Repeat this step for all corners of your print (more can be added, depending on your exact hanging needs). Thread a Post Body (Pt. B) onto each Pt. A, then align your print. Use the Retention Tab(s) (Pt. C) to capture your print, suspending it from the wall. Once mounted your print appears to float between four posts, projecting one inch (1.0"/25.4mm) from a surface. https://github.com/K1P5/Minimalist-Magnetic-Picture-Frame
With this file you will be able to print Minimalist Magnetic Picture Frame with your 3D printer. Click on the button and save the file on your computer to work, edit or customize your design. You can also find more 3D designs for printers on Minimalist Magnetic Picture Frame .