Minimalist Makita Battery Adapter
thingiverse
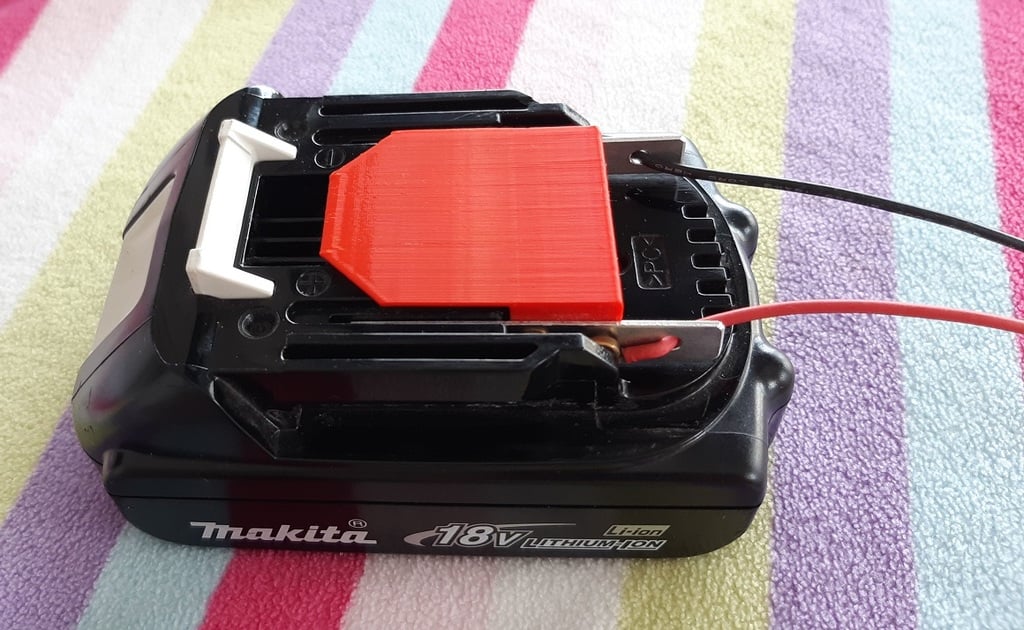
If you ever wanted to use your Makita battery as a mobile power source, that's the thing you need. It's designed for easy printing and has an integral latch that locks to the battery. You'll need to make 2 conductors, it may be possible to use folded aluminium foil (still testing that). The holes in the printed part are designed for direct screwing of M3 screws into the plastic and they should measure about 2.7mm in diameter. You may need to enlarge them if they're too small. The conductors are 1mm thick and can be made of almost any available metal. Cut 2 pieces, 8mm wide and 55mm long, drill 3mm holes using the drilling jig (you may want to drill only the beginning of each hole using the jig, since the metal chips can damage the jig). 2 M3 screws attach each conductor to the printed part, while one of the screws also uses to attach the wire to the conductor. The third hole is used as a strain relief. The length of the screws should be at least 8mm and less than 20mm (too long and they will short circuit inside the part). For high currents you may want to attach the wire to the conductor using a dedicated screw in the last hole, or to solder the wire to the conductor (if it's made of a solderable metal).
With this file you will be able to print Minimalist Makita Battery Adapter with your 3D printer. Click on the button and save the file on your computer to work, edit or customize your design. You can also find more 3D designs for printers on Minimalist Makita Battery Adapter.