MiniSkybot Robot V1.0
thingiverse
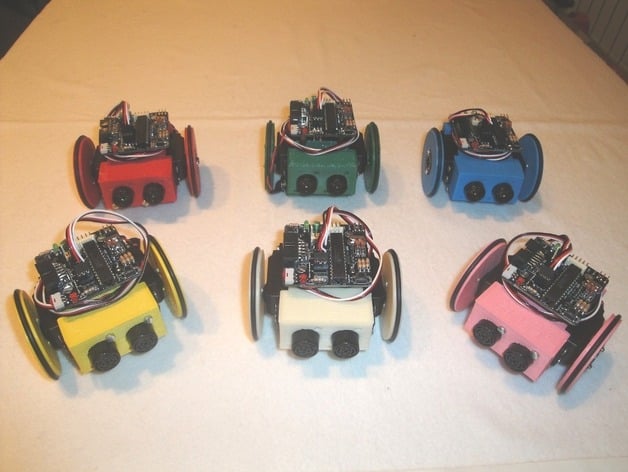
The MiniSkybot, a mobile robot designed for educational purposes, boasts several noteworthy features. It's 3D-printable, completely open-source (mechanics and electronics), and created using open source tools like OpenScad, Freecad, and Kicad. This allows students to learn robot programming while easily modifying the chassis and creating custom parts. Being open source, it can be freely modified, copied, and shared across the internet. The robot is also remarkably affordable, with costs primarily determined by servos, electronics, and sensors. Developed by professors from Carlos III University of Madrid and Universidad Autónoma de Madrid, this innovative robot provides an excellent learning opportunity for engineering students. Detailed instructions can be found on the project's wiki page at iearobotics.com.
With this file you will be able to print MiniSkybot Robot V1.0 with your 3D printer. Click on the button and save the file on your computer to work, edit or customize your design. You can also find more 3D designs for printers on MiniSkybot Robot V1.0.