MiSTer-Console-Case
thingiverse
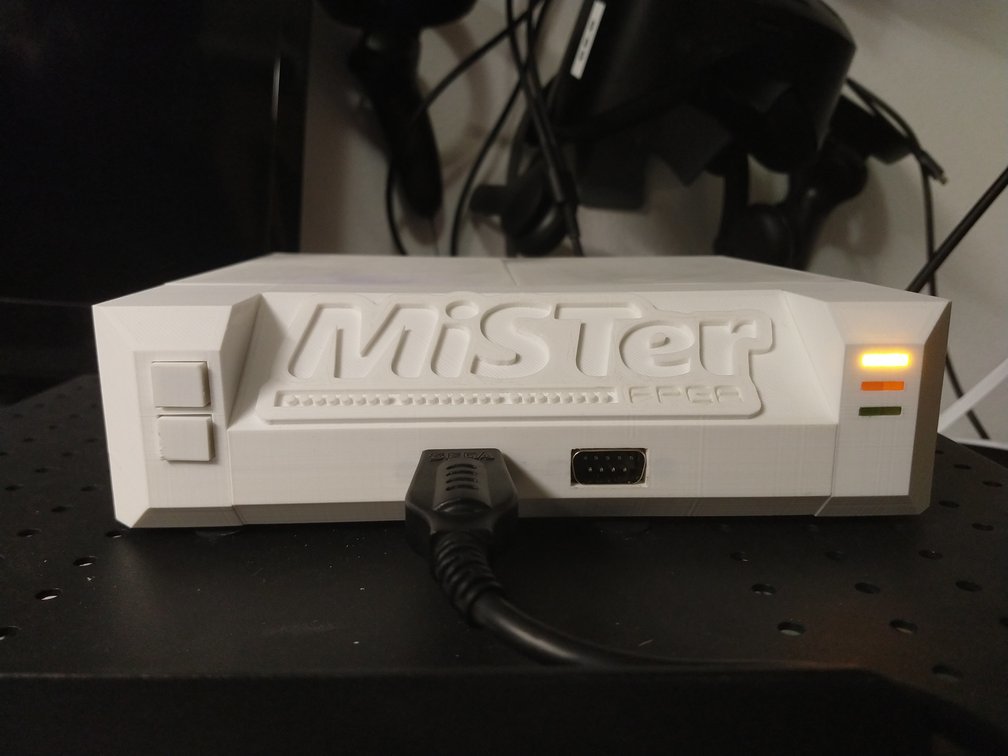
I wanted a MiSTer case that routed all the cables out the back, and felt like a retro game console itself. Some soldering is required. The power switch, is wired to the barrel jack, and the result is split out to feed the usb hub using a couple dupont connects ( work well enough ) and a barrel plug for the DE-10 nano board. button and led wiring is detailed in the README.md I use 2 monster joystick branch 9pin game controller adapters, a zero4u powered USB hub, and custom wiring for the LED and buttons instead of a MiSTer IOBoard. Ports are routed to the back: power, hdmi, ethernet, and 2 USB using commonly available panel mount extensions and a barrel jack. To assemble, the 3 front panel pieces should be fitted together and glued. The 2 side panels then glued into the form of the front panels. The top 2 panels need to be filed to fit depending on the accuracy of your printer, and glued together. Then I use brass-threads for M3 screws to bind the front panel and sides to the top. You can glue the the top and side seam. This forms the cover. The bottom and back then screw into this after you've mounted the hardware into them. More details on all the parts inside and wiring here: https://github.com/jedimatt42/mister-case
With this file you will be able to print MiSTer-Console-Case with your 3D printer. Click on the button and save the file on your computer to work, edit or customize your design. You can also find more 3D designs for printers on MiSTer-Console-Case.