MK8 Extruder Fan Duct & Print Cooler
thingiverse
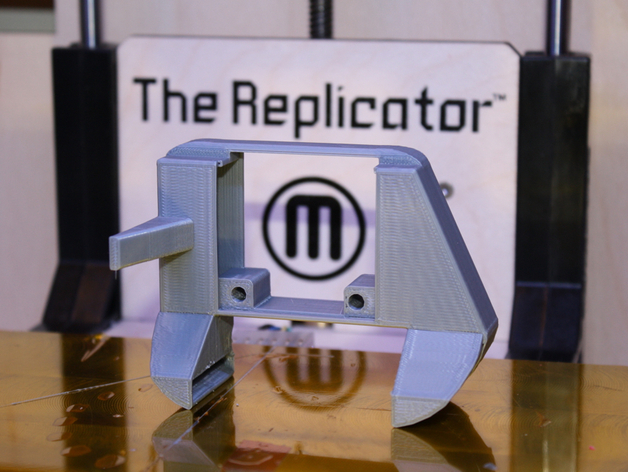
This is a fan duct for the MK8 Extruder. It's purpose it to cool extruded materials thereby significantly improving print quality. Especially small prints and prints with sharp corners. Ever have portions of your print rising up higher than the rest of the layer? This is the cure. Designed from scratch in Tinkercad to be compatible with Emmet's Minimalistic MK8 Extruder. https://tinkercad.com/things/gJsUvBNIGqo Derived from kommisar's MK7 duct. Instructions Please ready step 6 carefully. Failure to do so may damage your Replicator. 1) Print duct. I used 15% infill, 0.2mm layers, 1 shell. No Support, No Raft. Make sure you have a sticky print bed and that your nozzle is nice and close to it. 1.5) Recommended: Turn your printer off until step 9. 2) Unbolt extruder fan and heatsink. Take off the heatsink and set the old spacers aside. 3) Loosen the two bolts on the plastic piece that holds the extruder wiring harness and filament guide, on top of your extruder. Loosen them until they're about to come out. 4) Install heatsink into the duct. It goes in the side with the depressed area - not the flush side. Don't insert the fan or bolts yet. 5) Hold the heatsink in place while you slide the assembly into place on the extruder. You will probably need to tilt your extruder motor shaft upward for the parts to fit into place. At the same time, also lift up on your filament holder / wiring harness holder to get the edge of the heatsink under the lip. This step is easier done than explained. 6) With the new part in place, and using your HAND, move the entire extruder down the X-axis guide rods, all the way to the right. The arm on the new part needs to press the endstop button on the circuit board. You will hear it click. If your rep is on, a red light too. If it does not contact the button, this part will not work and trying to use it will probably break something. 6) Gently tighten the two bolts for the wiring harness and filament guide. They should not be very tight. You want the wiring harness / filament holder able to move a little. 7) Reinstall fan and bolts. Make sure fan is moving air toward the extruder (label facing extruder). 8) Confirm the heatsink is in contact with the aluminum heat transfer block that connects the extruder motor. Confirm the duct is not putting pressure on the X-axis guide rods. 9) If all is well, adjust your X-axis home offset. You can do this by running a calibration script or decrease the X offset by ~16.5mm. In ReplicatorG go to Machine -> Onboard Preferences -> Homing/VREFs -> X home offset. Do some math. Commit. This step is needed because you altered the home position of your extruder by ~16.5mm by installing the new duct :) 10) Enjoy! Post a picture if you make one.
With this file you will be able to print MK8 Extruder Fan Duct & Print Cooler with your 3D printer. Click on the button and save the file on your computer to work, edit or customize your design. You can also find more 3D designs for printers on MK8 Extruder Fan Duct & Print Cooler.