MKS Gen_L V2 Control-Box
thingiverse
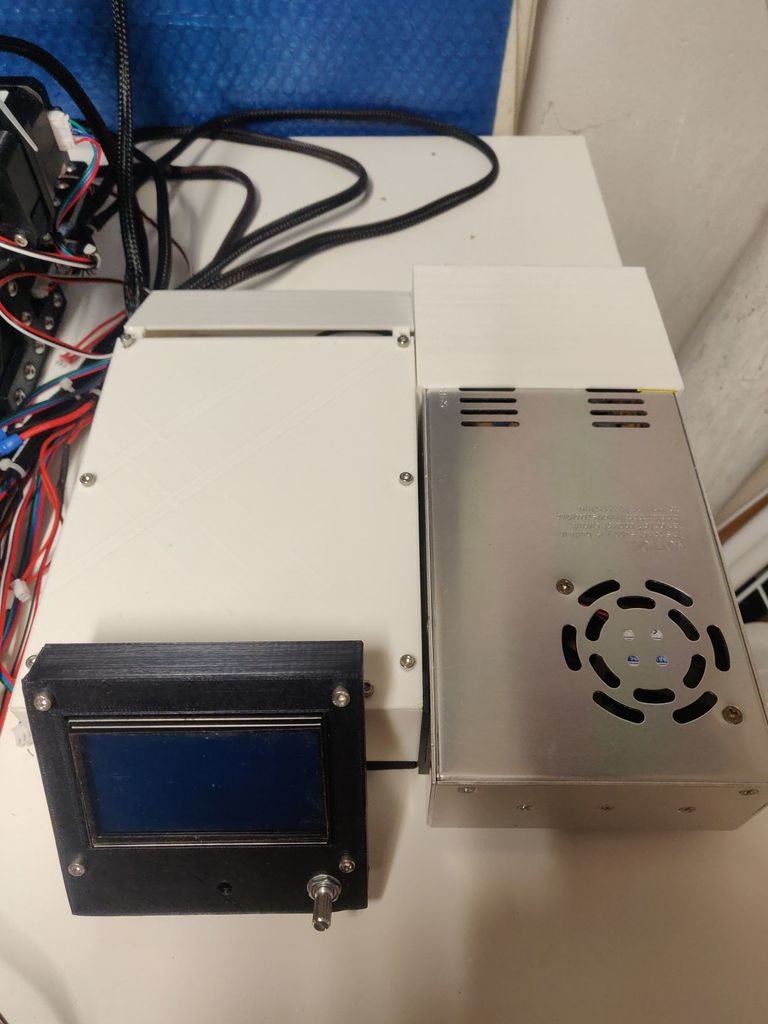
I designed and build my own 310x310x250mm dual extruder 3D-printer, which shows some similarities to the CR10-s and Tevo Tarantula. In this 3D-printer I used the following electronics: - MKS Gen_L V2 mainboard (with dual z-splitter); - DVR8825 Stepper motor drivers; - 2x Mosfet; - LCD 12864 RepRapDiscount full graphic smart controller; - 24V 15A power supply. This design is the full enclosure/control-box for this MKS Gen_L V2 mainboard, with dual mosfet set-up, the RepRapDiscount full graphic controller, power supply cover and power switch. I used 8 M3 brass inserts in the bottom part and 8 more M3 brass inserts in the top sockets on the side parts (left, right and front). Al the sided and the top are screwed in place by 16 M3x10mm screws. The electronics boards are screwed to the bottom part by 14 M3x6mm screws. As for the power-supply cover: I used 2 M4x10mm screw to attach the right side part to the power-supply and its cover, and 2 more M4x10mm screws to attach the right side part to the power-supply and the extra bracket. Finally 2 M3x10 screws were used to fix the power-socket with switch in place. And as for the LCD controller: I used 8 M3 brass inserts in the 2 LCD brackets. 4 M3x6mm screws were used to attach these brackets to the front part and 4 more M3x6mm screws were used to attach the the back cover of the LCD to these brackets. Then the LCD was put in place and closed up by the LCD front cover and 4 M3x25mm screws and M3 nuts. Also check out my other designs and as always open to feedback and/or comments.
With this file you will be able to print MKS Gen_L V2 Control-Box with your 3D printer. Click on the button and save the file on your computer to work, edit or customize your design. You can also find more 3D designs for printers on MKS Gen_L V2 Control-Box.