MMU Bypass for MK3 Frame
prusaprinters
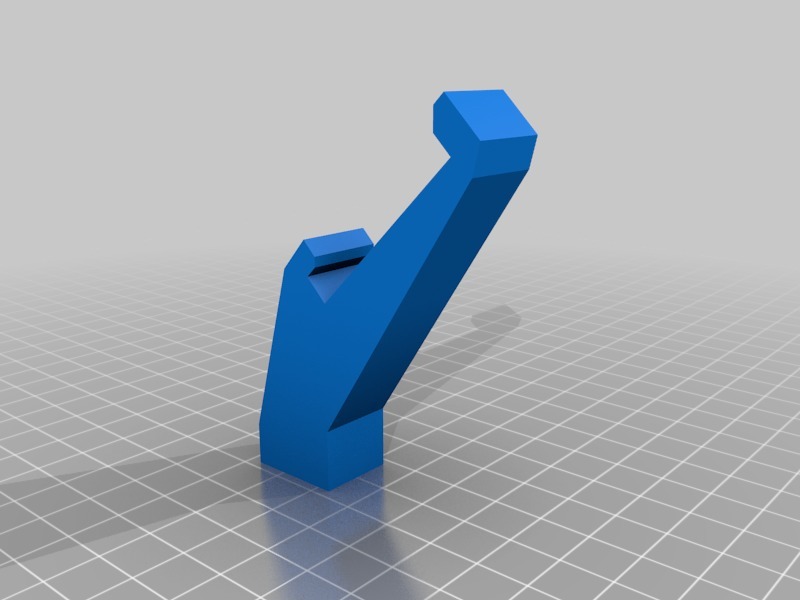
<p>One of my biggest gripes about the MK3S/MMU2S is the buffer. As I usually keep basic colors loaded for customer prints (And my own, of course), this isn't a huge issue and is hardly noticed until I need to swap out an empty roll.</p> <p>However, with any sort of buffer system, a single, one-off print in an exotic material becomes a major PITA. That means I need to unload a filament from the path, and reload this filament I'm going to use ONCE, monkey around behind my machine as I try to get the filament through the buffer and loaded into the back of the MMU. The process, depending on how caffeinated I am (Or how close to the end of a spool I am because at that point; it's a freakin' spring), can take 5 minutes or more.</p> <p>I needed a better way. Enter, the MMU Bypass. This was designed around the fact that the MMU2 has a short reverse bowden between the MMU and the extruder drive. So somehow, you will either need one of those little M5 brass nut inserts from a previous MMU2 build (I upgraded to the MMU2 early, so I had parts to steal from when I got the MMU2S upgrade), or source one <a href="https://orballoprinting.com/en/home/223-original-prusa-insert-m5.html">here</a> or elsewhere. Note that I have been unable to find that insert anywhere else, however.</p> <p>From there, print, add the 'sert (optionally with a drop of super glue), and snap onto the frame (Between the MMU2's legs) when you need it. NOTE that the total Z will be decreased to about 177mm with this installed. This isn't meant as a permanent attachment, just a temporary bypass for if you need to do a short print in a material you use once in a blue moon.</p> <p>Eventually, I'd like to see this integrated into the brace the MMU2 uses to hold itself to the frame, but I'm not that worried about it right now, so one of you guys can do it.</p> <p>You will need to manually load and unload filament at the beginning and end of a print, that's the only downside of a motorless system like this. Maybe someday if I'm brave, I can come up with a small motor drive and then update the Thing. Don't hold your breath; If it ain't broke, don't fix it. "Inconvenient" doesn't equal "broken" and it's already way MORE convenient than unloading and reloading that damnable buffer.</p> <p>This was entirely designed in Microsoft's 3D builder, so the STL is as good as you're gonna get for a source file. If I could get Fusion to run, I'd redraw it, but it's been weird since the last update. Oh well. Good luck.</p> <p>--</p> <p>If you like the design and want to support my work, throw me some crypto currency!</p> <p>Bitcoin: 3QfkyjF3Z7KJcHvyb34GgPY8qAhSD3i31f<br/> Bitcoin Cash: qzcadajt7mr5mw8ftp9s2evrd4q937n8qy603xgx86<br/> Ethereum: 0x4659B82b3D729a60167b4E30d65858978AabA758<br/> Ethereum Classic: 0x8CBCA36A174dc8C491dDA5e2F2B68C517C614507<br/> Litecoin: MT98VquYYbizC25fuRdx41XaWrVweykcwu</p> Category: 3D Printer Parts
With this file you will be able to print MMU Bypass for MK3 Frame with your 3D printer. Click on the button and save the file on your computer to work, edit or customize your design. You can also find more 3D designs for printers on MMU Bypass for MK3 Frame.