MMU2 filament buffer
prusaprinters
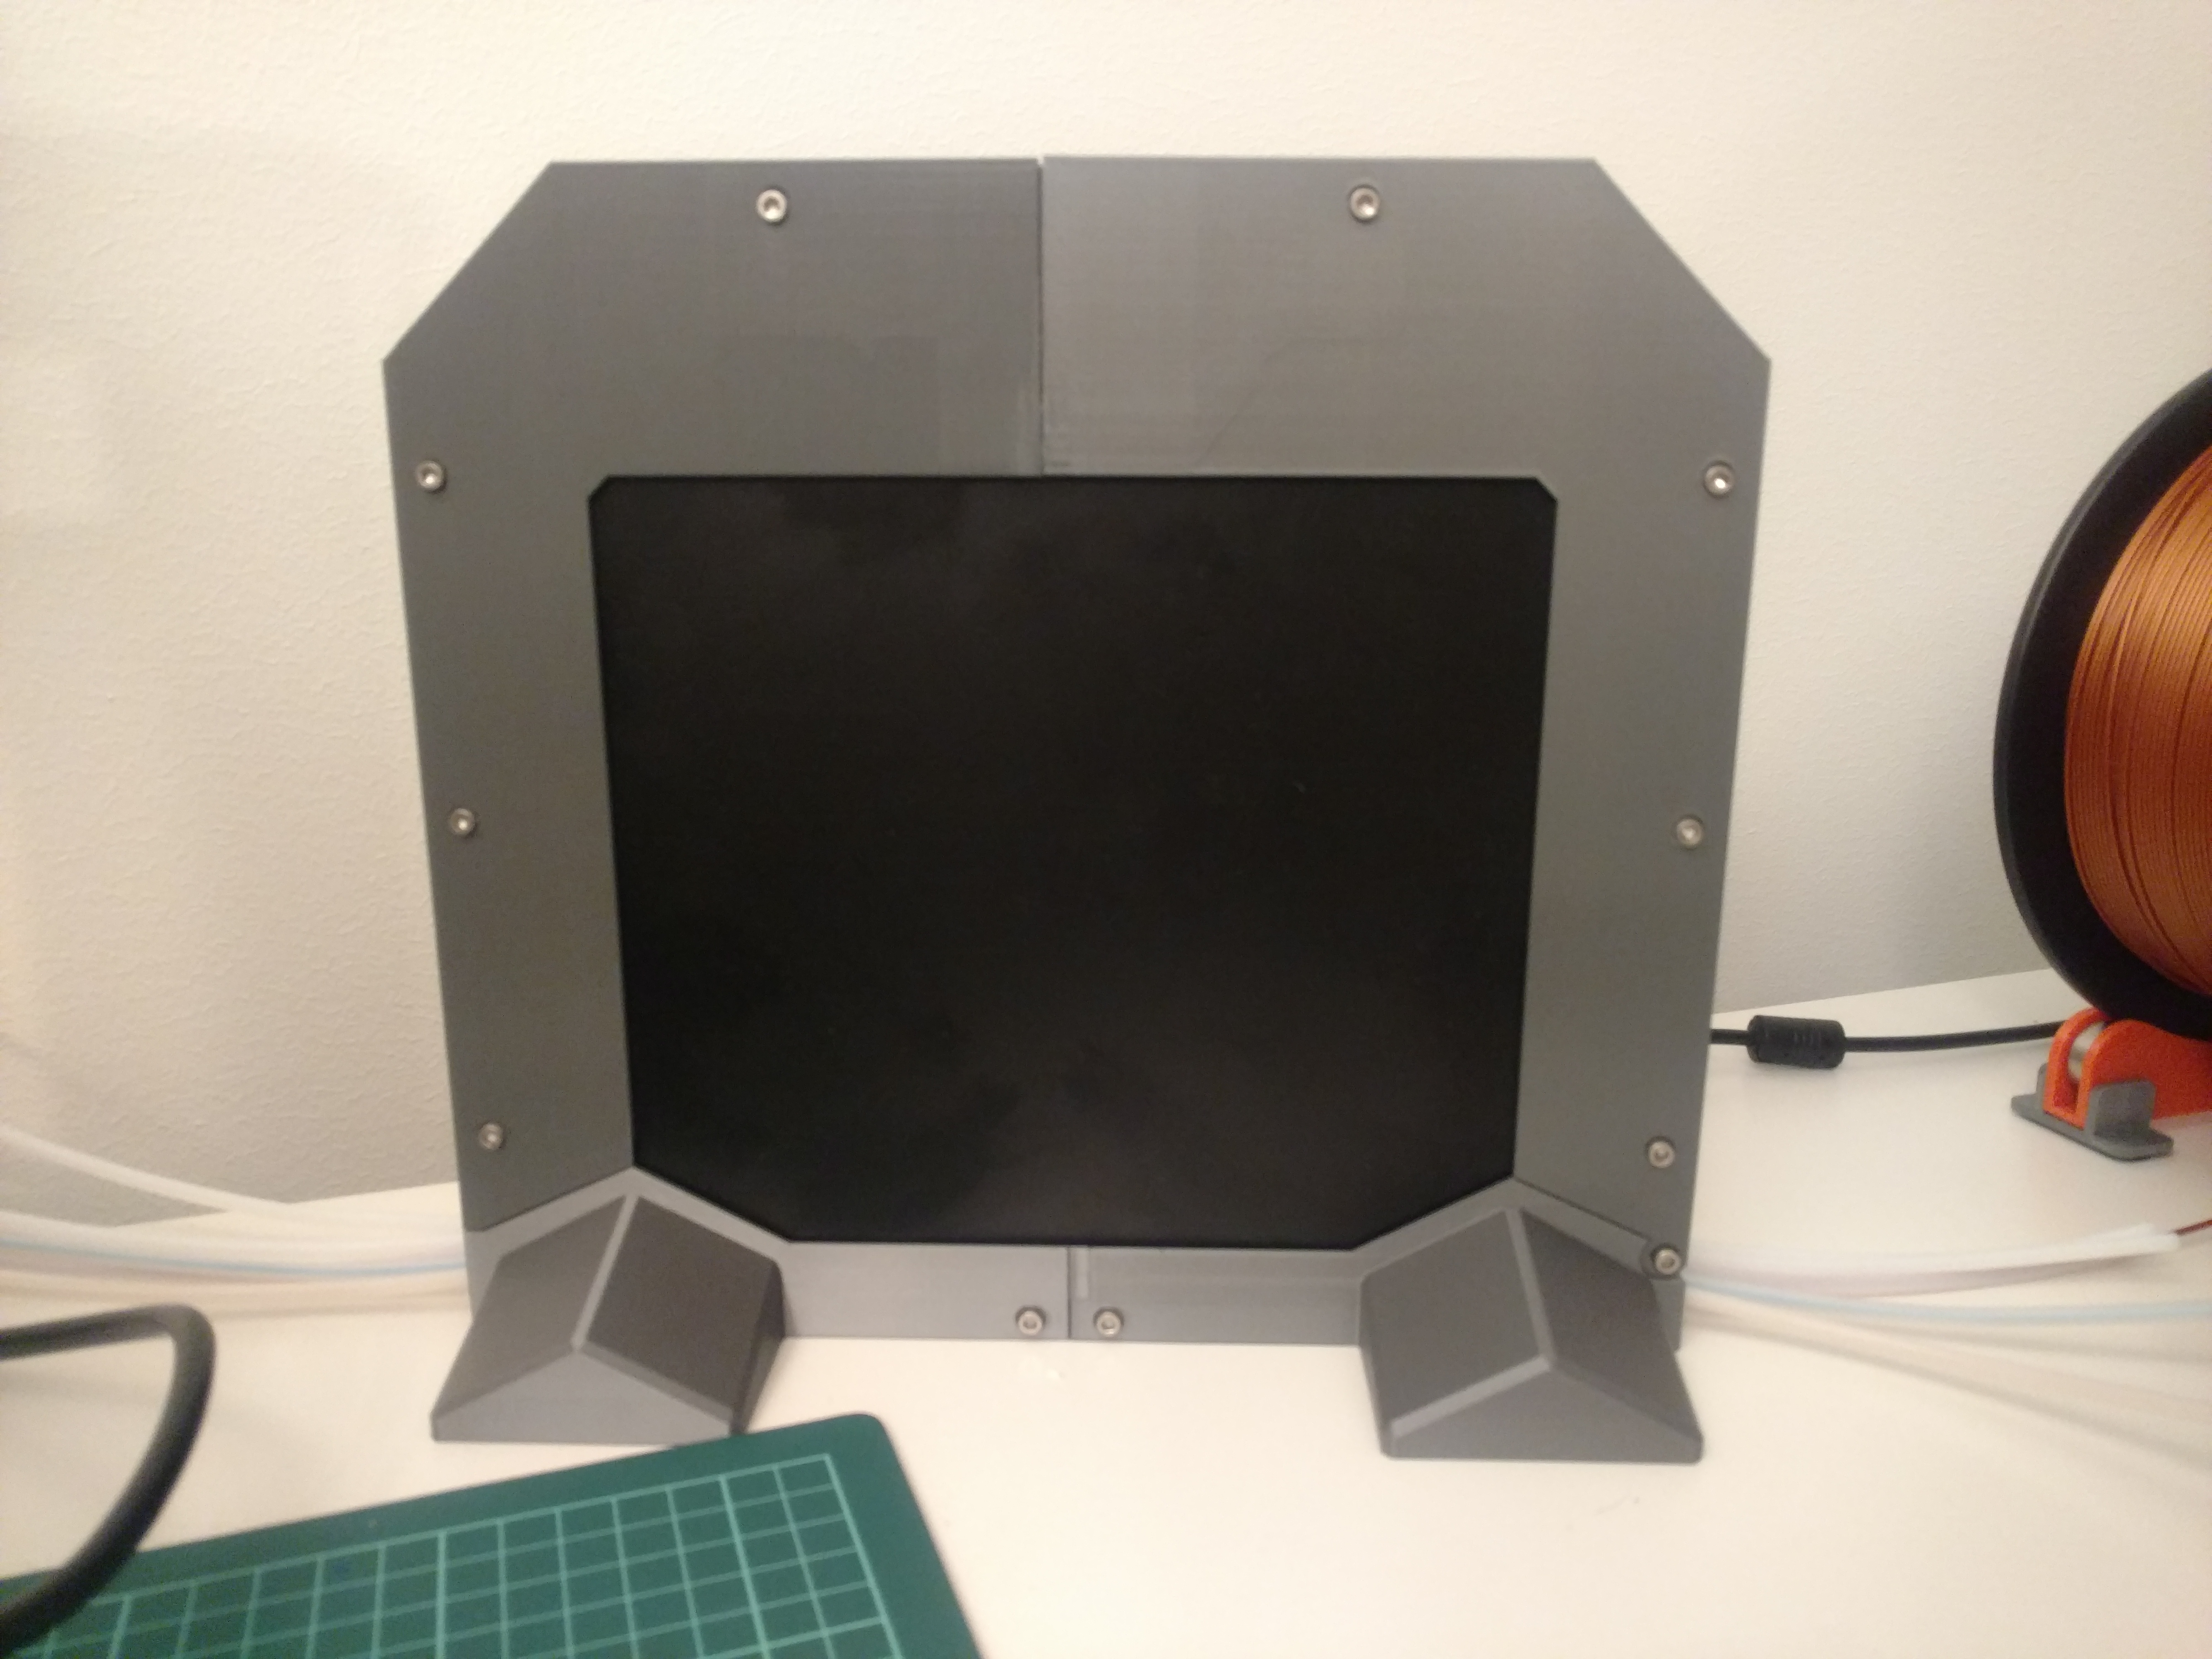
<p>This is a modification to the filament buffer kit that comes with the MMU2s.</p> <p>I think that the original design of the buffer is to much of a hassle to load, since you don't have enough room to grab and push the filament towards the MMU.<br/> It's also an open design which lets dust collect inside of the buffer and perhaps contaminate the filament.</p> <p>So:<br/> -I designed this new buffer that re-uses the acrylic plates from the original design.<br/> -It's now standing, but that allows it to work as a lid that's easy to load with filament.</p> <p>When closing the lid, make sure to have the filament in an arch. And slot the filaments in between the plates.</p> <h3>Print instructions</h3><p>Hardware required:<br/> -11x M3x40 screws<br/> -11x M3 nuts<br/> -10x M3x12 screws<br/> -Two 20x6x** rectangular magnets (I'm using 1,5mm thick ones, but thicker or double stacking magnets will also work).</p> <p>-Assemble the two bottom parts together using two M3x40 screws + nuts in the middle.</p> <p>-Connect the hinge using a M3x40 screw + nut (should be some in the "Spares" bag from the printer).</p> <p>-Glue the magnets into the matching slots.</p> <p>-Don't overtighten the screws in the lid. That will make the plates misalign and not slot into the bottom properly/easily.</p> <p>-Mount the acrylic plates to the lids, with the "T-shape" going inside the lid. (See third photo)</p>
With this file you will be able to print MMU2 filament buffer with your 3D printer. Click on the button and save the file on your computer to work, edit or customize your design. You can also find more 3D designs for printers on MMU2 filament buffer.