Moby iPhone Dock
thingiverse
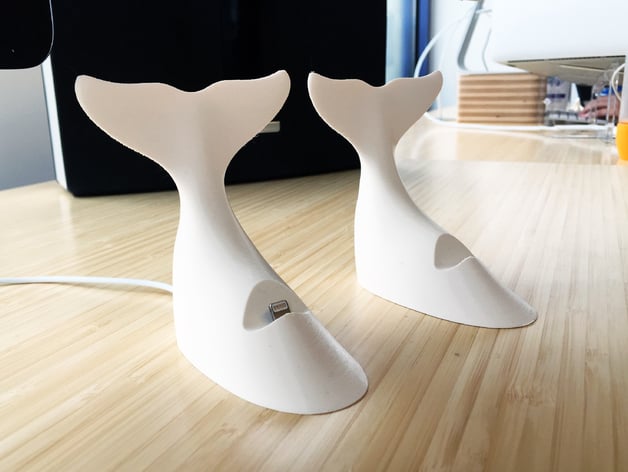
Of course after designing such a wonderful printable version of our mascot the next logical step was to turn it into something a lot more useful. While there are loads of great iPhone docks out on the market I wanted to make something just a bit more fun. Loads of our employees were using bare lightning cables, which adds a bunch to the clutter in the office. Plus, I really love the idea that when an employee gets here for their first day they arrive at their new place and are treated with a nice, functional, piece of Moby swag stuck on their desk. I've included two source files: No Case is a perfect fit for the iPhone 6 & 7 series Thick Case gives a lot more space behind the lightning connector to make room for all kinds of cases. We've tested it with some Apple provided cases, and even a few third party ones that are just like them. The Thick Case version works with iPhones going back to the 5. You'll need to attach it to something in some way. I've used mounting tape before which is amazing, but you can't easily move it around once it's stuck down. We've switched over to AirStick which keeps it down without being able to take it away, but you can move it back again if needed. Please read the instructions carefully before printing. Print Settings Rafts: Doesn't Matter Supports: Doesn't Matter Infill: 10%+ Notes: I've printed this thing with all sorts of layer sizes from .04 to .2 and it turns out amazing every time. Of course, on our printer, .1 is the best size, but yours may be different. Post-Printing Finishing: Cutting off the bottom channel You need to cut this part out after you've finished printing so your dock will look nicer and you can stick it down better. The STL I made has a solid .2mm layer on the bottom before moving up to the channel, which makes it turn out more awesome, but make sure great adhesion. You'll need to use a sharp blade to remove this part from the bottom channel. Put your dock down with its edge and tail sticking up and then run the blade down away from your hand toward the cutting board while the other edge rests on there. Don't stick your hand in it when you're trying to cut, you don't have to! It only takes a few hours for this to look totally smooth now that I got rid of those sticky parts... Finishing: Adding the cord This thing was modeled just to work with Apple's standard lightning cable. But, you need to be super careful and trim off the little stress relieving part in the end. You need a file to make a hole just big enough so that connector can go into there. The rest is super simple - superglue your cord to the top channel of it and put a whole lot on the bottom connector to hold it down! Just don't forget to stick this inside some case, and first test if your lightning connection gets far up from the ledge in the dock. If you just want the look for nothing and then be sure the connectors get enough length, go through it! Finishing: Stick it down. You could use this stand alone, but I love using AirStick and mounting it down so it's a lot easier to use every time. We've been getting a generic brand tape, but none of our docks leave behind any weird marks even if we reattach it or take it right back off.
With this file you will be able to print Moby iPhone Dock with your 3D printer. Click on the button and save the file on your computer to work, edit or customize your design. You can also find more 3D designs for printers on Moby iPhone Dock.