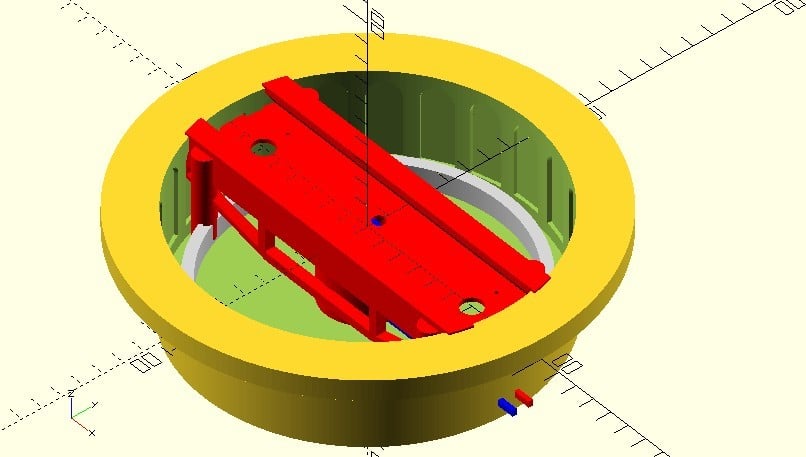
Model train swing bridge
thingiverse
Arduino Control: StepCom.ino is a PC-Controlled System July 18, 2020: StepButton.ino Added for 3-Button or Single Button with Momentary Switch Control The movement shifts to the next defined track or stops at the next track when the button is released. June 3, 2020: New HO Versions Facilitate Alignment and Connection within the Tank New N Scale Deck Introduced for Use with Other Parts Correction: Enable and Disable Polarities Inverted in Arduino Code Due to Inverted Logic Warning: Pins 24D4 and D5 Have a Problem; Correction Coming Soon. New Files Now End with -ok Suffix. This project aims to create a model train swing bridge, adaptable to various scales and linked to the roundhouse project. Different sizes can be planned depending on available space. Using a 200-Step Stepper Motor and Gears with 144 and 24 Teeth, Various Track Angles Can Be Achieved 25, 50, 75, and 100 Steps Will Yield Respectively 7.5, 15, 22.5, and 30 Degrees Between Tracks. Gears Adapted for Different Rod Diameters: 6mm, 5mm for Nema17, 4mm for Nema8 Stepper Motor Nema8 and 17 Fixtures Are Available The "Tiny" Version Comprises Three Parts; Feel Free to Fit Your Own Rails and Decoration. May 29, 2020: Experimental Arduino Control Program Published Works with Serial Monitor in PC; Tested with Mega 2560 Arduino. Can Be Tested with Just the Arduino and an USB Cable. Stepper Controller Not Yet Attached. Stepper Motor with 200 Steps, No Microsteps; Gears of 24 and 144 Teeth Track Positions Set at 0, 30, 37.5, 90, 135, 180, and 270 Degrees for Demo. Enter 0 When at Track Position 0, Then L or R to Move to Next Track. Final Version Should Work with Press Button for Track 0 and L-0-R Switch Holding Switch Could Provide Continuous Movement Until Released; Another Button Could Invert Locomotive 180 Degrees. Everyone Is Free to Modify the Project as Desired; It's an Open Project. Communication Occurs at 9600 Bps June 11, 2020: New Supports V03 Introduced to Ease Printing
With this file you will be able to print Model train swing bridge with your 3D printer. Click on the button and save the file on your computer to work, edit or customize your design. You can also find more 3D designs for printers on Model train swing bridge.