Modified Da Vinci Printer Bed-level Adjuster
thingiverse
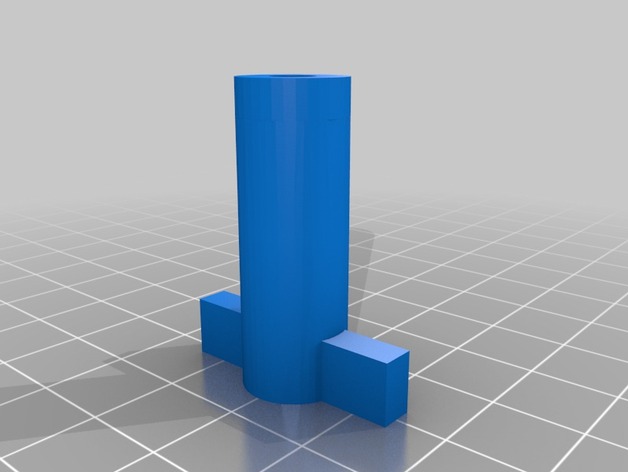
I printed the original bed-level adjuster and had issues gluing the nuts into place. They would break out of the top or the hole would close while the glue set. I decided to encapsulate the nut so it would become part of the adjuster. My remix adds more robust tabs at the bottom and a cap on top to lock in the M3 nut. You will have to keep an eye on the print and pause it at the right time to insert the nut into the well. Print three to replace all of your adjuster wheels on your print bed. Kudos to scobo for the original design: http://www.thingiverse.com/scobo/about Kudos to Chuck Hellebuyck's excellent video series on Youtube for the inspiration to make this mod: https://www.youtube.com/watch?v=ZJmkAngpRQg This thing was made with Tinkercad. Instructions You will require three M3 nuts. Print with a .2 layer height and 90% infill. No support is necessary. While printing, watch for the extruder to just reach the top of the well for the nut. Pause the print and insert the M3 nut into the well, make sure it is well seated and flush. I suggest that you position your print near the front of your print bed for easy access when it comes time to insert the nut into the top. Look at installing the nut around 85% completion or you can use the original design as a height gauge placed beside your current print, (once you have the clearance to do so) pausing the print to insert the nut when your print reaches the top of the original design piece. Restart the print to continue with the cap and you're done!
With this file you will be able to print Modified Da Vinci Printer Bed-level Adjuster with your 3D printer. Click on the button and save the file on your computer to work, edit or customize your design. You can also find more 3D designs for printers on Modified Da Vinci Printer Bed-level Adjuster.