Modified Pegboard Spool Holder With Pegboard Bracket Spacers
thingiverse
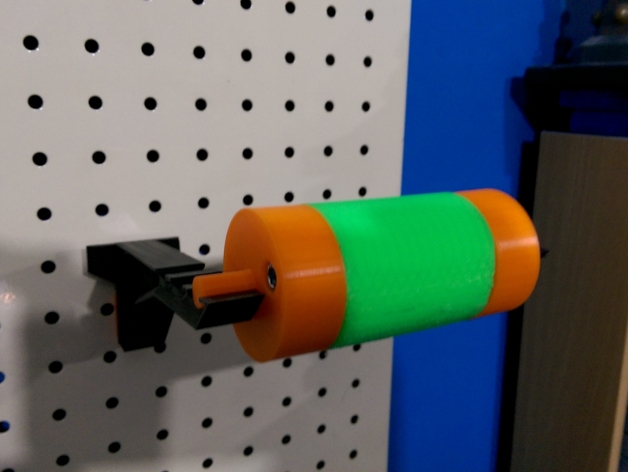
The Large Dowel I'm not one to give up easily, so after printing the original spool holder and finding out that it didn't quite work I set about fixing it. I didn't like the idea of reprinting the entire dowel so looked around in my fixings and found four M6x20mm cap headed machine screws. Using the dimensions of these screws I then designed an extension piece for each end. Simply making a small extension that made up for the 8.9mm (0.345") that the dowel lacked in length would not have had any strength so it had to be longer, meaning the pegboard bracket would have to be moved over by an inch, adding half an inch (12.7mm) to each extension piece. This would also allow me to use my large spools which originally would've been too wide for this design. I decided to extend the pegs that sat on the brackets to 18mm as they were rather small and didn't use the entire width of the bracket. Holes for the screws were added so that they would pass through and the caps would sit just below the surface when screwed in. A recess for the existing peg was added to the rear side. The extensions were printed using a large (10mm) raft margin to ensure they were stable when printing, and supports were used to ensure that the recess was formed correctly, otherwise fitting would be a nightmare. When complete, the holes for the bolts were reamed out using a 6mm drill bit and the support material removed from the recess with a screwdriver (it's actually far easier than it may look). The extension pieces were fitted to the end, the original dowel was drilled to approx. 6mm using a 5mm drill bit and tapped to M6. The original dowel was printed in PLA at 25% infill using the fast diamond pattern and took the tapping quite well. Some sanding was required on the original dowel to fit snugly, but finally the parts were bolted together. I understand that this modification requires quite a bit of additional work, tools, and hardware, but I was fortunate enough to have these resources available, and maybe it can help someone else out too. The Bracket Since my pegboard is made from stamped sheet metal, it's rather thin, so originally the pegs on the brackets were too far back, and the bracket just hung down. I measured the gap and designed a spacer, taking into account the 1mm double-sided tape I would use to fix it. The resulting blocks are perfect, and the brackets now sit square and support the spool properly. Print Settings Printer: CTC Dual Rafts: Yes Resolution: 0.2 Infill: 25% Fast Diamond Notes: Rafts set to 10mm margin for extra stability. Support density set to 0.3mm. Both of these settings are worth the little extra time and material to ensure that the print comes out correctly. Post-Printing Quick Steps Post-printing Remove support material from recess. Ream holes using a drill bit (I mounted mine in a vice, don't drill while holding the part). Fit over existing dowel, sand as necessary for a close fit. Mark holes in existing down using 6mm bit to centralize, switch to 5mm and drill to 6mm depth. Tap to M6. Refit extension and screw on. Repeat on other side. Reward self with a cold one.
With this file you will be able to print Modified Pegboard Spool Holder With Pegboard Bracket Spacers with your 3D printer. Click on the button and save the file on your computer to work, edit or customize your design. You can also find more 3D designs for printers on Modified Pegboard Spool Holder With Pegboard Bracket Spacers.