Modular & Height Adjustable VESA Stand
thingiverse
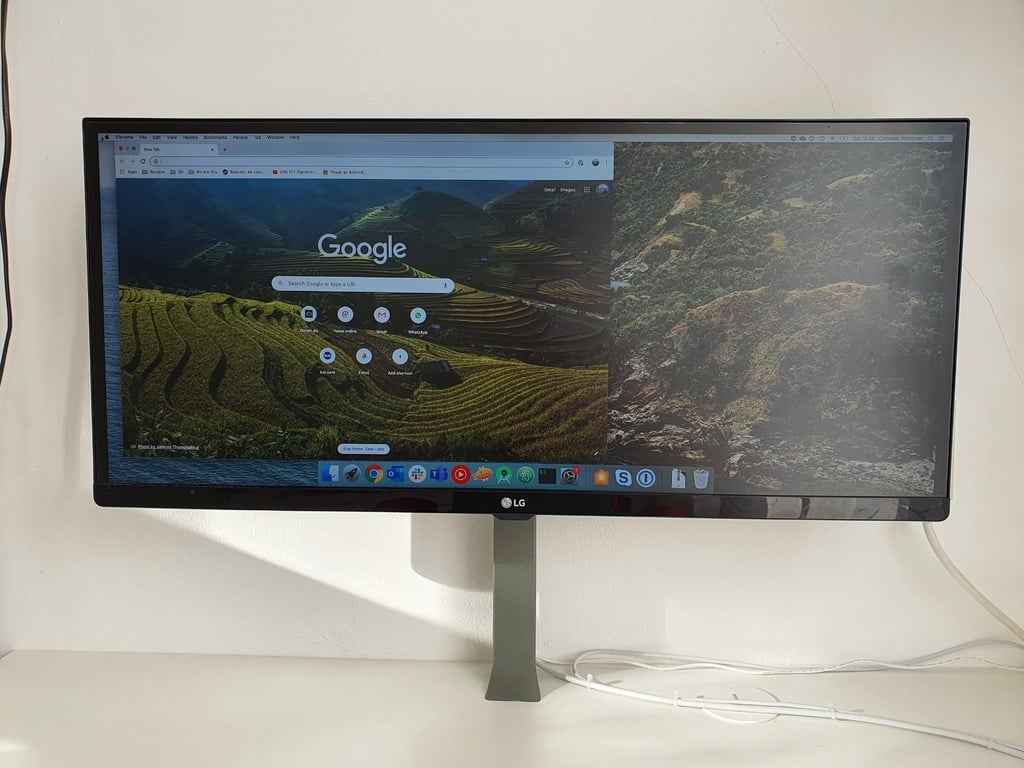
It appears that you are sharing a tutorial on how to build a DIY display stand using various parts, including rods, nuts, washers, and VESA mounts. The text is written in a step-by-step format, with accompanying images linked from Google Drive. Here's a brief summary of the steps: 1. Thread a rod into a nut, leaving some space at the end. 2. Add a washer on top of the nut, followed by C1. 3. Stack B1 and B2 on top of C1. 4. Place A2 on top of the stack. 5. Mark the end of A2 and cut the rod to size using a saw. 6. Reassemble the parts on the rod. 7. Tighten the nuts at both ends of the rod loosely, then tighten them as much as possible. 8. Guide the two rods through holes in a desk or table. 9. Place A1 on top of A2. 10. Add C2 to the rods from below the desk and tighten the nuts. The text also mentions that there are two versions of the design: v2 and v1, with changes made in version 2, including replacing the M5 rod with a stronger M8 rod, adjusting the outer shape for the new rod, adding a nut trap for C1, and fixing holes in C1 and C2 to prevent clearance issues. Please let me know if you would like me to reformat or summarize this text further!
With this file you will be able to print Modular & Height Adjustable VESA Stand with your 3D printer. Click on the button and save the file on your computer to work, edit or customize your design. You can also find more 3D designs for printers on Modular & Height Adjustable VESA Stand.