Modular Raspberry Pi Server Case
thingiverse
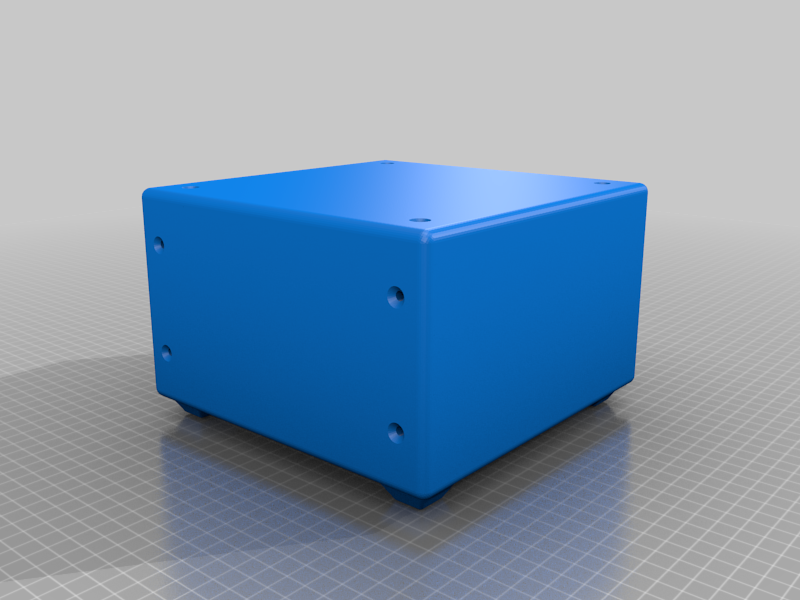
A modular case to house a Raspberry Pi based application server, that can be adjusted to fit a variety of components. Server Components: - Raspberry Pi - External HDD x2 - Powered USB Hub - Cables to connect everything Fixtures are created to fit the following items: - Raspberry Pi 3B - [Powered USB Hub](https://www.amazon.com/Anker-7-Port-Adapter-Charging-iPhone/dp/B014ZQ07NE/) - [External HDD x2](https://www.amazon.com/dp/B07CRG7BBH/) If you are using your own components, you may have to redesign the fixtures to ensure they fit properly. Other Useful Items: - [Hex Socket Head Cap Bolt Set](https://www.amazon.com/gp/product/B07DFWRL7C) - [Hex Socket Flat Head Countersunk Bolt Set](https://www.amazon.com/gp/product/B07226FRL2/) - Right angle USB cables for connecting components Printing: Print one each of: - Case Bottom - Slotted v1.stl - Case Top v2.stl - Case Front v9.stl - Case Back v5.stl - Mounting Plate v6.stl - HDD Mounting Plate.stl - Pi 3B Case - Top v2.stl - Pi 3B Case - Bottom v6.stl - Pi Case Fixture v4.stl - Pi Case Secondary Fixture v2.stl Print two each of: - Case Side v9.stl - USB Hub Fixture v3.stl - HDD Fixture v3.stl Print four each of: - Case Feet v1.stl General Assembly Steps: - Note: If these steps only apply if using the same components described above. If using your own components, your assembly will vary. - Note: Read through the steps before starting assembly. You may find it easier to do the steps differently or in a different order. 1. Slide a USB Hub Fixture onto each end of the USB Hub, and bolt the assembly to the Mounting Plate using 4 countersunk bolts. The end of the USB hub that does not have ports should be close to the end slots cut out of the Mounting Plate. 2. Install Pi into Pi case and cap screws to attach the Pi case to the Pi fixtures. The secondary fixture should be on the side of the micro USB port, to allow a cable to be plugged in. 3. Using 4 countersunk bolts, attach the Pi assembly to the mounting plate so that the micro USB port is away from the USB Hub. The Pi fixtures should fit in between the USB Hub Fixtures. 4. Lay the Mounting Plate in the Case Bottom. 5. For each of the 4 case feet, thread a cap bolt through the bottom of each foot and then through the Case Bottom and Mounting Plate. Do not secure with a nut yet. 6. Plug the power cable into the USB Hub. 7. Connect the USB-B port on the end of the USB Hub to one of the Pi's USB ports. 8. Connect one of the USB ports on the USB Hub to the micro USB power port on the Pi. 9. Attach the case front and case back to the case bottom using the four screws used in step 5. When attaching the case back, make sure to slot the USB Hub power cable into the arch shaped cutout. Now a nut can be used to secure each bolt. 10. Slide the two external HDDs into the HDD Fixtures, and attach the assembly to the HDD Mounting Plate. 11. Connect each HDD to a USB port on the USB Hub. 12. Thread a countersunk bolt through each of the four holes in the Case Top, and then through each of the holes on the HDD Mounting Plate. When assembled, the HDD's should be "hanging from the ceiling". 13. Attach the top assembly to the Case Front and Case Back. You most likely will have to move cables around to make everything fit well. 14. Attach the Case Sides. This can be done by inserting a nut into each of the slots on the side of the Case Front and Case Back, so that the sides of the nut are parallel to the sides of the slots. Then, line up the holes on the Case Sides with the mount holes on the Case Front and Case Back (make sure the nut is also lined up), and secure using 4 countersunk bolts per side. When screwing in bolts, if you encounter difficult resistance, stop, back out the bolt, make sure the nut is aligned correctly, and try again. If this is not done, the nut can strip out the slot, making the slot useless.
With this file you will be able to print Modular Raspberry Pi Server Case with your 3D printer. Click on the button and save the file on your computer to work, edit or customize your design. You can also find more 3D designs for printers on Modular Raspberry Pi Server Case.