Mold for RJ45 plug
thingiverse
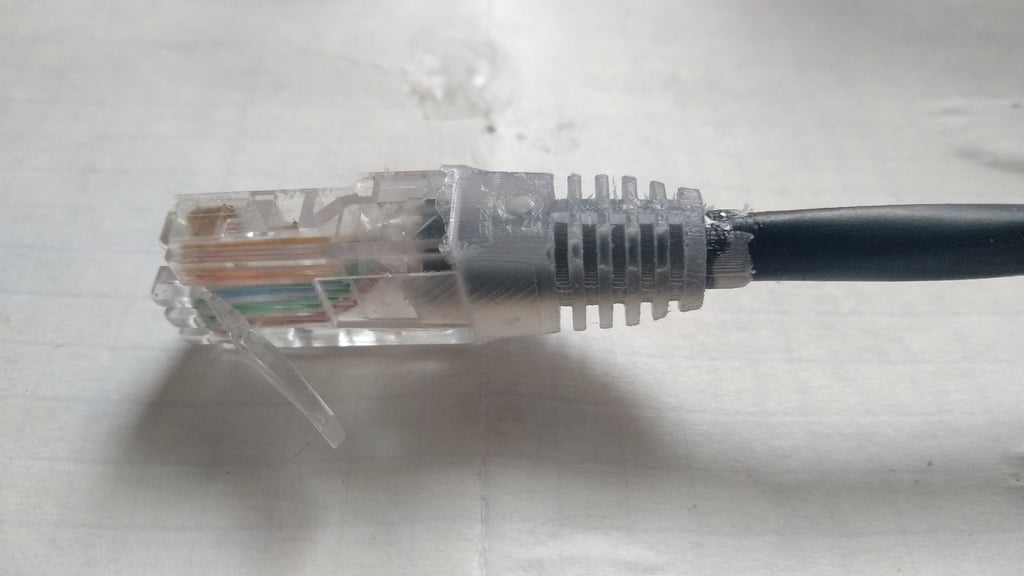
I use a glue gun to create insulation on the plug. It is important that the hot-melt gun is well warmed up so that you can squeeze out enough glue. In low-power models of the gun, continuous extrusion is not possible. And you must remember that the lifetime of the melt is about a minute. The mold is printed from PET-G with 0.4 nozzle and 0.1mm layer. In order for the adhesive to be easily separated, the surface must be lubricated. Well suited concentrated soap water from a solid soap. It completely dries up and forms a solid soapy layer on the surface. Sequencing: 1. Lubricate the mold 2. Preheat the gun for 6 minutes 3. Squeeze the glue from the side of the cable into each half of the mold 4. Connect the halves 5. Squeeze glue into the hole until it fill the inner part of the plug and starts to go outside. 6. Allow to cool for 5 minutes 7. Disconnect halves and remove excess glue with a knife
With this file you will be able to print Mold for RJ45 plug with your 3D printer. Click on the button and save the file on your computer to work, edit or customize your design. You can also find more 3D designs for printers on Mold for RJ45 plug.