Molex powered NodeMCU Neopixel Controller
thingiverse
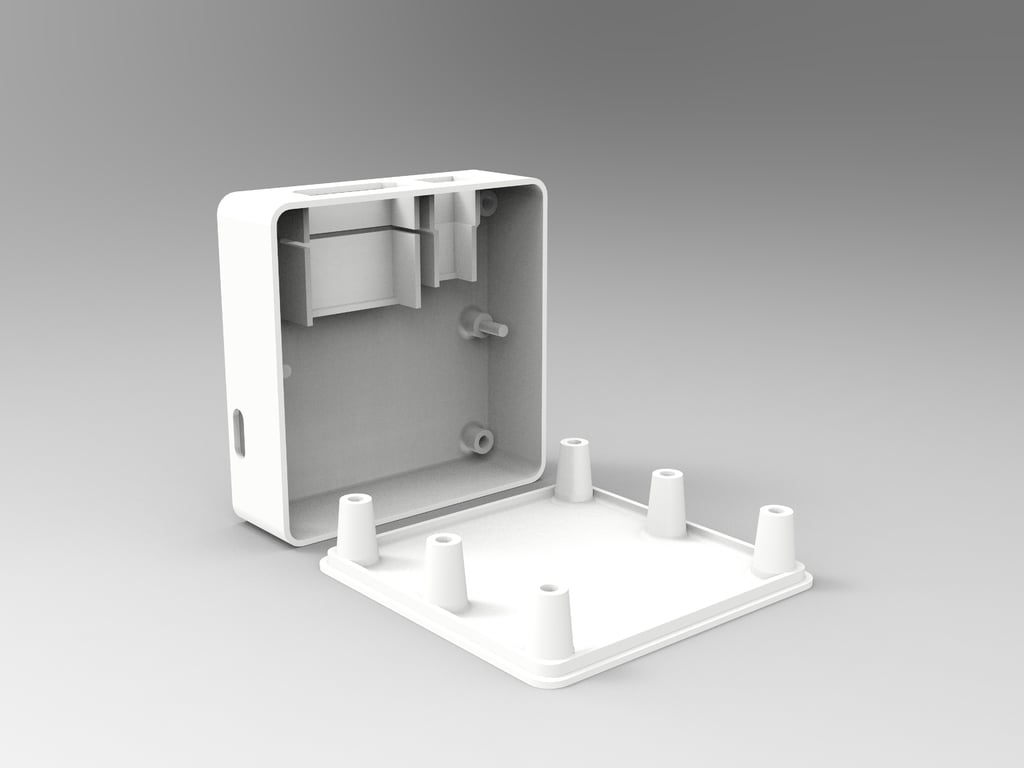
## Description This is a simple two part case that fits a NodeMCU v3 dev board, a 4pin Molex connector and a 3pin JST-SM connector. NodeMCU is flashed with WLED ## Bill of materials: 1 NodeMCU V3 development board 1 Molex male connector (I used one from a Cooler Master fan adapter) 1 JST-SM 3pin connector (you will have to trim the clip and the back protruding part of the connector with a utility knife) hot glue (if the fitment of the connectors is loose) wires and 3 dupont female pins (when assembling the case you will have to bend the dupont connectors for clearance with the lid of the case; I did this to keep the overall case height under 20mm) various diameters of heat shrink tubing 4 M3x16 allen head screws for the case (19mm overall length, 5.5mm diameter & 3mm tall head) ## Wiring and assembly 5v line from the molex is connected to the JST connector (wiring of JST according to your neopixel strip 5v pin) and to the VIN pin on the NodeMCU. ground line from molex connected to the JST connector (wiring of JST according to your neopixel strip ground pin) and to the Ground pin on NodeMCU. JST connector to pin D4 on NodeMCU (wiring of JST connector according to your neopixel strip data pin). Grab and flash the latest release (WLED_0.x.x_ESP8266.bin for NodeMCU) of WLED from [here](https://github.com/Aircoookie/WLED/releases) Plug everything in and configure the controller by following the [WLED wiki on Github](https://github.com/Aircoookie/WLED/wiki/Install-WLED-binary)
With this file you will be able to print Molex powered NodeMCU Neopixel Controller with your 3D printer. Click on the button and save the file on your computer to work, edit or customize your design. You can also find more 3D designs for printers on Molex powered NodeMCU Neopixel Controller.