Monitor Stand Speaker Mount
thingiverse
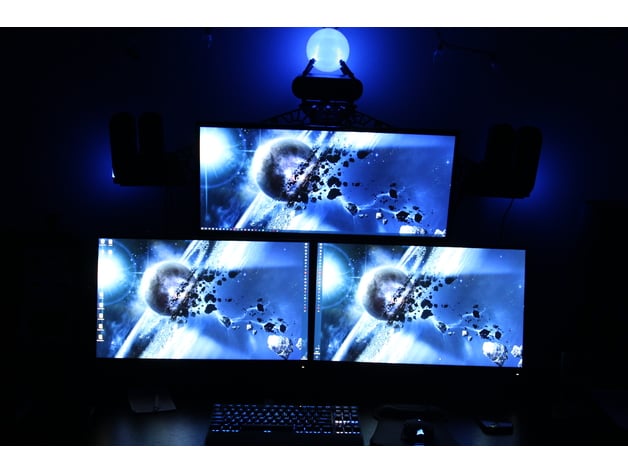
A 5.1 speaker mount system that attaches to a desktop monitor stand's center column. The side speakers mount to the frame using the slide-over-screw slot on the back of the speaker base. The center speaker simply sits on the center platform. I designed it for my Vivo brand desktop monitor stand, which has a center column diameter of ~36mm. I've included my schematic and the stl files for the glowing embellishments; these are purely for decoration and can be omitted if desired. Let me know if you have any questions! Post-Printing Print Quantity and Assembly Notes ColumnAttachment: 1 - this prints with 2 ArmPiece's, 1 on each side. ArmPiece: 6 - I needed 3 for each side, this value will vary with how far out you need the speakers to sit. ConnectingBracket: 8 - one of these is needed for each ArmPiece and another for the speaker mounting plates on either end of the arms. These brackets are a tight fit, I had to shave a few down a bit. I then used a mallet to nudge them all in to place. They fit in between each of the ArmPiece's and also between the last ArmPiece and a female cutout on the back of the SpeakerPlate's. CenterPlatform: 1 - this has a cutout in the bottom and should fit snugly over the center column. Use CenterPlatform_noControlPlate if you don't want the lighting control panel piece. SpeakerPlate: 2 - one right and one left. Decorations The decorations on the sides of the speaker plates: Pipe: 1 PipeConnector_90: 2 The center glowing sphere component consists of: Sphere: 1 Pipe: 8 PipeConnector_45: 4 The Sphere and Pipe pieces should be printed with a clear filament. I printed the sphere with a single wall count. I used a clear resin, with a small drop of white dye, to coat the sphere and pipes. I'm not sure if the resin made much of a difference on the pipes, but it did add some strength to the sphere. The resin could probably be omitted entirely with thicker walls printed on the sphere, I'm not sure the single wall makes much of a difference anyway. The sphere pipes will need to be cut slightly in order to avoid having to bow the pipes outward. The goal is for the pipes to fit in to the receptacles on the sphere such that they will sit flat on a level surface. This should allow them to sit in the CenterPlatform without too much work. Lighting I used RGB led's, despite only showing blue in the pictures. I have a potentiometer controlling each color which allows for any combination of colors an RGB led can achieve. The schematic for circuit I built to control the led color is included with the files. The PipeConnector_90 piece has a holster for a 5mm led inside of it. Each of the decorative glowing side pieces has an led in the top and bottom PipeConnector_90. The sphere has four 5mm led's 1 is fed up through each of the four pipes. They should each sit just barely inside of the sphere, so that the bottom rim of the led sits just inside the sphere itself. I achieved this by estimating how high each led should sit from the top of the pipe and then glued it to the side of the pipe. Then the sphere slid over the led's in order to fit the sphere to the pipes
With this file you will be able to print Monitor Stand Speaker Mount with your 3D printer. Click on the button and save the file on your computer to work, edit or customize your design. You can also find more 3D designs for printers on Monitor Stand Speaker Mount.