MONOCHRON arcade cabinet case
thingiverse
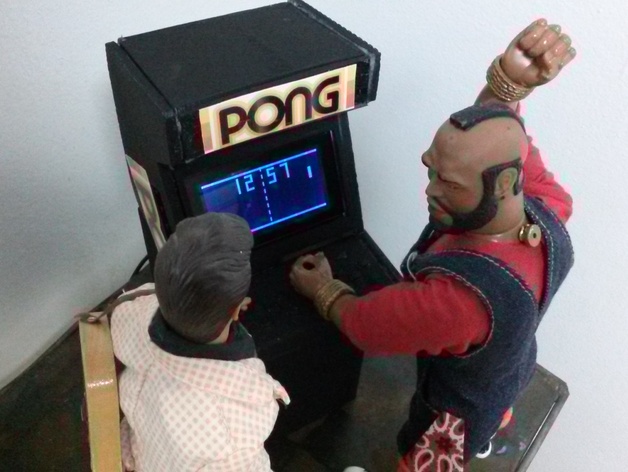
I built the awesome Monochron clock from Adafruit,https://learn.adafruit.com/monochron/overview And while the laser cut case is great, I thought such a cool clock needed an equally cool case, plus Mr. T really wanted some PONG time and kept calling me a fool. This is a remix of falken76's awesome Mortal Kombat 2 cabinet. I pretty much chopped it into parts and sized it for the Monochron. It looks pretty cool, though I have no idea what all those buttons are for -- the console looked so great I just left them all there. For the record: Yes, I know the graphics are from the Atari PONG home console and not the original arcade cabinet. The historically accurate black on yellow spartan graphics looked a little too spartan, so I took a few liberties. Once again I thought I had great pictures (they looked so good on my phone!) but when they are uploaded they are lousy. If you need high res images let me know and I'll take some more, but I figure what is up here now will give you the general idea about how to put this together. Also for the record, he may be the King of Rock and Roll, but Elvis totally cheats at PONG. Mr T was not amused. Print Settings Printer: Total custom rig Rafts: No Supports: No Resolution: 0.2 mm Infill: 10% Notes: The hardest part of this piece is trying to keep the corners of the larger parts from bending up during the print. This one is printed in ABS, I will likely try again with PLA to see how that comes out. Post-Printing Build the Monochron per the Adafruit instructions, but move the spacers around on the corner screws (aluminum in between the circuit board and the screen board, nylon on the back side). This should leave just enough space between the heads of the mounting screws on the screen side and the board to slip the unit in on the tabs of the left_panel and right_panel parts. I put a little dab of hot glue on each screw to keep everything in place. See the pictures for an example of how to set the screws and how they mount in the cabinet. The slots on the side panels are big enough for access to the three buttons and the power connection on the left side, and for the led, potentiometer and slider switch on the right. For a little cleaner look, attach the power in the cabinet using the adafruit power cable mod: https://learn.adafruit.com/monochron/power-cable I started to print parts for the base as well and then realized that it was just as easy to spray paint some cardboard. If anyone really wants them, I can post the meshes for the base, but they are so big they warped like crazy on me. Originally I envisioned this as a single mesh, and I can upload that too, however I stopped messing with it before I made an accomodation for the buttons/led/other stuff. How I Designed This I used Blender to make the changes to the parts. The original meshes are not manifold (especially the console) so I did some re-working of the faces. The assembled Monochron is almost exactly 94 mm across, so it is best to check that all your parts are sized proportionally to this measurement. I think I scaled all the meshes, but it is good to double check. Custom Section I hope Thingiverse' photo handler is smart enough to rotate the pictures accordingly. If not, I can assure you that gravity does not pull to the North facing walls of my house, and that the images are presented sideways. Apologies.
With this file you will be able to print MONOCHRON arcade cabinet case with your 3D printer. Click on the button and save the file on your computer to work, edit or customize your design. You can also find more 3D designs for printers on MONOCHRON arcade cabinet case.