Mood Box
prusaprinters
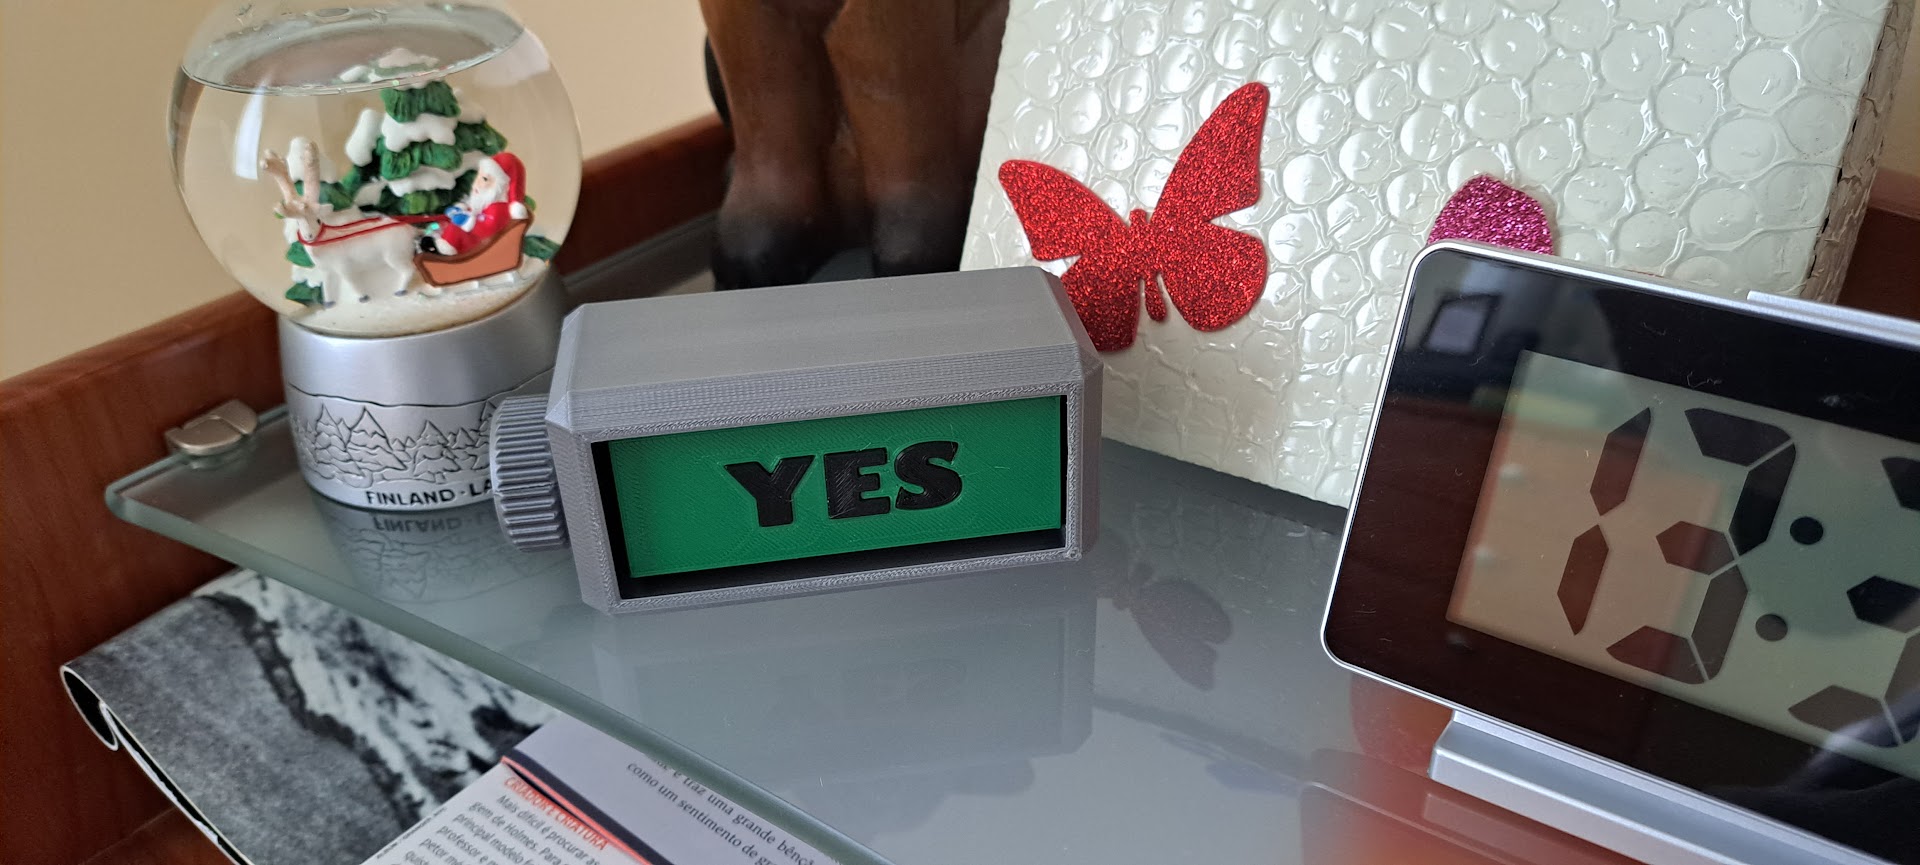
<p>This is a fun project I've made for my wife, not for the obvious reasons, but can be used for many situations ;)</p><p> </p><p>Since the pandemic and with the need to work from home a totally new house routine started. Not only we need to live together, but also we are working together. This can create frictions, and a do not disturb sign soon was improvised in a folded paper sheet. </p><p> </p><p>Luckily (I hope) I have some cad skills and improvised a do not disturb sign <a href="https://www.printables.com/model/274641-disturb-or-not-sign">https://www.printables.com/model/274641-disturb-or-not-sign</a> . The sign was crude, but better than a paper sign. But I wasn't satisfied, so I decided to make a upgrade, based on user feedback.</p><p> </p><p>So I created a 3 option mood box.</p><p> </p><p>Before starting, a <strong>warning</strong>, this is a Easy to Print model, but its a <strong>pain</strong> to assemble. So be warned! You will end your day with glue in your fingers and might be slightly frustrated with the time required to glue the parts. Sorry in advance. But the final product is worth it imho.</p><p> </p><p>Having said this, if you still want to go ahead it this mini project, let me guide you for the whole process.</p><p> </p><p>Printing:</p><p> </p><p>Material: PLA</p><p>Infill: 15%</p><p>Supports: No, except Maybe-No.stl (3mf available with the supports setup)</p><p>Change filament during print: Yes, 3mf available with the layers configured (Maybe-No and YES)</p><p>Brim: No, expect for Shaft.stl</p><p>Raft: No</p><p> </p><p>All models are print ready oriented.</p><p> </p><p>Use the 3mf as reference for color changes and supports.</p><p> </p><p> </p><p>Assemble:</p><p> </p><p>First thing you need to be aware is the position of the knob. You can decide to use the knob on the left or on the right side. Place the signs in the correct orientation, they can fit both orientations. As you can see the photos of my make I made mine with the knob in the left. It was not planed but it worked perfectly.</p><p> </p><p>Start by inserting the Shaft inside the box.</p><p> </p><p><img src="https://media.printables.com/media/prints/309119/rich_content/038e67ad-6f01-4c5e-ba00-267dec737f0b/image.png#%7B%22uuid%22%3A%2228105dce-736d-43b7-81d7-cd34690673b2%22%2C%22w%22%3A1105%2C%22h%22%3A517%7D"></p><p> </p><p>Use some glue in the knob and connect it with the shaft.</p><p> </p><p><img src="https://media.printables.com/media/prints/309119/rich_content/778d00b3-f102-479d-9496-66f337b0e49c/image.png#%7B%22uuid%22%3A%22ac351670-3eb6-4042-9e65-8ce8feb2be8a%22%2C%22w%22%3A890%2C%22h%22%3A537%7D"></p><p> </p><p> </p><p>Now the tricky part. I recommend you try your technique without any glue so you can feel the best way to do it. I recommend you start with the Maybe-No model first.</p><p> </p><p>Move the shaft 60 deg so the two grooves are front visible:</p><p> </p><p><img src="https://media.printables.com/media/prints/309119/rich_content/d8d67d4e-1b7a-4f3f-be06-037815230845/image.png#%7B%22uuid%22%3A%225ce598cb-00d4-4a89-b4f3-093550c72b25%22%2C%22w%22%3A869%2C%22h%22%3A157%7D"></p><p> </p><p>Insert the Maybe-No print and align face connecting the No and Maybe side horizontally to the open face of the box.</p><p> </p><p><img src="https://media.printables.com/media/prints/309119/rich_content/cbdd26f1-3f82-44cb-9f03-24b30bf9b17c/image.png#%7B%22uuid%22%3A%22ddd1615a-89ab-433a-b381-312870bd5f1c%22%2C%22w%22%3A877%2C%22h%22%3A440%7D"></p><p> </p><p>Try to feel the connection between the grooves in the shaft with the print. Move it sideways to make sure you are in the correct spot:</p><p> </p><p><img src="https://media.printables.com/media/prints/309119/rich_content/8aa21d61-1e5b-4725-964c-8bbbcaa1ec45/image.png#%7B%22uuid%22%3A%2281dfcabc-2677-4586-92c4-4de73a433ea7%22%2C%22w%22%3A820%2C%22h%22%3A393%7D"></p><p> </p><p> </p><p>Now that you have the mastered the technique, you can put glue in the two shafts and repeat the steps above.</p><p> </p><p>Now the Yes print.</p><p> </p><p>Rotate de shaft until the remaining shaft groove is vertically aligned with the box window.</p><p> </p><p>Again practice before applying the glue. This was is as tricky as the step before.</p><p> </p><p><img src="https://media.printables.com/media/prints/309119/rich_content/e2bc6080-e0a5-4b11-963e-6196152ae24c/image.png#%7B%22uuid%22%3A%2233d40e47-c558-4277-868f-bc40c52c22f6%22%2C%22w%22%3A878%2C%22h%22%3A401%7D"></p><p> </p><p>After you trust in your technique place glue in the shaft groove and align the Yes sign. Don't forget to gently move it sideways to make the the groove is connect correctly to the sign.</p><p> </p><p>After it is glued you also need to apply glue to connecting side of the two prints, making it a unique object.</p><p> </p><p>Now the only thing you needed is to put the letters, they should fit nicely and use glue to fix it in place.</p><p> </p><p><img src="https://media.printables.com/media/prints/309119/rich_content/f8499b95-3d5a-44f7-b101-d7d9e4c977dd/image.png#%7B%22uuid%22%3A%222021aea6-14c0-4869-95d4-f8602b10760b%22%2C%22w%22%3A885%2C%22h%22%3A543%7D"></p><p> </p><p>I hope you have enjoy this and now the best part, you can use it or gift it away! </p><p> </p><p> </p><p> </p><p> </p><p><img src="https://media.printables.com/media/prints/309119/rich_content/a3edcefe-d214-406d-80ad-ab3be8ef8780/image.jpeg#%7B%22uuid%22%3A%22e5fcceb7-0f06-4b4e-8a99-975f8b524bb6%22%2C%22w%22%3A1782%2C%22h%22%3A1238%7D"></p><p> </p><p><img src="https://media.printables.com/media/prints/309119/rich_content/76eba59d-65a8-4a6c-aa0f-70affadfb091/image.jpeg#%7B%22uuid%22%3A%227f4efd31-a5d7-4d3c-9172-349f2b4f700d%22%2C%22w%22%3A1920%2C%22h%22%3A865%7D"></p><p> </p><p><img src="https://media.printables.com/media/prints/309119/rich_content/3554534f-3d93-4dc8-b943-17425e746b83/image.jpeg#%7B%22uuid%22%3A%22cd5f9db3-d2bd-45c7-a36c-e719fe544368%22%2C%22w%22%3A1920%2C%22h%22%3A865%7D"></p><p> </p><p><img src="https://media.printables.com/media/prints/309119/rich_content/1d4f0a0e-c82b-4eba-8c57-d8acd35e0627/image.jpeg#%7B%22uuid%22%3A%221380be4e-67d6-4cac-8d40-6709a49d4e7b%22%2C%22w%22%3A1920%2C%22h%22%3A865%7D"></p>
With this file you will be able to print Mood Box with your 3D printer. Click on the button and save the file on your computer to work, edit or customize your design. You can also find more 3D designs for printers on Mood Box.