Motor Mount (s) for the HobbyKing Skipper / Joysway Dragonfly
thingiverse
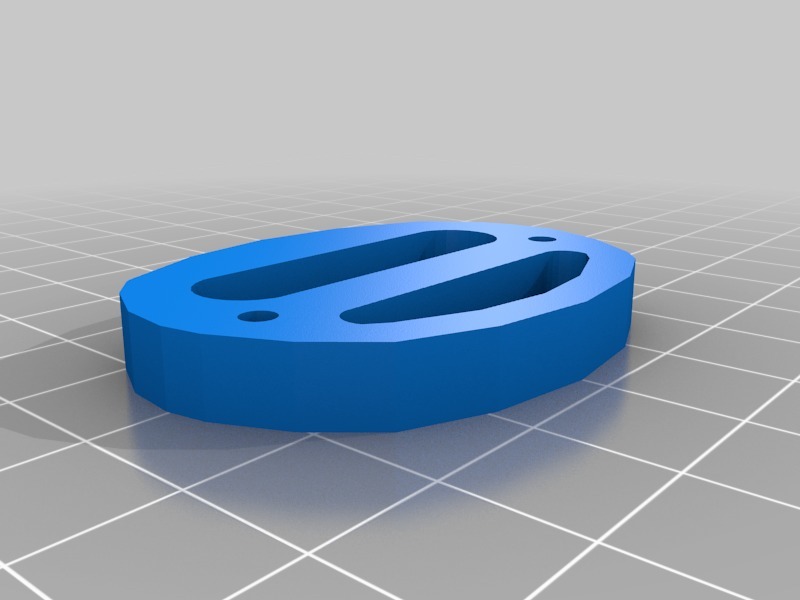
Three different motor mounts (in 4 files) for the HobbyKing Skipper / Joysway Dragonfly: - "original_with_holes.stl" is the closest I could get to the original mount, with the original mounting hole pattern. - "original_no_holes.stl" same as above but without holes, just drill your own pattern! - "2_part_mount_A.stl" and "2_part_mount_B.stl" is a 2 part mount (duh) to allow you to change motors as needed and not use the bell-type kit motor. The new motor is (1) mounted on part B and then either (2) screwed to the original motor mount or (3) to part A. both Part A & B have M3 size holes (which need some gentle tapping) and on Part A you can add some M3 nuts for security. A quick tip on how to insert the M3 nut on Part A: the nut is unlikely to slot in perfectly; to sort that out put the nut at the end of a long screw, warm it up on a flame and slowly push in; that should give it a snug fit! *to get a snug fit between Part B and the original motor mount print it at 102% I have not yet fully tested the design so user beware! I suspect 25% infill should be sufficient.Feedback is welcome!
With this file you will be able to print Motor Mount (s) for the HobbyKing Skipper / Joysway Dragonfly with your 3D printer. Click on the button and save the file on your computer to work, edit or customize your design. You can also find more 3D designs for printers on Motor Mount (s) for the HobbyKing Skipper / Joysway Dragonfly.