Mount Brick: LEGO® Compatible Pin Wall Mounts
thingiverse
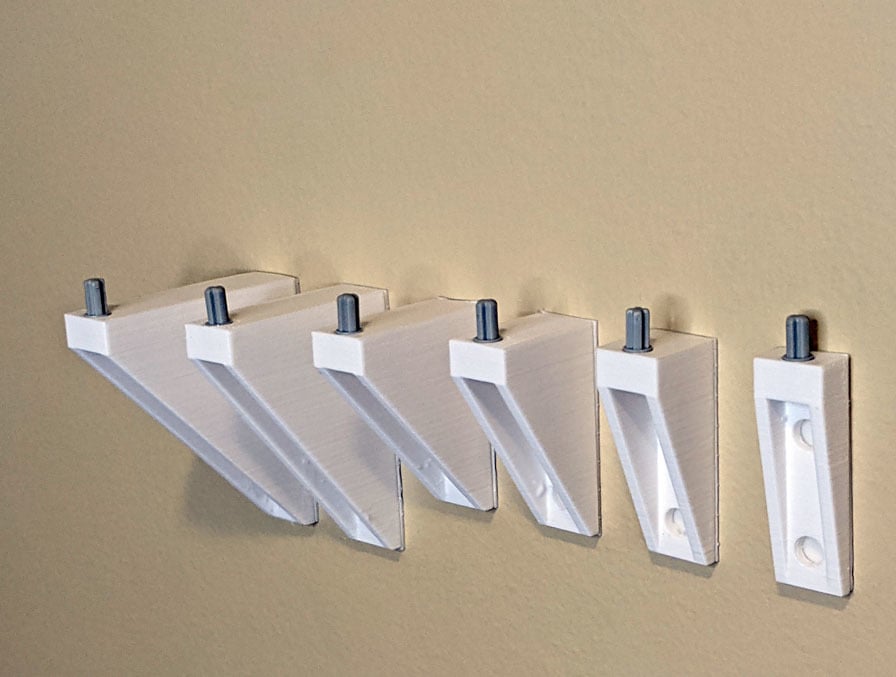
Mount Brick is a system designed to bring your LEGO® collection into view as wall art around your home. Description: This collection contains designs compatible with LEGO Technic® pins. Designs can be connected with an axle pin for easy removal and play or a variety of other pins for a more permanent display. I have grouped the Mount Brick design by function. Please see my designs page for other LEGO® compatible wall mount options. Installation: There are two design options for installation, Command™ Strips or Wall Dog™ drywall screws. First select the surface you will be using. The Command™ Strip version is designed to use a medium refill strip and work like a Command™ hook. They are useful on any surface without the need to drill a hole. A single Command™ Strip is rated to support up to 3 lbs or 1000 pieces when installed correctly. I suggest using 1 per 500 pieces for stability and redundancy. The other version is designed with work with Hillman™ Wall Dog™ drywall screws. This is a much more permanent display option as, in theory, each mount can support 20 lbs or the weight of 6000 pieces (note: this has not been tested). Ideal in drywall, it can also be used with wood and masonry by following the instructions on screw's package. To install using screws you will need: 2 drywall screws, level, pencil, drill, a small drill bit, and a phillips head screwdriver. See image 7 for a visual on the installation process. All measurements were designed using the length of LEGO® bricks. The mounting holes are 3, 4, or 6 studs apart depending on the size of the mount being used. Ensure your measurement brick is vertical by using a level before marking its position. Drill a pilot hole for your screws where the corner of the brick sat on the wall. this will be very slightly to the inside of where your pencil marks are located. The screws can then be aligned with the pilot holes to finish installation. Notes: -Print these parts upside down to reduce the amount of support material required. -Use a template to easily align multiple wall mounts. Build one that matches the pin alignment on the set you intend to display. -There is a small amount of wiggle room if your drywall screw mount doesn't align quite right. Loosen the screws a quarter turn and shift it into position before tightening them back down. -3D printed parts do not match the precision of LEGO® parts. These parts are designed with tolerances for FDM printers. SLA prints have shown issues with brittleness when printing these designs. -The 5 pin and 6 pin mounts should be attached using screws if the model is over 500 pieces. Otherwise it may lever itself away from the wall over time. Disclaimer: I am not associated with any of the following legal entities.They are mentioned only as their products are compatible with this design. LEGO®, LEGO Technic®, Hillman™ Wall Dog™, Command™ Strips, Star Wars™. There is no intention to infringe on any of their intellectual property.
With this file you will be able to print Mount Brick: LEGO® Compatible Pin Wall Mounts with your 3D printer. Click on the button and save the file on your computer to work, edit or customize your design. You can also find more 3D designs for printers on Mount Brick: LEGO® Compatible Pin Wall Mounts.