Mount for Cycle Analyst EV-meter
thingiverse
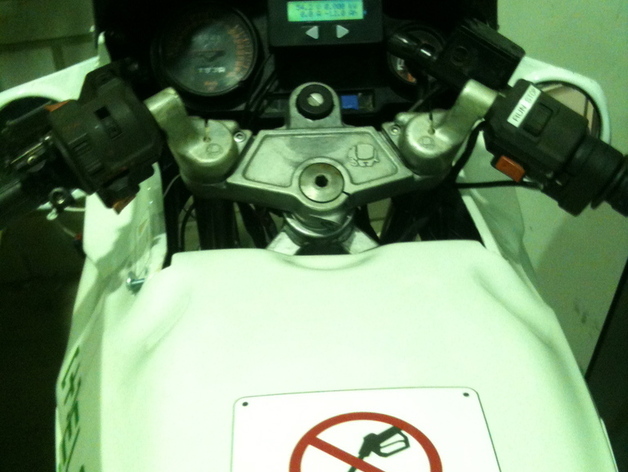
An custom mount for Cycle Analyst ebike-meter. This mount is designed to fit snugly in place of RPM-meter of my old Cagiva Freccia 125 ccm2 motorcycle. I have converted such motorcyle to electric vehicle and this meter is part of the instrumentation I'm using to monitor my batteries etc. Cycle Analyst can be bought from http://www.ebikes.ca and more information of my electric motorcycle conversion can be found from http://yty.net/c This thing has few interesting parts that could be inspiration for others; 1) It has those small tabs that allow the top of the part meet with the top of the dashboard of the motorbike. Tabs allow rest of the round part to "sink" in to the hole in the dashboard. Tabs also allow for maximum usage of Cupcake 10x10 cm printing space - when printing, part should be oriented so that the tabs point to the corners of the HBP. Without them, this thing would be impossible to print with Cupcake and would not work well. 2) Fixing to the dashboard is obtained without any bolts, just with 2 removable "clips". Those mount this thing to the round hole with walls (or "tube") in the dashboard and allow very nice fit. These clips are just slided to the base-plate and then the whole assembly is pushed to the hole in the dashboard. It's also easy to remove this thing from the dashboard without any tools - whenever I drive around and want to demonstrate the quality of DIY 3D prints, I just take this thing off from my dashboard and show it to people, no tools required. These 2 clips also provide some tension and they seemed to allow very easily to obtain very good fit to the dashboard. All I had to do was sand them a bit and after few test-sand-test-sand rounds everything just clikcs together very easily. As they are removable and can be printed separately, it's also easy to get fast test-print-test - cycles with them. This method could be is used in some other things too, basically whenever there is "tube-like" part to where some mounting needs to be done. There is an rectangular opening for all the Cycle Analyst wiring to go through, including that hall-sensor. Instructions Print 1 x 98 mm round mounting plate. Print 1 x "2xSupport+1xFixing.stl" - this contains 2x support clips and 1 x fixing to the Cycle Analyst. Attach the fixing to the mounting plate with small 4 mm scews. Slide 2 support clips to the mounting plate Test-fit - if it doesn't fit, sand a bit off from the heads of the clips Attach Cycle Analyst with screw to the fixing-part Original design files (Alibre) also attached.
With this file you will be able to print Mount for Cycle Analyst EV-meter with your 3D printer. Click on the button and save the file on your computer to work, edit or customize your design. You can also find more 3D designs for printers on Mount for Cycle Analyst EV-meter.