Mounting Adapter for Manfrotto 504PLONG sliding plate
thingiverse
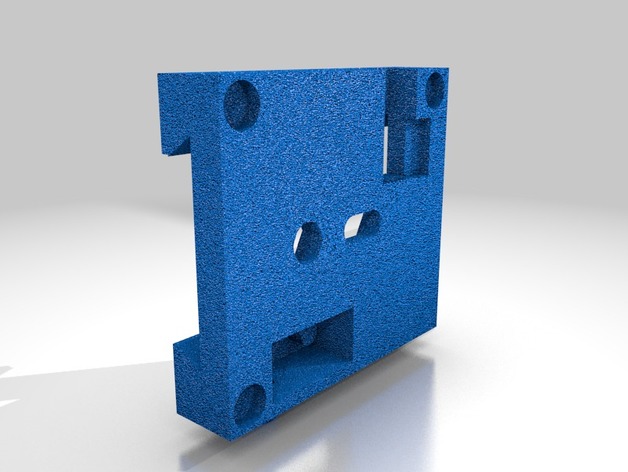
Allows you to mount a camera equipped with a Manfrotto 504PLONG sliding plate onto other camera supports without removing plate. Instructions This Project comes with four printed components. These are: The mount. This is that main body of the unit, into which the plate will slide The button This controls the safety detent that holds the camera plate into the mount until released. The clamp This allows you to immobilize the plate at the proper balance point The base This holds all moving parts permanently in place after assembly. Other non-printed parts include the following Mounting nut and turn clamp. Suggested hex nut would be #10-32 with a 3/4" clamping knob Small tripod mounting screws and nuts 1/4" 20, various lengths as needed. Nuts and bolts should match elongated hex patter on mount. Large tripod mounting screws 3/8" 16, various lengths as needed. Nuts and bolts should match hex pattern on mount. The spring from any standard ballpoint pen. A Manfrotto 504PLONG sliding tripod plate or aftermarket equivalent. The thing file should be measured to scale exactly. If you are sizing the individual .stl files, start by allowing the program to re-cale the files, then hit the inches to millimeter conversion button and then scale them up at 158.75% Assembly Instructions: When all components are printed, carefully clean excess plastic from the mount, particularly where the button will be inserted. The button slides in from the underside with the side notch fitting into the appropriate slot. The pen spring should be placed on the peg and pressed into the appropriate hole in the mount to provide tension. Do this when it is clear that the pieces fit together and slide freely. When the spring is in place, the button should pop into the out position when not pressed. The hump should extend above the floor of the mount and catch the plate as it slides in. The plate should not be able to slide back out without the button pressed, nor should it slide forward out of the mount under any circumstances. Before installing the clamp, first screw in the turn bolt to remove any excess plastic from inside the hole. Then loosen the bolt untill the slot for the hex nut is clear. Hold the hex nut in place inside it's slot and tighten the bolt. the nut should be close to flush with the side of the mount leaving plenty of room for the clamp. Slide the clamp down over the peg in such a way that the slanted edge of the clamp matches the side of the mount. When properly installed, the plate should slide easily into the mount when the turnbolt is loose, but should be imobile when the turnbolt is snug. Clean all excess plastic off the base piece before lining it up with the underside of the mount. The large rectangular area should fit into the clamp area on the mount. When installed, the hex nut and clamp should be maintained in their appropriate positions. When the base is snapped into place with all fittings, the button and spring should move freely, but be kept in place. No glue should be necessary to hold the unit together, but this can be added to the mounting pegs at the corners if desired. Do not apply glue to areas where moving parts may be affected. when mounting the unit to teleprompters, cranes, and other accessories, be sure to use substantial bolts that fit the guides. Both positions are recommended for stability. Use PLA material or other strong plastic. The structure should provide enough strength to hold a typical video camera under normal circumstances and normal use, but beware of mounting extremely heavy cameras, unbalanced loads, or situations where there is undue torque. Remember also that PLA can bend over time under pressure or shrink if subjected to heat. For this reason I DO NOT recommend mounting a camera upside-down, particularly not for long periods of time unattended. You may choose to print the moving parts in different colors from the base and mount for easy visibility of the mounting direction.
With this file you will be able to print Mounting Adapter for Manfrotto 504PLONG sliding plate with your 3D printer. Click on the button and save the file on your computer to work, edit or customize your design. You can also find more 3D designs for printers on Mounting Adapter for Manfrotto 504PLONG sliding plate.