(moved) SteadyCam Mark I
thingiverse
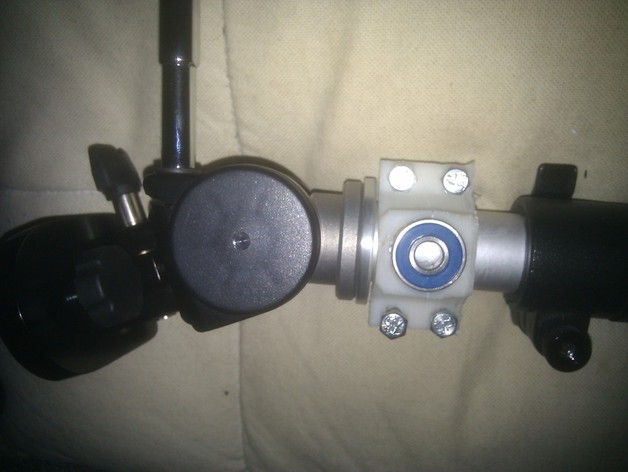
This design has been moved to YouMagine: <https://www.youmagine.com/designs/steadycam-mark-ii>. The creator of this gimbal shares reasons for the move on their blog (<http://marcuswolschon.blogspot.de/2014/01/leaving-thingiverse.html>). Initially designed to convert a sturdy car-mount for a laptop/camera into a steadycam, it currently lacks a bearing for the vertical axis, so users must attach a large handle to control camera orientation. The creator is still testing its stability with serious weight in mind and will provide more details later. Find the design on YouMagine and learn about its various versions and build times. Check SourceForge (<http://sourceforge.net/userapps/mediawiki/marcuswolschon/index.php?title=Projects/Camera/Steadycam>) for assembly instructions, and HBSBoard (<http://hbsboard.com/index.php?topic=4931.msg42798#msg42798>) to join the discussion about this steadycam. The latest version is a work in progress; find changes and assembly instructions at the project's SourceForge page (<https://sourceforge.net/userapps/mediawiki/marcuswolschon/index.php?title=Projects/Camera/Steadycam>). The SteadyCam Mark II features a handle that can rotate freely and is placed below the center of gravity for better balance. For assembly instructions, visit <https://sourceforge.net/userapps/mediawiki/marcuswolschon/index.php?title=Projects/Camera/Steadycam>.
With this file you will be able to print (moved) SteadyCam Mark I with your 3D printer. Click on the button and save the file on your computer to work, edit or customize your design. You can also find more 3D designs for printers on (moved) SteadyCam Mark I.