MP Mini V2 sideplate no drill one piece, now MP printable
thingiverse
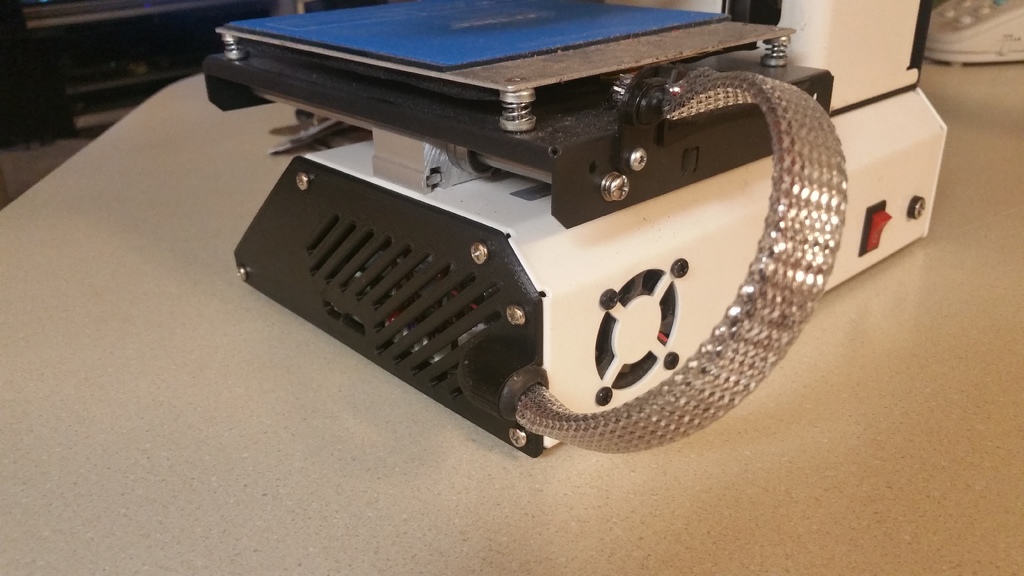
After repairing the wiring for the heated bed for my Monoprice Mini Select V2 I used the remote umbilical cable method for connecting to the chassis. I decided to print the new side panel in one piece to make it more stable. I chopped and combined parts from both of the two piece panels in the noted Thingiverse things to make a one piece model. I had to print it on my Qidi Tech 1 printer to get a large enough bed but as I use both it was a good choice to make the Monoprice a stable operating unit for printing. UPDATE Have now made a set of files to make the side plate printable in one piece on the Mini Select printer. Do not have a skirt or brim turned on for the prints. The print requires three passes. One to make the back part of the panel. After printing the first file the back part is removed. The second prints the alignment jig set at 3 mm from the rear of the bed. The back part is turned around and set into the jig onto the bed. Load the jig with the backplate in position into your slicer and then load the front plate. The front plate is then adjusted to fit the backplate. Slice just the front plate. Make sure the leading edge of the back plate is tight to the bed, physically, so the front part can overlap when printing and bond to the back. When printed like this is it as strong as one done in one pass on a bigger bed.
With this file you will be able to print MP Mini V2 sideplate no drill one piece, now MP printable with your 3D printer. Click on the button and save the file on your computer to work, edit or customize your design. You can also find more 3D designs for printers on MP Mini V2 sideplate no drill one piece, now MP printable.