MP Select Mini V2 Z Axis
thingiverse
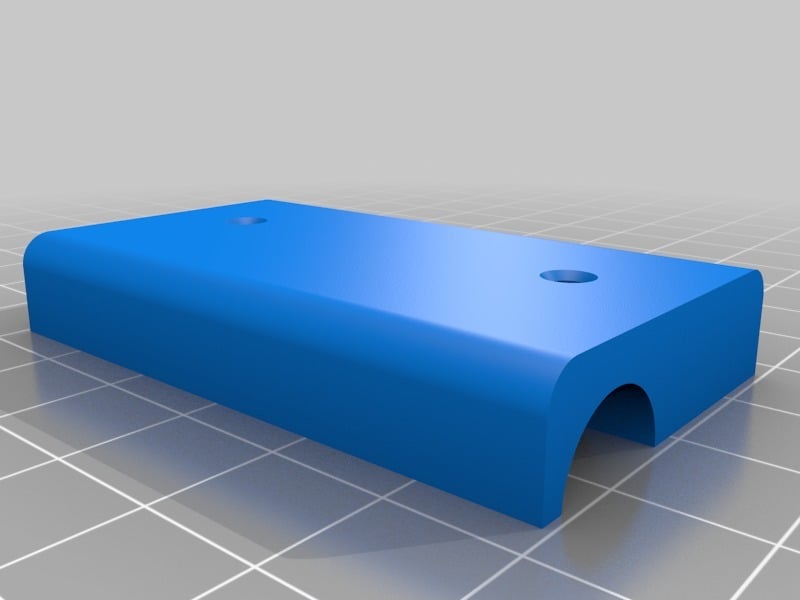
I made this modification for my MP Select Mini V2. It's ironic that the new version has a longer X-axis arm, which renders the original clamping system useless. The difference is about 4mm, so I had to create a new clamp to accommodate it. After using it for a while, I revised the design and added counter-sunk holes inside the bearing mount. You'll need new screws (longer) to secure the bearing clamp to the X-axis bar. I used M3 screws identical to those on my MP Select Mini, but any small-headed screw will work fine. To attach the bearing clamp, use a long screw that matches your bed screws. I left the X-axis bar intact since I believe it provides extra support. Product Links: * M3 Screws: http://amzn.to/2q7PdFK * 3M Glass Bed Tape: http://amzn.to/2qMBntD * Vibration Pads: http://amzn.to/2r7oGg9 (available in 2x2 and 4x4 sizes) * PLA PRO-: http://amzn.to/2q7UvkQ (an excellent material, in my opinion) * Bed Wires: https://www.youtube.com/watch?v=W1MqNMbGtDY (not my video) * Glass Bed: http://amzn.to/2rs14CN (or visit Lowes and get one cut for $2) Bed Wire Option: * https://www.thingiverse.com/thing:2302588 * https://www.thingiverse.com/thing:2179761 (with fan holes) * Drill a new hole like the video shows * Silicone Wire: http://amzn.to/2q7zG8Z Things I learned about the V2 (the good and the bad): 0. The control button has much better control now, which is a welcome improvement. 1. Unfortunately, it still has issues - the bed remains the same, with some cheap cotton blanket taped in place. You may need to fix this before printing. 2. The bed I received was warped, but adding a glass bed fixed the problem. I used 3M adhesive tape for the glass bed, which worked exceptionally well. Simply cut the glass to leave your bed leveling screws accessible. 3. The hot end is an improvement over the previous version - it's still not great, but should perform better in the long run. 4. This machine is louder than my original MP Select Mini. I even printed Z-Axis stabilizers for the inside tower, but it didn't make a difference. 5. The bed wires are still an issue; they rub against the mounting blocks and pulley, causing them to wear out. I recommend rerouting them as shown in the link below. 6. After printing for 3 days, my V2's bed thermistor went out, causing the bed to stop heating altogether. This happened at around 120°C - a pretty close call! 7. The X-axis pulley on the right side used to be metal, but the new one is plastic, which fell apart after a few days of printing. Not a great design change in my opinion. 8. Despite its issues, this machine prints decently well for a $220 device. With some mods and tweaking, it's almost worth the price if you enjoy tinkering with it. 9. The cooling fan is quieter now, which is a plus - however, I'm not convinced about how well the cooling shroud will perform. It's an unusual design that leaves little room for airflow. Unfortunately, I had to return this unit due to its numerous issues. I've had bad luck with these cheap machines, and hopefully my replacement V2 will be better equipped to handle the demands of printing.
With this file you will be able to print MP Select Mini V2 Z Axis with your 3D printer. Click on the button and save the file on your computer to work, edit or customize your design. You can also find more 3D designs for printers on MP Select Mini V2 Z Axis.