MPCNC Corner Block Upgrade V3, M3 Hardware
thingiverse
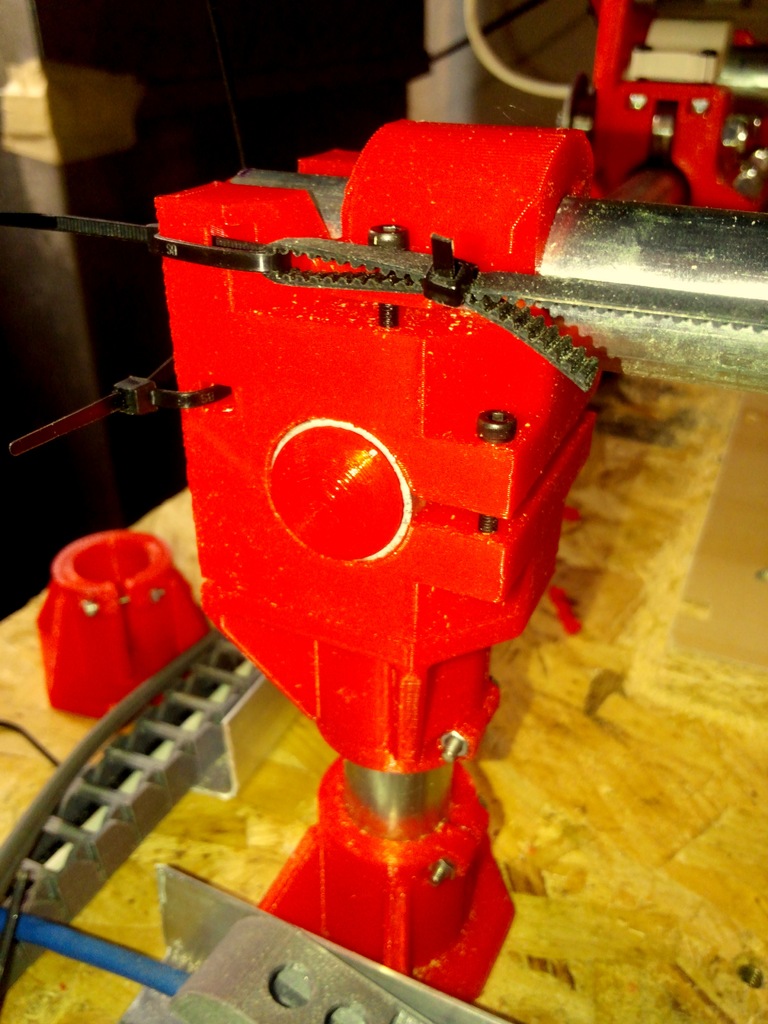
Printed, tested working. Uses M3 bolts and nuts. PLEASE NOTE: corner block should be printed in the orientation where the main conduit hole is perpendicular to your print surface. Otherwise this part will probably de-laminate when you screw it together. Also: dowels should technically be printed sideways so they have more sheer strength, but it's not as big of a deal. Improvements (in my opinion) over original - All nuts are held captive by the model itself, so you only need an Allen wrench to tighten things up - Moved the belt mount off the nut lock and on to the corner block to fight warping - 3 round indents in the bottom make for super-glue-less mounting to the new legs - Legs are held on by printing 3 dowels and using one M3 nut&Bolt (that way if you need to reprint something you don't have to reprint both. To take full advantage of this you will need to print the new corner, 3 dowels, and the upper leg. 2 solid end caps are optional, no function but they look nice. Hardware requirements for full set: 6 X M3 nuts 6 X 25mm screws
With this file you will be able to print MPCNC Corner Block Upgrade V3, M3 Hardware with your 3D printer. Click on the button and save the file on your computer to work, edit or customize your design. You can also find more 3D designs for printers on MPCNC Corner Block Upgrade V3, M3 Hardware.