MPMD SKR 1.4 Overhaul Kit
thingiverse
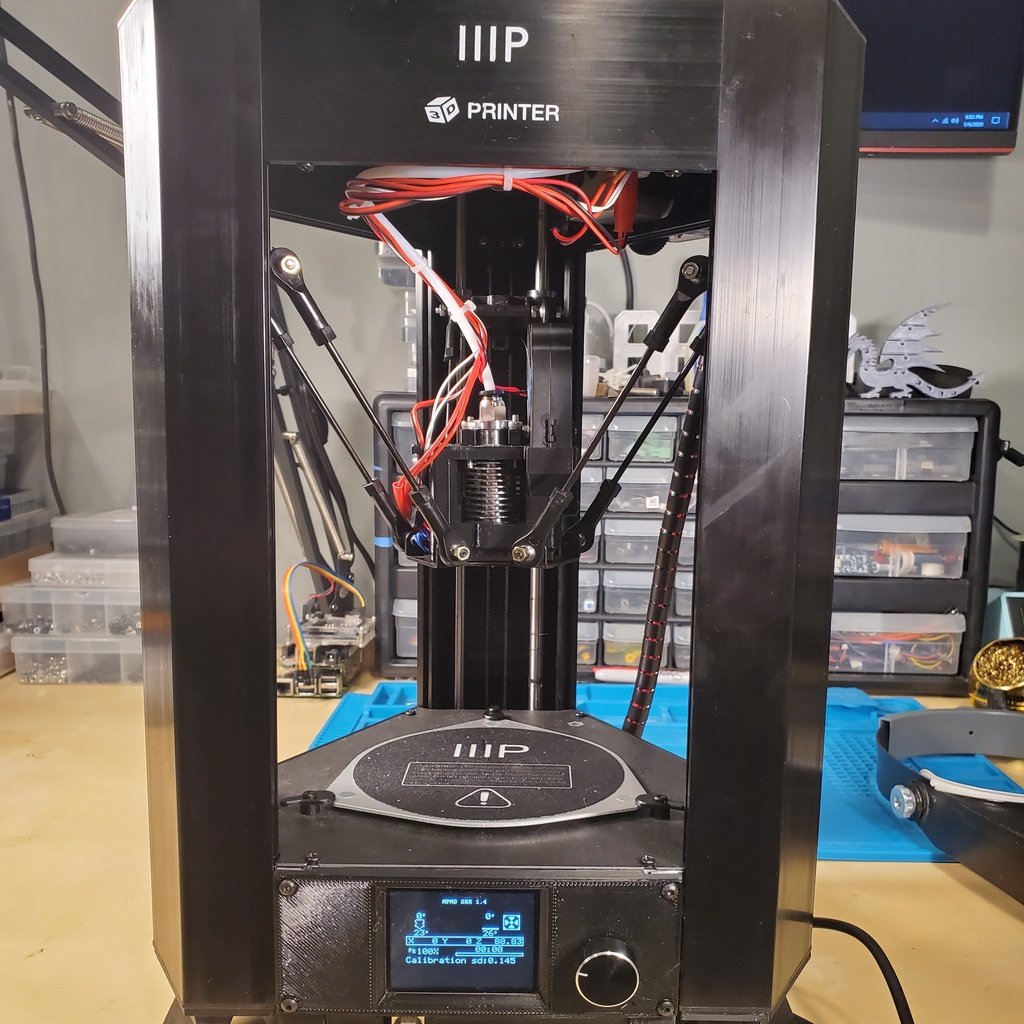
This is how I built my MPMD SKR 1.4 conversion. Included is everything I used including the firmware. **NOTE: THE FIRMWARE IS ONLY FOR THE SKR 1.4 AND NOT THE SKR 1.3! THERE IS A DIFFERENCE IN PINS!** **NOTE2: The print area is decreased about 5mm..I think...only way I could get the G33 Auto Calibration to work with the effector I used. If someone has other ideas or how to fix, lemme know!** This is actually pretty straight forward, I figure if you are researching this then you must have some idea of what you are doing, if not...I guess I can answer a question or two. But if of this makes no sense to you....I suggest you stop reading now and go back to printing Benchys and Baby Yodas on your stock machine. Now that is out of the way, here is what I did: **FIRMWARE:** I did edit the pins_BTT_SKR_V1_4.h file as I did not like having the pins spread across two files. So the ```#include "pins_BTT_SKR.h"``` is commented out and everything is in the pins_BTT_SKR_V1_4.h file. Edit it if you need to. Oh, this uses Marlin dev branch...so take that as you will. **WIRING:** Everything pretty much matches from the original MPMD board to the SKR 1.4. The only thing you actually need to tweak are the bed leveling wires. Just cut the ends off of each, match the colors and wire them together in parallel. After you'll connect it to the Probe connector on the new board. This is important since the SKR 1.4 only has 3 endstop connectors instead of the 6 on the 1.3. I have compensated for this in the firmware. **ENDSTOPS:** Use the Endstop Mount v1.stl to replace the optical endstops with some cheap mechanical endstops if you can't get the optical ones to work. I couldn't get them to work at all for who the hell knows why. You'll have to drill your own holes to mount the actual endstop to the adapter as these can vary from model to model. **BTT TFT24:** You have 2 options here. Modify the metal bracket that holds the original screen in place or model your own bracket. I modified mine so the TFT24 would fit in the hole. I only use the screen is Marlin Mode and not touchscreen mode. Uhm....match EXP1 and 2 to EXP 1 and 2...done. **Effector:** Nothing special here, you just need either an E3D V6 or clone. I did modify the original authors base and pausing the print to insert the screws was a clusterf**k and kept causing my prints to fail. BaseV2.stl has little slots to insert the m3 nuts. Follow the original instructions on the authors page linked on the left under "Remixed From" or whatever. The part cooling sucks but it works fine I suppose. **POWER:** I suggest getting yourself AT LEAST a 10amp 12VDC PSU to power this. Put it wherever, make a mount, don't make a mount...doesn't really matter. I didn't have one lying around so I am actually using 2 wall warts right now. One is for the bed only and the other is for the board and the RPi. To power the bed I am using one of those cheap mofsets that are littered all over Amazon. To power the Raspberry Pi I use a standard 12vdc to 5vdc stepdown buck converter that is also littered all over Amazon. The mounts I used are included in this Thing as well. **RPi Serial Comms:** Communication between the SKR 1.4 and your Octoprint Pi without USB can be done by following this: - Connect TXD0 (pin 8) on the Raspberry Pi 3 or 4 to RX0 on the TFT header (pin 2) on the SKR 1.4. - Connect the RXD0 (pin 10) on the Raspberry Pi 3 or 4 to TX0 on the TFT header (pin 3) on the SKR 1.4. - Connect GND (RPi - Pin 6) to GND (SKR TFT header - Pin 5) on both. Now we have to enable all this junk on the RPi: - SSH into your Pi and enter ```sudo nano /boot/config.txt``` - Add ``` dtoverlay=pi3-disable-bt``` to the end of the file and save it with CTRL-X and then Y. - Enter ```sudo nano /boot/cmdline.txt``` - Remove the string ```console=serial0, 115200``` and save it with CTRL-X and then Y. - Reboot your RPi - In Octoprint open Settings>Serial Connection and under Additional serial ports you'll need to add ```/dev/ttyAMA0``` - Magic. Ooo look...a diagram!  Erm...that's all I can think of right now....if I missed anything I'm sure someone will tell me. **Helpful links:** G33 Auto Calibration: https://www.youtube.com/watch?v=5G8GdNywsUQ BTT SKR 1.4 Github: https://github.com/bigtreetech/BIGTREETECH-SKR-V1.3/tree/master/BTT%20SKR%20V1.4 BTT TFT Firmware: https://github.com/bigtreetech/BIGTREETECH-TouchScreenFirmware
With this file you will be able to print MPMD SKR 1.4 Overhaul Kit with your 3D printer. Click on the button and save the file on your computer to work, edit or customize your design. You can also find more 3D designs for printers on MPMD SKR 1.4 Overhaul Kit.