MTO's Installation Box Extension
thingiverse
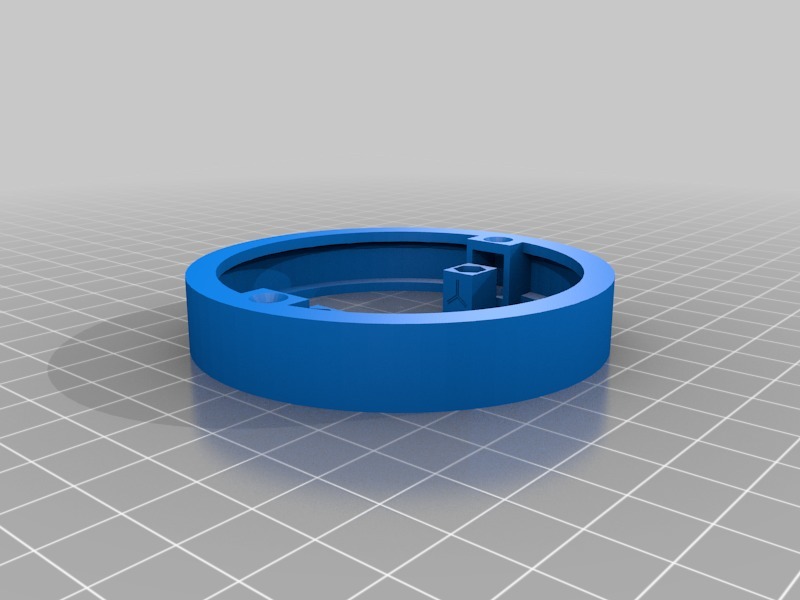
This is a custom-made (in Sweden, specifically) 73 mm (60 mm CC) electrical installation box extension. It's used for mounting light switches, dimmers, electric outlets, thermostats and communication jacks, etc. The extension is designed to fit seamlessly into standard construction plasterboard, which is 13 mm thick. I've recently printed seven units that will be used tomorrow, and they seem to work perfectly after testing. This extension is much easier to use than traditional extensions found online, making it a breeze to remove old boards and re-do the entire wall. There are two ways to mount this extension: 1. First, screw the extension onto the original installation box. Then, insert M3 nuts into the slots on the "dices." Slide the "dices" into the extension on each side. Finally, attach the control/connection unit of your choice using M3 countersunk screws as usual. Be sure not to use screws that are too long for this setup. 2. Alternatively, place the "dices" in position and set the control/connection unit in place. Use 25-35 mm M3 countersunk screws to secure the unit to the old box through the extension's screw holes. Only two longer screws are needed for this method. The picture of the extension mounted on an installation box is a printed version 1.0, with fixed details in v2.0 but functioning the same way. I'll create versions with 6 mm and 15 mm distances for plasterboard used specifically for renovation and standard construction plywood boards, respectively. When using this extension in wet areas like "wet zone 1 & 2," it's a good idea to apply sealant between the old box and the extension to prevent water damage. Why make it complicated with the "dices"? It's easier to find shorter M3 countersunk screws. If someone else will be working with your electrical installation or if it will be handled frequently, it's nice not to have the extension in your hands when working with it.
With this file you will be able to print MTO's Installation Box Extension with your 3D printer. Click on the button and save the file on your computer to work, edit or customize your design. You can also find more 3D designs for printers on MTO's Installation Box Extension.