Multi-Layer Interactive Animal Cell
thingiverse
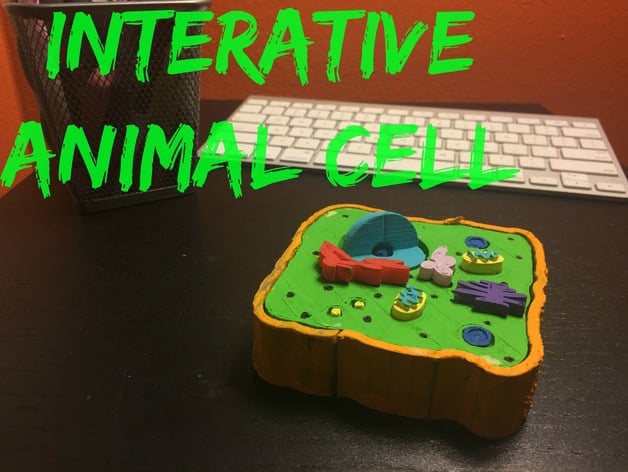
This project aims to create an interactive multi-layer animal cell model that can be explored in several ways, allowing students to learn about the parts of an animal cell and their functions. The project is suitable for middle school, high school, and college students, and falls under the categories of science, biology, and microbiology. The objectives of this project are: 1. To identify the parts of an animal cell. 2. To understand how each part of the cell relates to others. 3. To learn about the functions of each piece of the cell. 4. To make connections between the cell and biology and science concepts. To complete this project, students will: 1. Work in groups to assemble the model. 2. Research and present on their assigned part(s) of the cell. 3. Decorate their parts according to what they have learned about them. 4. Give a brief presentation on their part(s). The duration of this project can vary from an hour to several days, depending on how much time students want to spend on it. Preparation for this project depends on the age group and prior knowledge of biology. It is recommended that students have a basic understanding of biology and be in their year of biology or currently studying cells. The final score should be up to the teacher/educator, but the student should reflect the following: 1. Basic-Intermediate understanding of the cell. 2. Can identify all parts correctly. 3. Can identify the function of each part of the cell. 4. Shows confidence in what they are presenting and are engaged in what they are doing. This project can be modified to fit different age groups and skill levels, making it a versatile learning tool for students.
With this file you will be able to print Multi-Layer Interactive Animal Cell with your 3D printer. Click on the button and save the file on your computer to work, edit or customize your design. You can also find more 3D designs for printers on Multi-Layer Interactive Animal Cell.