MultiPart Bridging Test
thingiverse
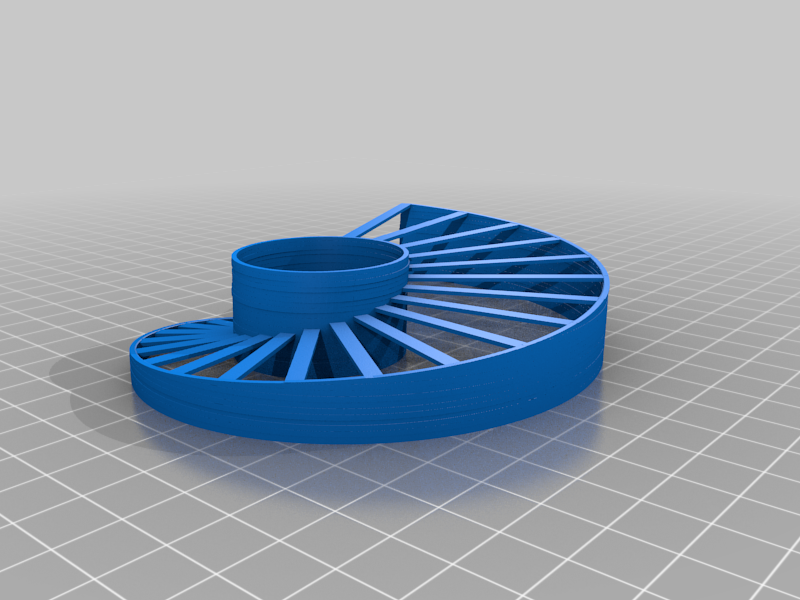
https://www.thingiverse.com/thing:3830316 presented a project to adjust Purging Volumes and provide smaller wipe towers with less waste. jltx did a great job on explaining how to use the tool. I also wanted a tool to test my bridging capabilities https://www.thingiverse.com/thing:476845 for all my different filaments and walter created a great project for that. I also wanted something that would test my new MMU2S with a short print time so that I could tweak things quickly. This remix did just that. These tools present a single tool with great descriptions on how to fine tune your printer in a relative short amount of time with minimal filament waste. This tool also also tests print bed adhesion to the max. I had to merge the wipe tower brim with the end of the Bridging Test tool and then it stuck pretty well to my textured bed. Kudos go out to walter and jitx for great tools and detailed descriptions on how to do the adjustments. Once you load the stl into prusaslicer break it into parts then you can assign colors to each bridge. I did my selections to test the color blending between each color that I had loaded. A setting of 40 for purging seems to work best for these filaments but my last print was with 50. I provided my gcode and the .3mf file as well. Bridge speed was 30 and temp was 110/60. Since this was my very first multicolor print it tested my spool layouts and filament loading as well. It was nice that I could stop mid stream and fix each issue that I found without wasting a lot of time and filament. The full print printed in just over 2 hours. Now I feel pretty good that my setup is optimized and that I can move onto longer unattended prints. Enjoy!
With this file you will be able to print MultiPart Bridging Test with your 3D printer. Click on the button and save the file on your computer to work, edit or customize your design. You can also find more 3D designs for printers on MultiPart Bridging Test.
