Multiplexer redesign for Prusa Multi Material Upgrade (no brass)
thingiverse
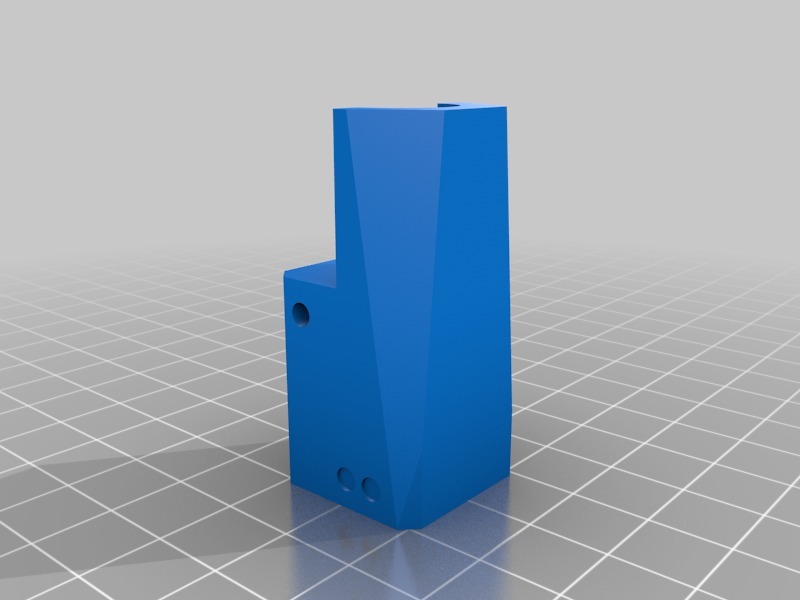
Please print with at least 4 perimeter layers to allow Festo fittings to be threaded without cracking. It's highly recommended to take an old piece of filament and make sure each feed path has no resistance. As PLA is used, working filament through each feed path will improve performance over time. There's no need for brass press in fittings or steel tubes in the feed paths. Simply thread Festo fittings directly into the plastic. Since there are no printed threads, force it a bit to start threading. Use sturdy needle nose pliers to guide the fitting into correct orientation during threading. This is the only challenging part of making this work. The closer you get the Festo fitting to parallel with the feed path, the better it will perform. I've tested this and successfully printed multi-color prints. There's a break-in period while feed paths wear in, but theoretically, the longer you use it, the better it should work.
With this file you will be able to print Multiplexer redesign for Prusa Multi Material Upgrade (no brass) with your 3D printer. Click on the button and save the file on your computer to work, edit or customize your design. You can also find more 3D designs for printers on Multiplexer redesign for Prusa Multi Material Upgrade (no brass).