multiwii quadcopter
thingiverse
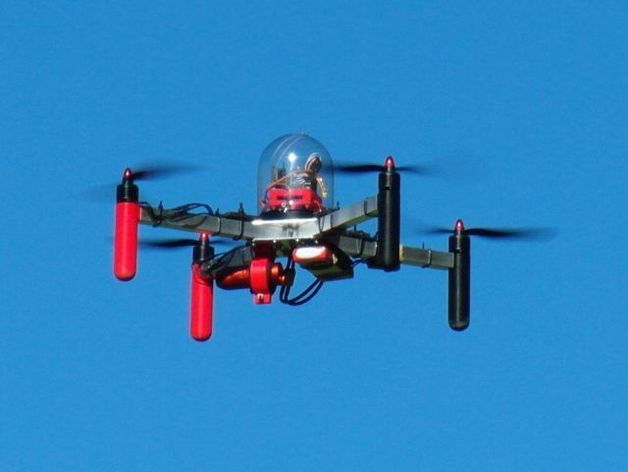
This multiwii quadcopter features an aluminum frame with 3D printed mounts for enhanced stiffness and a high first eigenfrequency, which should help reduce the rolling shutter effect when using a CMOS camera. Check out the flight in action here: http://youtu.be/2AZZEHWD84U. Assemble the quadcopter by cutting aluminum square tubes and plates, bolting them together with M4x30 bolts, attaching motor mounts with epoxy glue, and securing electronic components in place. The 2-liter coke bottle cover serves as a protective housing for the aircraft, while Emax MT2213 motors, ZTW 20A ESCs, 10x4.5 propellers, a 2600mAh lipo battery, Futaba T7C RC, and Frsky TFR6 receiver complete the build. Unfortunately, the Rollei Bullet HD Lite 2 camera's stepwise transitioning from bright to dark areas proves less than ideal. For more details, visit http://www.muellerr.ch/engineering/quad/quad_main.html.
With this file you will be able to print multiwii quadcopter with your 3D printer. Click on the button and save the file on your computer to work, edit or customize your design. You can also find more 3D designs for printers on multiwii quadcopter.