Musical Dot
thingiverse
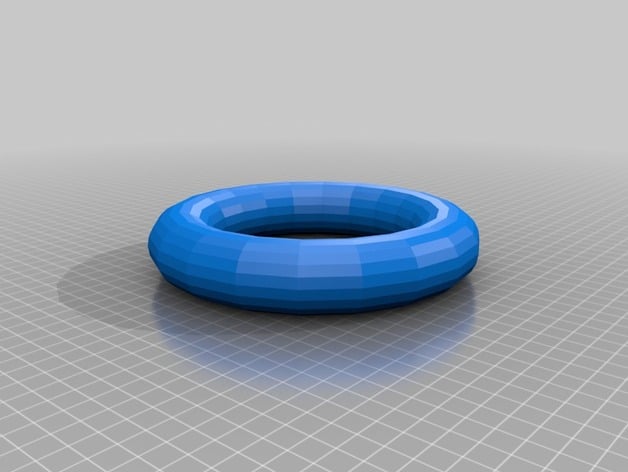
This lesson is an introduction to 3D shapes and creating music using the structure of a 3D build in connection with International Dot Day and the book The Dot by Peter Reynolds. Students will be selecting a 3D shape to print and pausing the print to add beads to create a musical instrument. Standards CCSS Overview and Background Step 1: Introduction (15 mins.) Read The Dot by Peter Reynolds Background on International Dot Day - http://www.thedotclub.org/dotday/ Lesson Plan and Activity Designing the Dot Step 2: Creating with Morphi Using the iPad app Morphi, students will select a shape that they want to create to design their own dot. The parameters can be as narrow or as wide as the teacher sees fit. For the dot that I designed, you will need the EDU paid version of Morphi. Show the ruler tool and have them select inches so that it is sized to 2 inches. Show them how the slider works when you click on the shape to increase the size of your shape. Step 3: Exporting the Design Students will need to export the design for 3D printing from Morphi as an .stl file and share it with the teacher for final printing. Printing will depend on the piece. Rafts: yes Supports: depends on the shape (sphere - supports are suggested) Resolution: 0.2 mm Infill: 10% Step 4: Printing the Design As the honeycomb interior is built, you will pause the design about half way through to add beads. After adding the beads, you will resume the build. Finished Example (This Dot took 8 hours to print) Materials Needed Clear Filament is ideal to see the beads Seed Beads
With this file you will be able to print Musical Dot with your 3D printer. Click on the button and save the file on your computer to work, edit or customize your design. You can also find more 3D designs for printers on Musical Dot.