MUT Parts
thingiverse
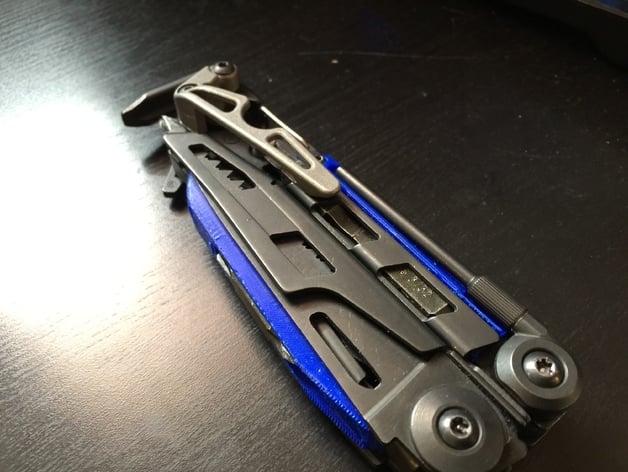
Own a Leatherman MUT? As a maker and homeowner I find the MUT is a great tool to have handy. While the MUT is a cool looking tool already, I wanted to customize it! I recreated the 3 plastic parts in CAD (I took the opportunity to lower the profile of the side bit holder while I was at it, It holds slightly firmer than the original now). To ensure this was ready for others to print I tweaked and re-printed until all the tolerances where spot on. Just waiting for some glow in the dark filament to arrive in the mail, because wouldn't that be a cool addition! Enjoy! Check instructions for installation guide and print recommendations. Instructions In order to replace the parts on your MUT you will have to take it apart. You only need to remove the pliers hinge on the pin and scraper side. After taking out the screws on either side, slide the plastic pieces back. They are held in place with a slot and should pop right out. Remove the tiny lever springs from the originals and push them into the channels on the back of your new ones. Now for the bit holder, two trox screws are hiding in the channel that the saw and knife rest in. Same action, remove these and slide the plastic part up and pull off. Recommended printing orientation: The scraper and pin parts should be printed vertically with the L shaped tab resting on the print bed (because of their size use rafts). The bit holder should be printed with the two tabs with slots facing up with the bit storage area on the print bed.
With this file you will be able to print MUT Parts with your 3D printer. Click on the button and save the file on your computer to work, edit or customize your design. You can also find more 3D designs for printers on MUT Parts.