My Pocket PI PC...I think!
thingiverse
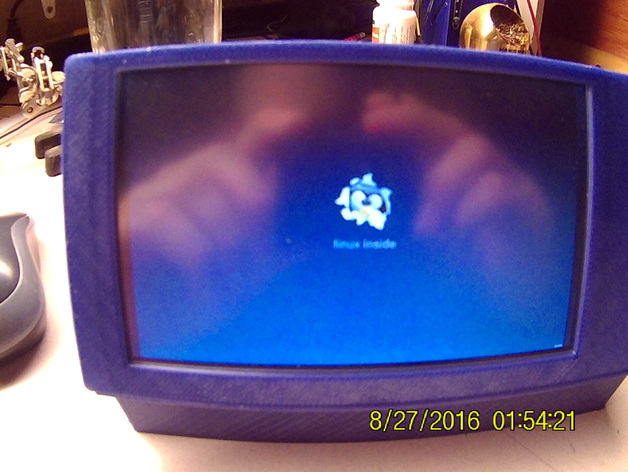
UPDATE 03/12/2017; New Version; http://www.thingiverse.com/thing:2171864 UPDATE 11/20; A new design is on the way, thinner and better battery life. At the moment I am upgrading my printer, along with other life events, the upgrade is going slow. Hopefully in the next month or two, I will have the files for the new design finished. UPDATE 9/11; The batteries from ebay are a joke, I should have know that 6000 mAh battery for $1 was too good to be true. I charged the battery with a know good charger to 5000 mAh, which is the highest my charger will go. Attached a load, 50 ohm resistor, which equates to about 80 mA. The battery only lasted 12 hours before the voltage dropped to 2.8, which is the limit for LiPo's.....So new batteries are coming, which are thinner, so there will be an update to the case soon, stay tuned. UPDATE: This morning I completed a test of the battery capacity; Simply, Youtube videos on auto play. Results are as follows; CPU load approx. 35%, total run time 2 hours, when the batteries were depleted to 25% I ended the test. Apparently, either the charger is not charging the batteries to full capacity, or the batteries do not have the capacity stated. More investigation will be required, for the time being I cannot recommend the batteries or charger/booster until I determine what the problem is. I will post my results soon. I apologize for the fish eye pics, I used my action camera and didn't think about the wide view. Let's see, where do I start...............First off, tablets and smart phones are cool and all, but they don't cut it for those of us who like to tinker. I wanted something portable and flexible and reconfigurable; so when I came came across the Pocket PC, I thought, That's me!! But, Not quite what I am after. So here is my version, mind you, this is a prototype, and the final design can and will change soon. Things needed for my version: 3D Printer (Duh!!) Raspberry Pi 3 with OS 5" 800 x 480 HDMI LCD, or whatever the same size.http://www.ebay.com/itm/221952432326?_trksid=p2057872.m2749.l2649&ssPageName=STRK%3AMEBIDX%3AIT LiPo Batterieshttp://www.ebay.com/itm/131557359557?_trksid=p2057872.m2749.l2649&ssPageName=STRK%3AMEBIDX%3AIT Battery Charger/Boosterhttp://www.ebay.com/itm/291653902869?_trksid=p2057872.m2749.l2649&ssPageName=STRK%3AMEBIDX%3AIT Wireless keyboard if you so desire, NOT BLUETOOTH!!!! Explanation later.http://www.ebay.com/itm/151949670710?_trksid=p2057872.m2749.l2649&ssPageName=STRK%3AMEBIDX%3AIT Micro USB Cable, will be cut!! HDMI Cable or HDMI Cable connectors Soldering iron, and De-Soldering 2 x Female USB Sockets (Type A), I got mine from and old USB HUB -Slide or toggle switch Hot Glue Thin CA Glue, super glue Preparations: -Remove R-Pi's USB Sockets, solder in the 2 single sockets on the forward pads. -Remove Charger/Booster Type A USB Socket -Removal of R-Pi's RJ-45 is not necessary, I had removed mine for another project, I will be adding it back later and adding provisions for it in the case. -Remove housing and plastic from Keyboard receiver, solder ribbon or wire to receiver, solder to free USB pads, make sure to get Polarity Correct!! Cover with tape or heat shrink. -Print Pocket PC, Hinge, Cover if you want -Trim down USB cable, the micro end, cut off A plug, get the micro side as small as possible, careful not to cut any wires. -Build HDMI Cable, I felt this is necessary because store bought cable are massive and will not fit, Google HDMI pin out, simple build, 1 -1, 2 - 2, and so on. -Secure LCD in Bezel with hot glue tabs on back side, set aside. -Connect batteries, Charge/Booster, switch, R-Pi, refer to schematic image (Apologies, I am not a graphic artist), leave enough length on wire for everything to fit. Caution, once you connect everything be careful not short anything. -Secure R-Pi in case with some tiny screws, I got mine from old equipment and devices, no need to buy any if there is junk laying around. -Secure batteries with hot glue tabs, secure switch and Charger/booster -Glue on hinge, prop, and latch All done, total cost, not including 3D printer; Keyboard - $18 Batteries - $ 2 Charger/Booster - $ 5 LCD - $ 33 R-Pi - $ 35 Hardware - Free Salvage Cables - Free Salvage Total - $ 93 I am including all files, if someone makes an improvement or a cool feature let me know, and please give credit where credit is due. As mentioned earlier, this is a prototype. I used 2 x 6000 mAh batteries, I estimate this should give the Pi 20 to 30 hrs run time, future test will verify. DO NOT Use a Bluetooth keyboard, if for some reason you have to enter linux shell out side of X, you will not be able to use the keyboard, therefore the use of a standard wireless keyboard will work in the shell. I will try to answer anyone's questions and help the best I can. Side Note: The Charger booster has to be activated once your switch is turned on, a simple matter of pressing the little switch on the board. This version is about 35 mm thick, I am trying to source smaller batteries and make it thinner. Print Settings Printer: Dup I3 Rafts: No Supports: No Resolution: .2 mm Infill: 35% to 50%, 100% on hinges Notes: Makergeek PETG, use a rim, 1 mm offset for priming nozzle Nozzle - 240 C Bed - 70 C Post-Printing I have in the past couple weeks, been able get my printer and settings tuned for Makergeek PETG. You results may vary, but the PETG does not like too much heat; Cooling is required. I have very little strings, blobs and zits, and it bridges fairly well. Not much clean afterwards. How I Designed This Autodesk 123D
With this file you will be able to print My Pocket PI PC...I think! with your 3D printer. Click on the button and save the file on your computer to work, edit or customize your design. You can also find more 3D designs for printers on My Pocket PI PC...I think!.