NanoHack styled face gasket
thingiverse
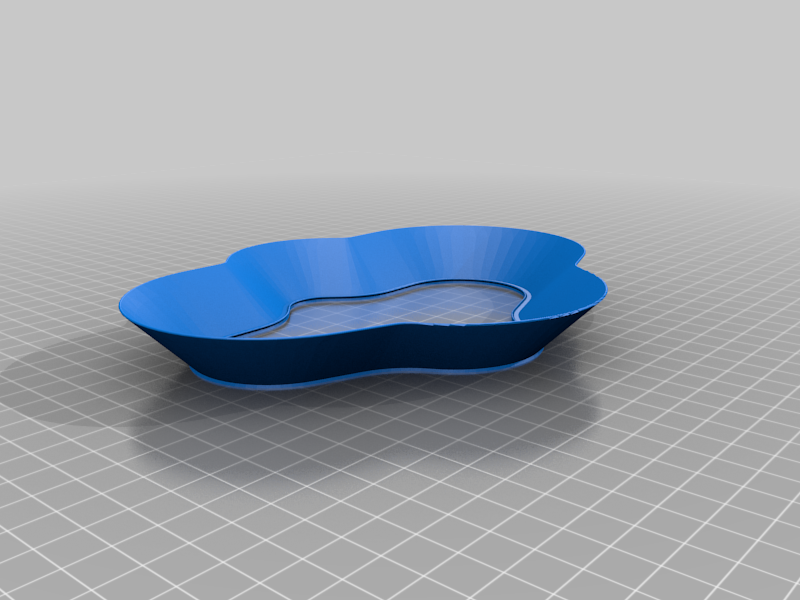
This is a face gasket I desinged for my personal mask design. I started on a NanoHack 1.0 face mask design. And I have not diverged too far from that basic design. As such, this gasket is compatible with the original NanoHack 1.0 and designs that keep that same general form-factor. Though I really do intend it to be used with my redesigned versions of the mask. For build tutorials and other information regarding my mask re-designs, you can look here: https://www.fie.us/my-nanohack-redesign/ To be clear, this is meant to be printed out of a flexible material. I've been printing out of TPU that is soft enough to make it functional and comfortable while getting a good seal. The seal is critical and this has worked very well for me. It's designed to be printed without supports. It doesn't exceed 45degrees of overhang. The base of the gasket has a cut or groove in it, meant to be physically captured by an adhesive or glue. Though, I've been using a 3d printing pen loaded with PLA to affix it to my mask. TPU can bond to PLA at high enough temperatures and I've had good luck with it. I had to turn my 3d printing pen up to 205-210 degrees to get a good bond. Lower temps did not yield a good bond. I also install TPU gaskets in PET-G masks using a 3d printing pen loaded with PET-G. I confirmed that the PET-G does NOT fuse with the TPU. But the install works well anyway, because the cut/groove in the foot of the gasket is easily captured. It takes quite a bit of force to rip the gasket off when it's well captured. The various cuts and flaps are designed to allow the gasket to deform to fit the mask and face, without offering up structural resistance. This took a lot of iterations to get right. And since I'm socially distanced :) I've been unable to test it on a varity of face shapes. However, I think at the very least, it serves as a starting point. You can use a pair of snips (small wire cutters) or scissors to take extra cuts, wedges and chunks out of the band if you find you need to release some more tension than I already did. A temperature controlled soldering iron can be used to close up cuts or mistakes if need be. I've also included a version that is longer and has no cuts in it at all. This version, if installed, will end up having big loops of material that get in the way of getting one's face deep into the gasket. This version is intended to first be installed, and then cut away with scissors during the fitting process. The advantage being: the gasket can be installed by the "maker" and sent to the user, who can "fit" the mask with just hot water and scissors. I've included the FreeCAD source files along with the STL just incase anyone wants to modify it. I am not a scientist, engineer or medical professional. I don't know if this design is functional or dangerous. But I'm providing it anyway in an emergency situation. For me, I was using some adhesive backed craft foam in earlier mask builds. For various reasons, I wasn't satisifed with that solution. Since I do have TPU and my printer is good with flexibles, I decided to give this approach a go. For me, I'm getting a better seal with the gasket than I ever did with the foam.
With this file you will be able to print NanoHack styled face gasket with your 3D printer. Click on the button and save the file on your computer to work, edit or customize your design. You can also find more 3D designs for printers on NanoHack styled face gasket.