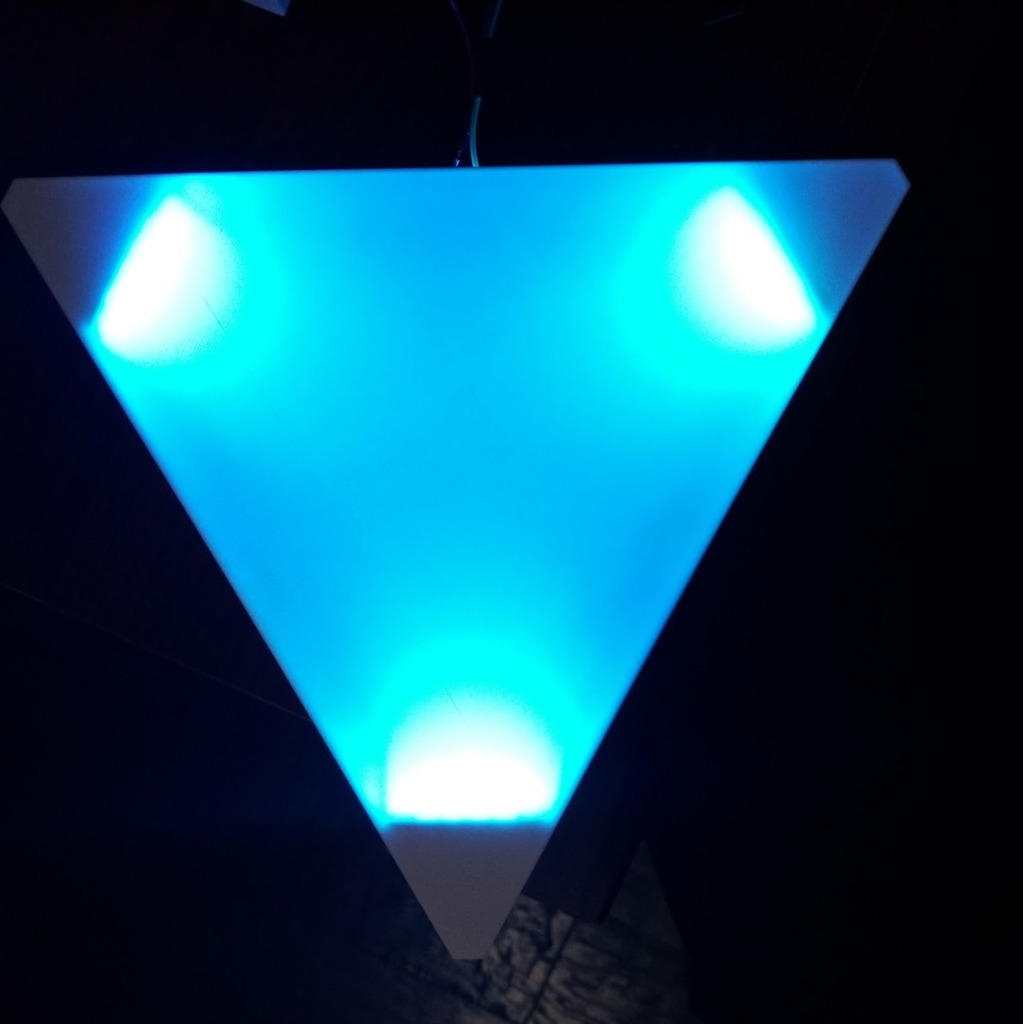
Nanoleaf Replica Full Size
thingiverse
Inspired By: [Harvahammas](https://www.thingiverse.com/thing:3230905) I wanted some full size panels that would function as similar to the original product as possible. # All Versions In the corners I used [144LED/m](http://amzn.com/B01CDTEGGO). The soldering is a little difficult on these but it fits 6 LEDs in each corner similar to the the real ones. # v1 Currently v1 is held together with M3 screws and has a little opening for wires. This isn't very modular and you are stuck with the shape you wire it in. The control box gets power from a [5v Power Supply](http://amzn.com/B07CMM2BBR) which has a hole designed to fit this [power jack](http://amzn.com/B01M1D5GIP). The clearance on this hole is a little tight but I managed to shove the jack in there and didn't need the nut to hold it in place. I no longer have the code for the v1 panels, but I used a slightly modified version of the code from [Harvahammas](https://www.thingiverse.com/thing:3230905) but the code there should work as well. [Demo Video](https://youtu.be/9oJNtiUI7r4) # v2 - Incomplete Section This section is incomplete. I added some pictures of the v2 panel I wired so far. Each wall has a 2 spaces for magnets (updated to 8mm, previously 5mm). It is important that each magnet has the opposite polarity of the other one on the same wall, but also take great caution in making sure you keep the same polarity on all 3 sides so that they attract when rotated. If the left magnet slot has south facing out then on all your triangles walls, the left should have south facing out with the right slot having north facing out. [Example](https://i.imgur.com/6QSEyO2.png) The center slots are design for [Header Sockets](http://amzn.com/B012ACSO4Y). You can connect the panels together using [Dual Male Headers](http://amzn.com/B01AN7A74S). The connection is vertical to keep the wiring lined up. There is 2 bases in v2, one with 3 pin holes and one with 2 pin holes. #### If you intend to make these with ATTiny85s and NRF24L01 shields. Use nl_base_v2-only_power: If you intend to make these with some ATTiny85s in each panel. I've provided my updated code based on Harvahammas. The ATTiny85 and NRF24L01 were wired up using [this guide](https://www.instructables.com/id/NRF24L01-With-ATtiny85-3-Pins/) #### If you just want to wire the data through each panel. Use nl_base_v2-power_and_data: The wiring might be tricky in this version but shouldn't cause any issues that I know of, but you will want to pick one side that that the other 2 sides wire up to and that side should also feed into the first corner of LEDs. There is no example code atm for this version but should work similar to v1 ## v2 Covers The covers from v1 work just fine. If you feel comfortable swapping filaments mid print, try switching the white filament out for some clear filament after layer 2 can help with allow more light to pass through. ## No Magnets I considering replacing the magnet indents with [OpenLOCK](https://www.thingiverse.com/thing:1833963). This would provide solid connections between pieces and remove the need to purchase magnets.
With this file you will be able to print Nanoleaf Replica Full Size with your 3D printer. Click on the button and save the file on your computer to work, edit or customize your design. You can also find more 3D designs for printers on Nanoleaf Replica Full Size.