Narrow Gauge Bogie Flat Wagon
thingiverse
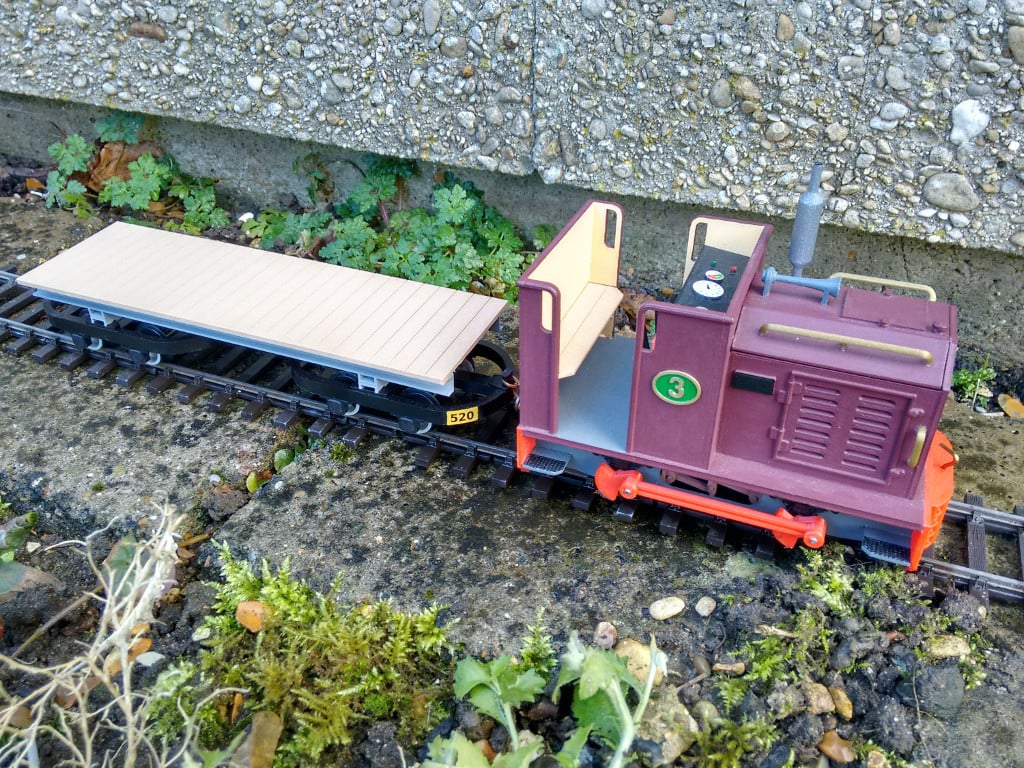
A model of a narrow gauge bogie flat wagon built on two skip wagon chassis, based on a 1962 <a href="https://www.irsociety.co.uk/Archives/48/Jubilee.htm" target="wgn19375">photograph from the Leighton Buzzard Light Railway</a> (scroll down for the picture). The model is built using a pair of bolster chassis bogies from <a href="https://peterbinnie.com/shop" target="wgn19375">Binnie Engineering</a> - only the superstructure is included in this Thing. Disclaimer - I have no connection with Binnie Engineering other than as a satisfied customer. The floor looks good printed in wood PLA. For the best effect set one perimeter and adjust the top layer infill to be rather coarse. Set the infill angle so that the 'grain' on the top layer runs along the planks (or rotate the part in your slicer to achieve the same effect). The other parts should be printed (2 copies each) in normal filament. Lie them on their flat surfaces in the slicer. Paint as required Construction: Glue a CrossBeam2 across the top of each of the bogies. Epoxy an 18mm length of 4mm silver-steel rod into the hole in the centre of each of the bogies, flush with the bottom of the hole in the bogie frame and sticking out about 8mm above CrossBeam2. Ensure this is straight. Epoxy the two U-beams to the bottom of the Floor using the traces of the shallow indents in the bottom to guide the alignment. Slip a CrossBeam1 over each of the pins flat face down - don't glue it. Push a ring over the end of the pin and secure it with a blob of epoxy over the top of the ring and metal rod. There should be about 1/3 to 1/2 mm clearance between CrossBeam1 and 2 to allow the bogies to rock slightly as well as turn easily. Once these assemblies have set glue them to the bottom of the U-beams so the U-beams have a 30mm overhang at each end. Finally glue CrossBeam3 between the U-beams in the centre of the wagon, open face down, flush with the bottom of the U-beams. I find the bolster wagon chassis are rather light, so I glued some scrap lead strip in the groove in the central spine of each chassis. Lead is toxic, so ensure that it is fully encapsulated in epoxy if you do this. Otherwise, glue some penny washers to the underside of the floor to add some weight.
With this file you will be able to print Narrow Gauge Bogie Flat Wagon with your 3D printer. Click on the button and save the file on your computer to work, edit or customize your design. You can also find more 3D designs for printers on Narrow Gauge Bogie Flat Wagon.